
Here's a quick run down of how and why you would block a knit or crochet hat.
Why block a hat?
- To achieve desired fit e.g slouch or beret.
- To open out any lace detail.
- To relax the yarn.
- To straighten any ruched stitches.
- To even out the overall balance of the stitches.
- To fix any mistakes with tension.
What is blocking?
Blocking is washing and shaping your knit or crochet pieces to the desired shape or size. Taking the time to block your natural fibres especially enables easier seaming as you can match the edges up clearly. It also helps with drape or fit of a garment. If you have used a cable stitch or a moss stitch in a natural or really light yarn, blocking can even it out so that you can see the full detail.
Why block a hat? You have a head!
It may seem excessive to block a hat when you have a head but it can really give the project a smooth, professional finish and it doesn't need any specialist equipment!
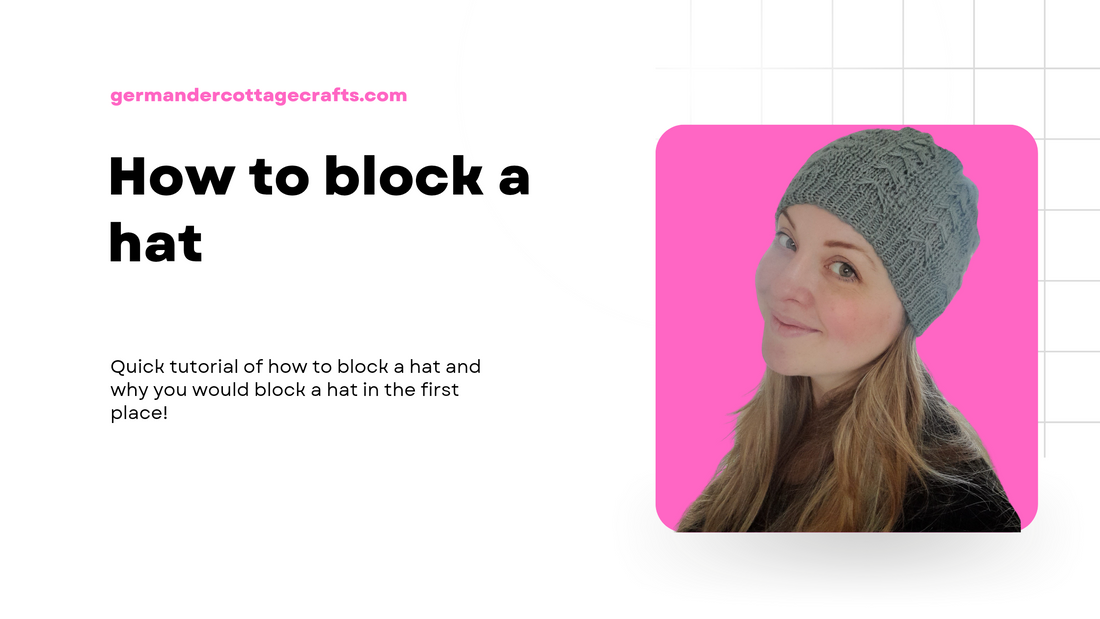
I've blocked this particular hat because the slipped stitches caused the fabric to rumple. I wanted to straighten it out so that you can see the effect of the stitches. The crown is also a feature so I wanted to make sure it lies flat.
Here's how I block a hat:
1. Place the finished hat in some warm water. You could use wool soaking solution to add some fragrance or conditioning if you wanted to but I've gone without here.

2. Let it absorb all of the water.

3. Take it out and give it a good squeeze. Do not wring or you'll end up stretching it into oblivion and ruining all of your hard work.

4. Lay it on a towel and roll it up, squeezing any further excess moisture out of it.

5. Grab something rounded, like a bowl, a ball or a balloon. I've blown up a balloon and inflated it to around the same size as my head. You can always inflate it a little smaller as it will stretch to fit your head anyway. Just work with what you have!

6. Make sure that the hat is secured. Here, I've rested the narrow part of the balloon in a vase. This could just be an upturned bowl too.

7. Leave the hat to dry naturally.

When the hat is dry, it will be a slouchier fit than it was before blocking. This is what I want. I can also see the slipped stitches clearly now.
I hope you found this tutorial helpful!- Hanna
2 comments
Omg great tip, I had never thought about using a bowl!
I’m currently making a hat with a brim (almost like a bucket hat). Do you have any tips on how you would block a hat with a brim?
Great post! I’d never thought about blocking a hat!