Author: Hanna Gough
Free crochet cardigan pattern: Beyond
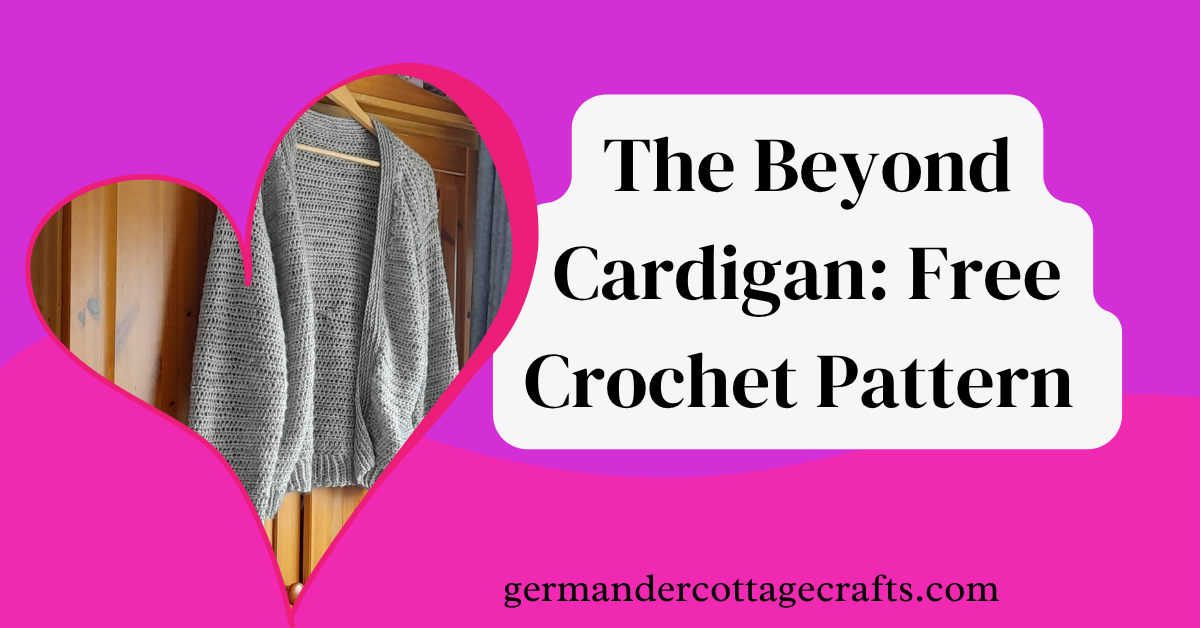
Crochet the Beyond cardigan, a quick and easy garment constructed with half double crochet. Free crochet pattern.
Written by
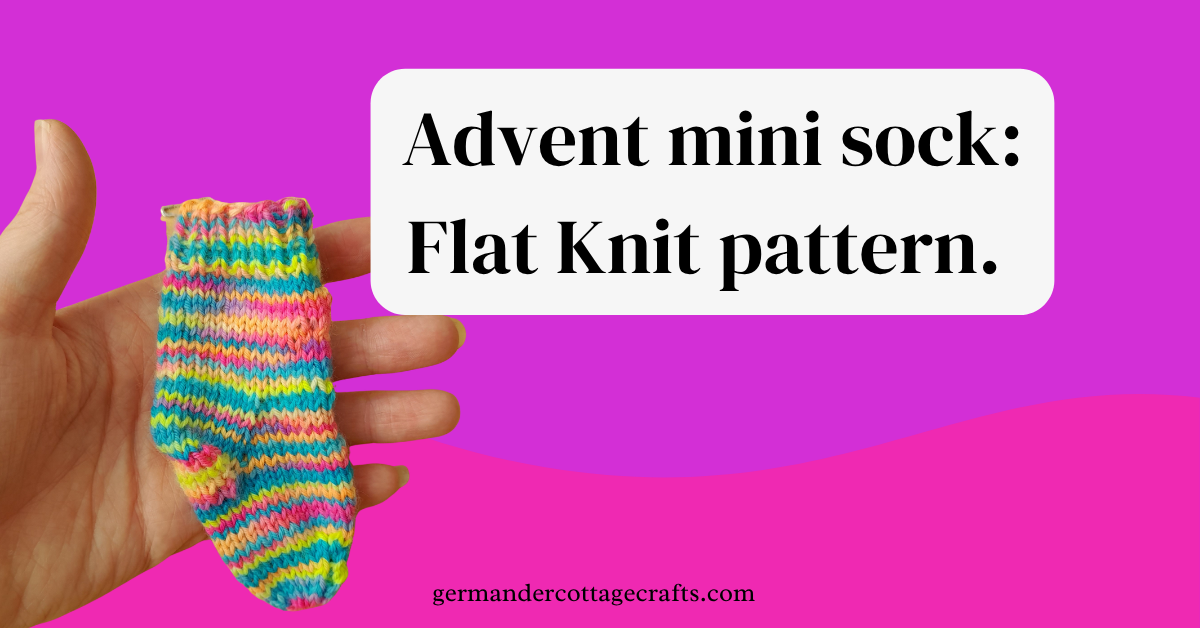
Flat knit mini sock. Free knitting pattern.
Free sock knitting pattern for the advent mini sock. Advent sock knitting pattern.
Written by
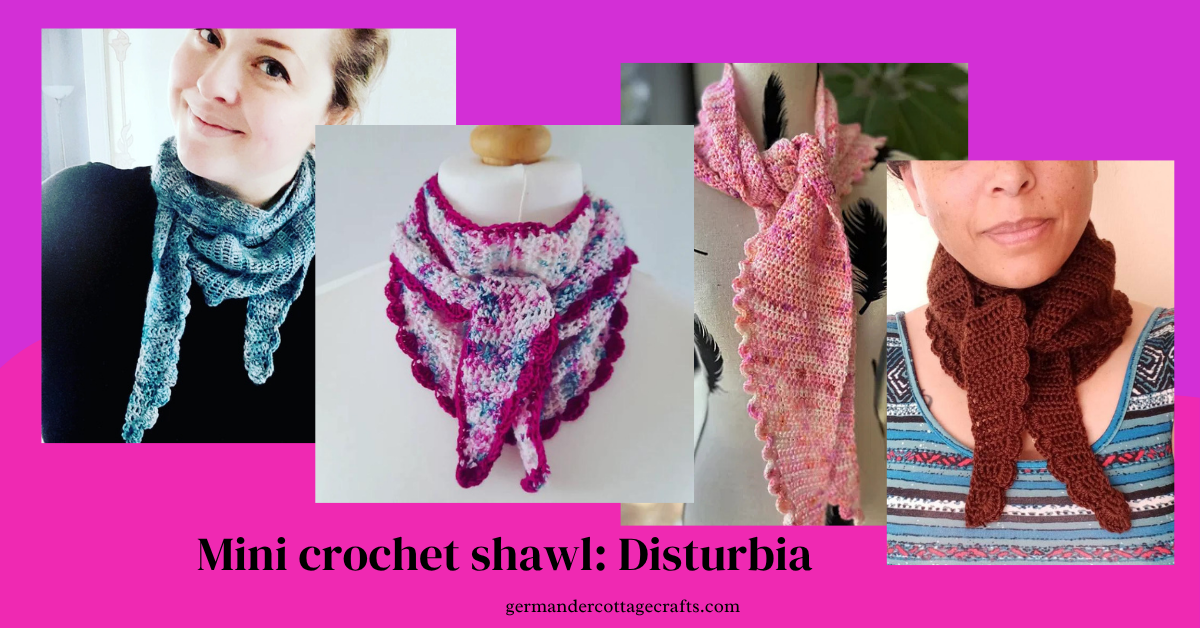
The Disturbia mini Crochet Shawl
The Disturbia yarn and the disturbia shawl patterns were a hit during the Knit365 collaboration of 2023.
Written by
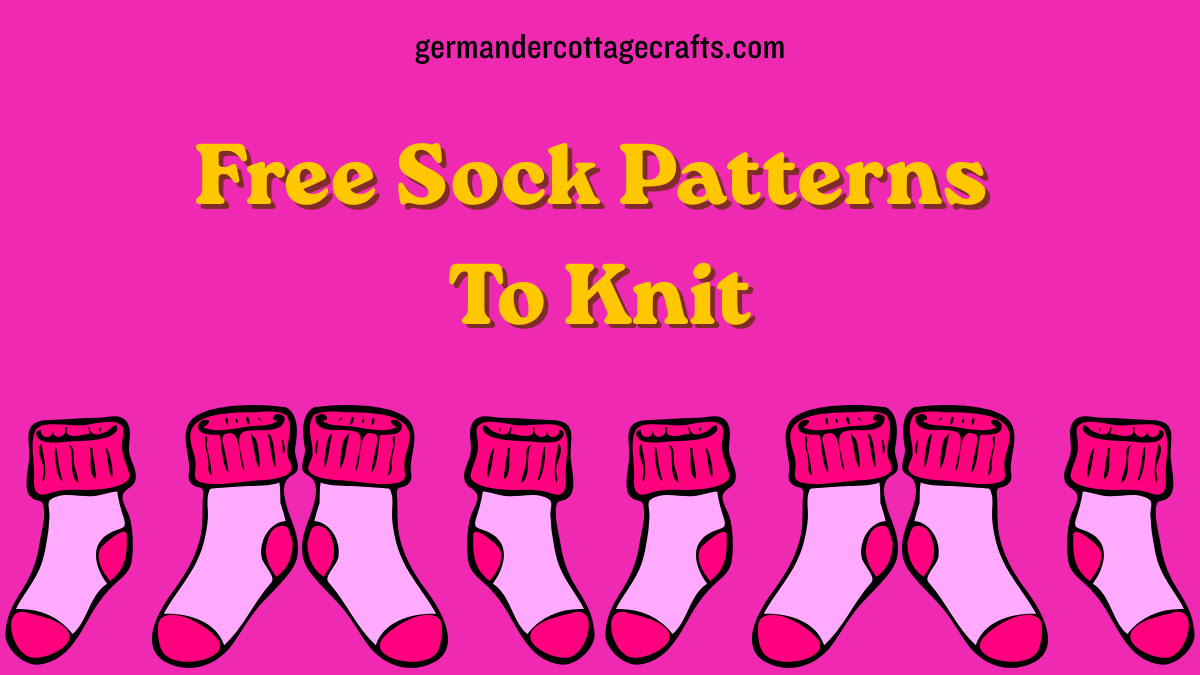
Free sock patterns to knit.
All of the free sock knitting patterns available on this blog.
Written by
Simple DK sock knitting pattern. DK Boot socks.
Free sock knitting pattern for a pair of cosy, DK boot socks!
Written by

Free sock pattern: Advent mini sock knitting pattern.
Free knitting pattern for a pair of mini socks. Knit these for an advent calendar, a little one or just for practice!
Written by

Luxury gifts for someone who crochets: Tool bags.
Our top 5 luxury tool bags for crocheters. Even if the crocheter in your life seems to have everything, they will love one of these!
Written by

Shawls are the easiest thing to crochet.
Find out why shawls just might be the easiest thing to crochet when you’re a beginner. If you’ve been hesitant to commit to a blanket, try a shawl instead!
Written by

Yarns to watch out for in crochet: How to stop yarn splitting.
How to crochet with confidence. Find out why your crochet yarn keeps splitting and find out how to fix it. Learn about how to work with yarn to ensure you don’t get your hook stuck.
Written by

The Gift List: The best storage bags for knitting and crochet.
The ultimate bags for knitters and crocheters. Find the perfect bag for their practical needs.
Written by
