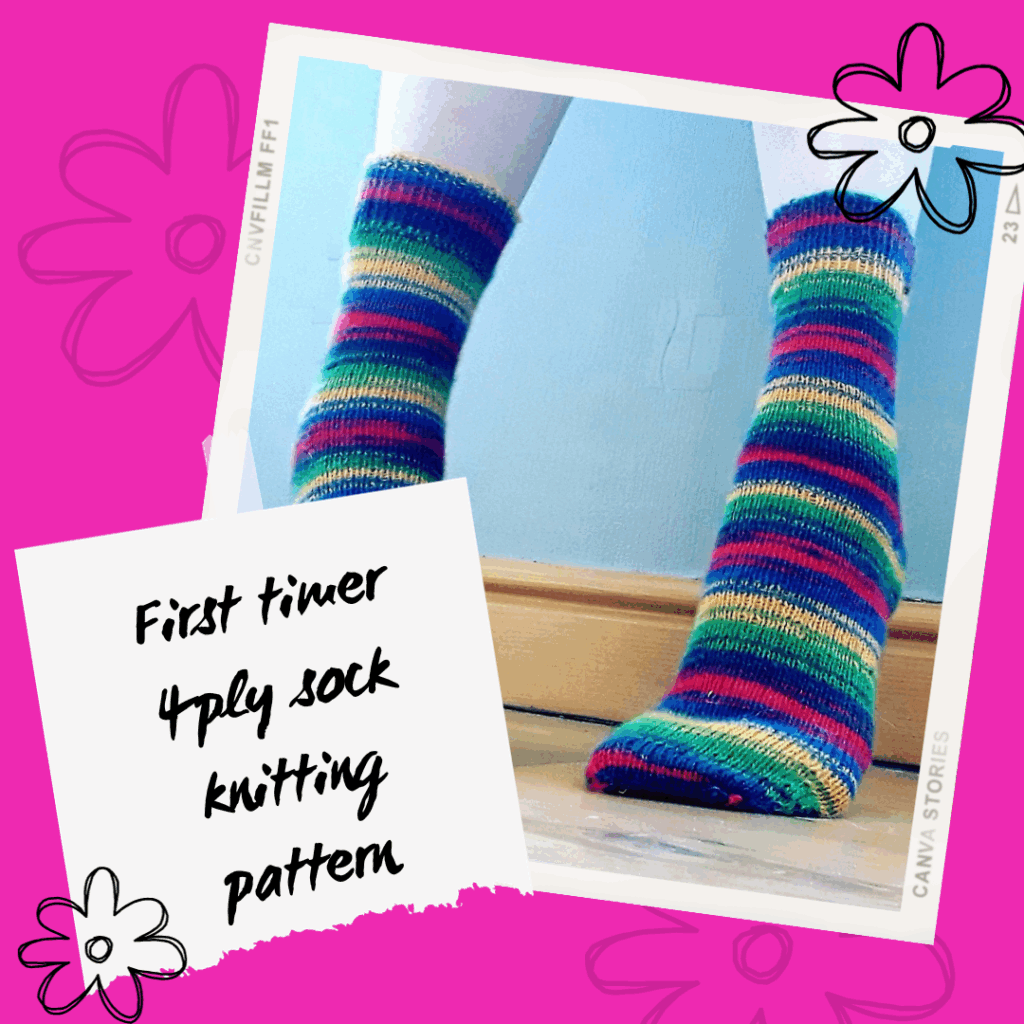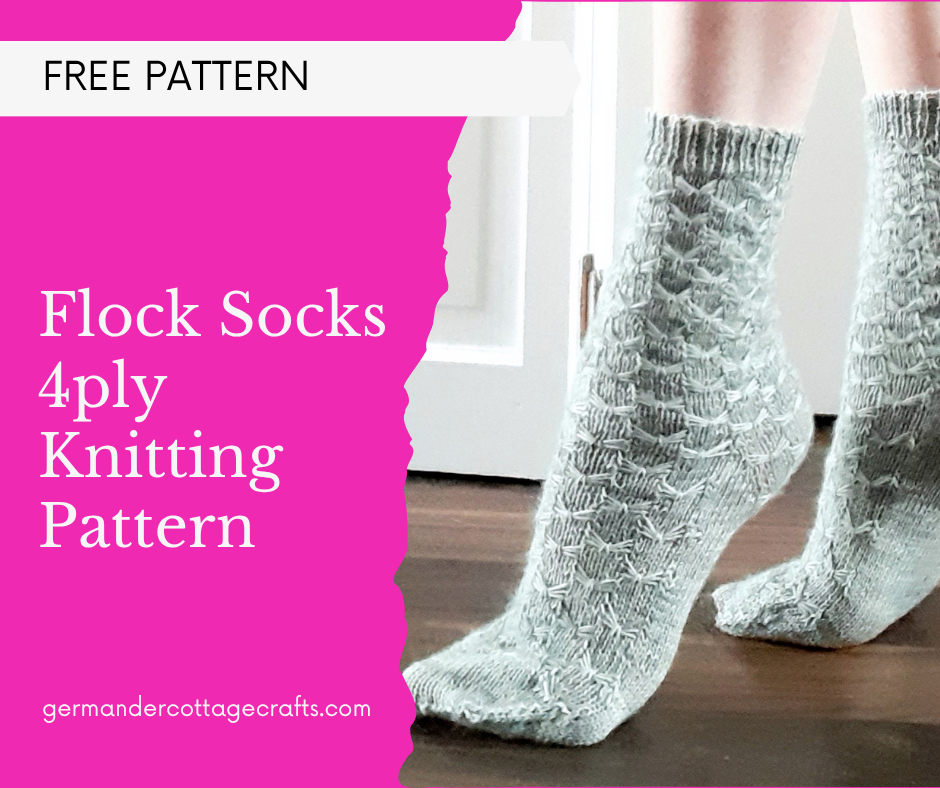
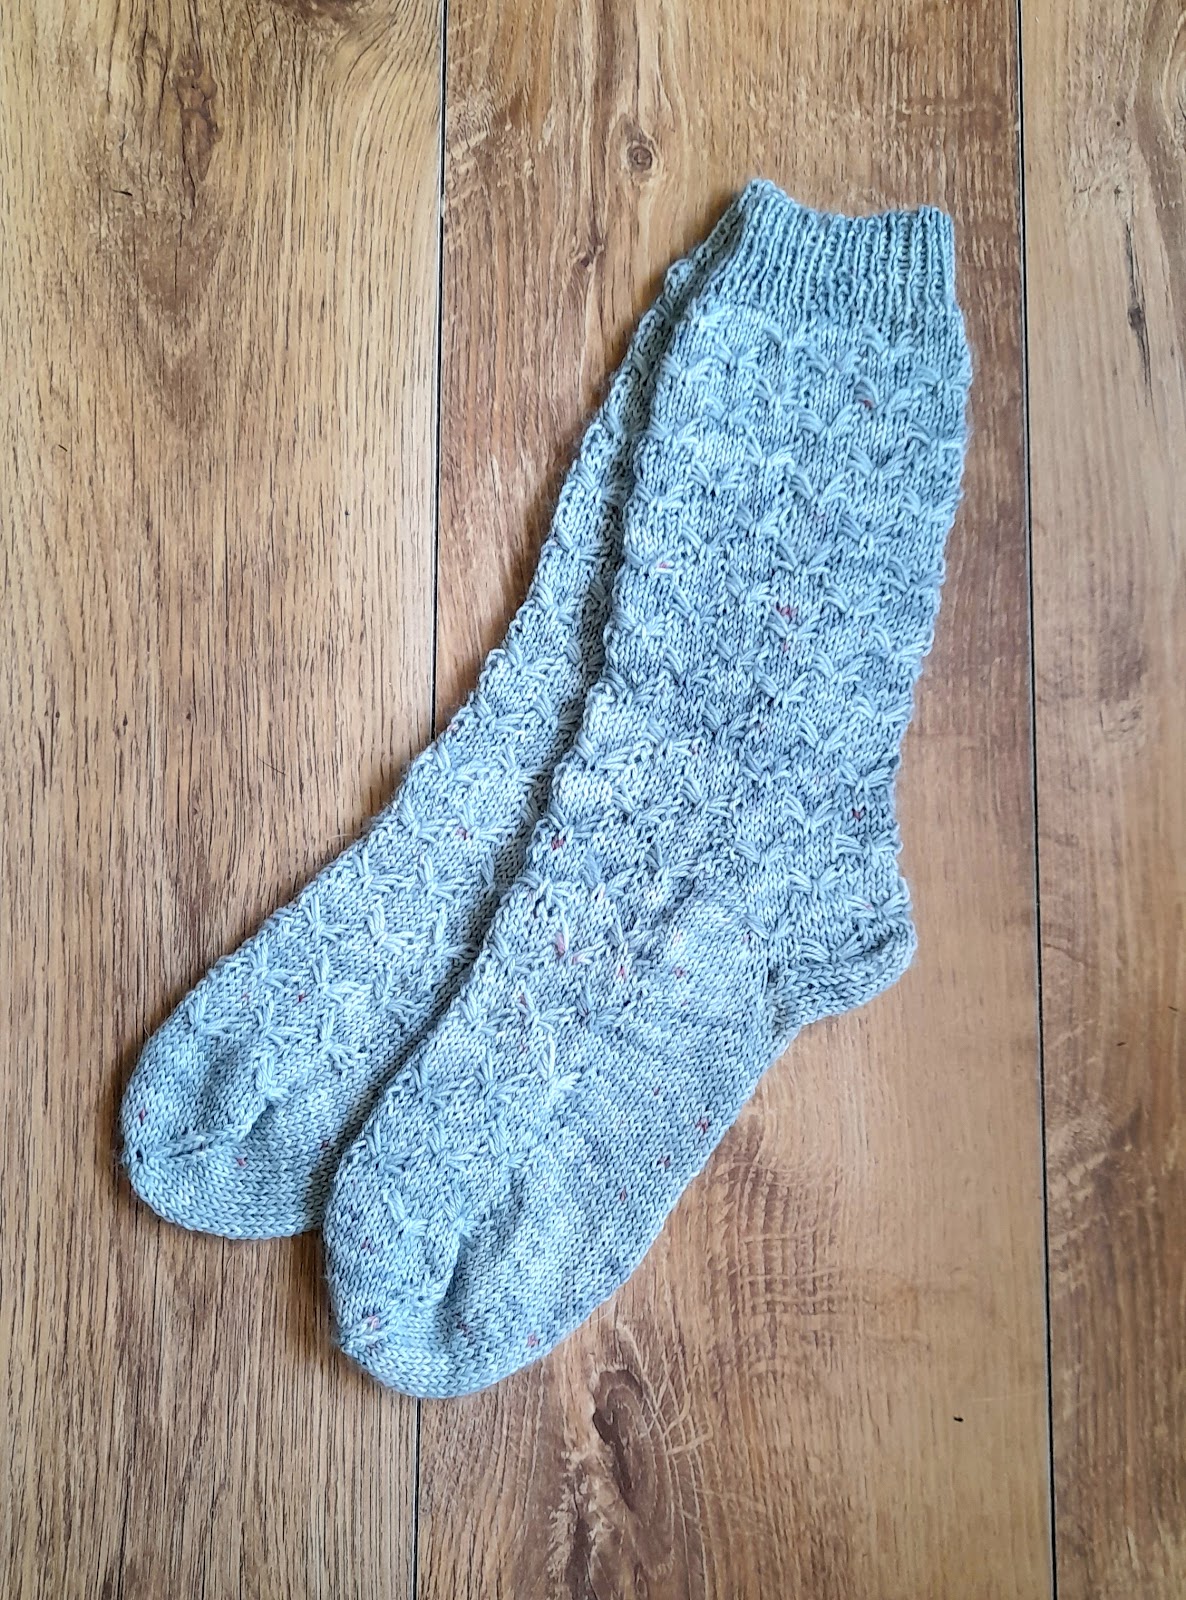
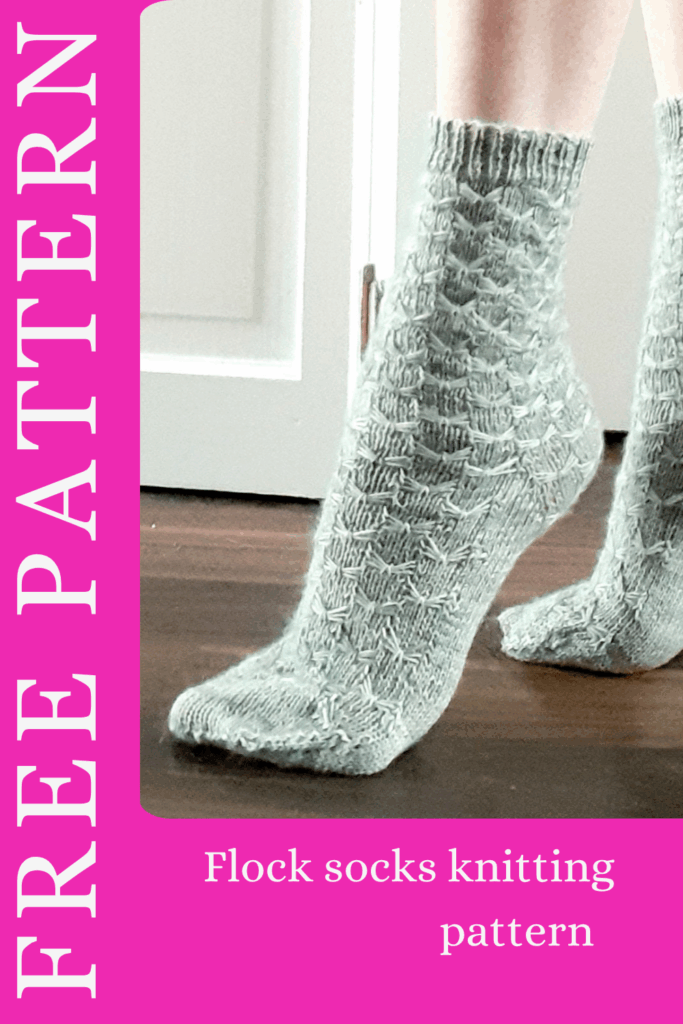
The Flock Socks sock knitting pattern.
This design features a ‘flock’ of birds or butterflies: you decide! This blog post is for a free sock knitting pattern showing you how to make these cuff down socks. If you’d prefer the ad-free PDF, you can get it on Ravelry here.

The flock socks are a fun way to make the most of texture with some simple stitch repeats. This sample is knit in a 100% hardy wool yarn but you could use a sock yarn with nylon for extra durability if you’d prefer. They are socks knit from the cuff down with a square, integrated heel, some short row shaping and a grafted toe.
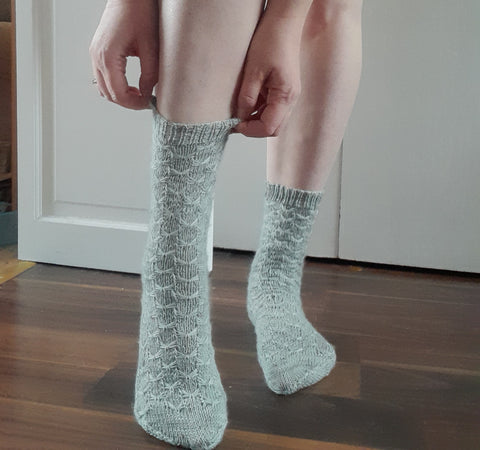
The socks feature a square (Dutch heel) that is split into 3 after some increases and decreased back down to create a sturdy, rectangular shape under the heel.
You can see a quick video of how the heel is made here:
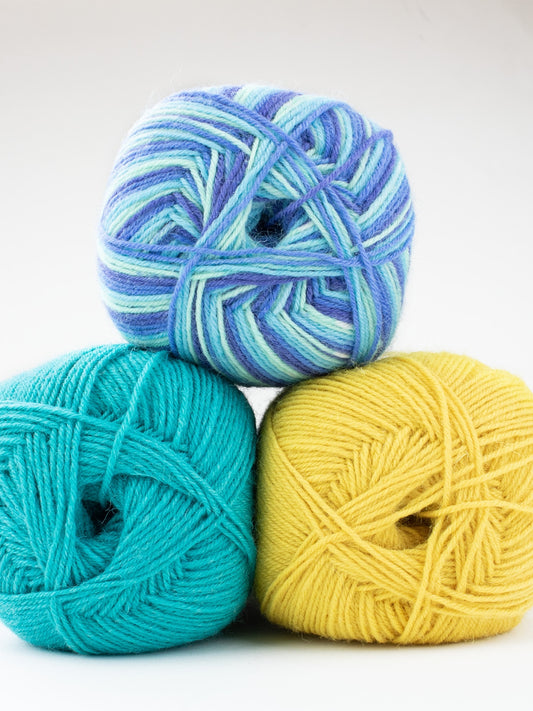
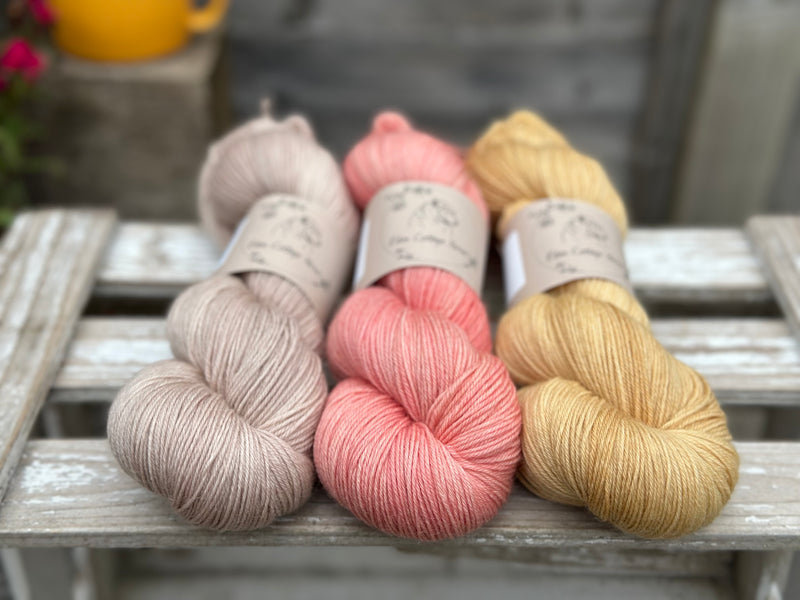
A note about the yarn:
I used Eden Cottage Yarns Oakworth 4ply. This isn’t strictly a ‘sock yarn’ but the wool is crisp and durable. I haven’t had to darn any heels or toes yet! If you like a sock made with natural, breathable fibres that will also keep your feet warm, try it! I used their special Christmas colourway (it was limited edition, so they don’t currently have it) but there are so many other beautiful shades available.
Materials required for this sock knitting pattern:
- 100g of 4ply sock yarn such as Oakworth 4ply, (100% Polwarth wool) by Eden Cottage Yarns (400m/436yds per 100g/3.5oz)
- Darning needle
- 4 Stitch markers
- 2.5mm circular (80cm cable for magic loop) or DPNs or size needed for gauge.
Gauge:
30 sts and 35 rows in pattern per 10cm (4”)
Leg/foot circumference:
Size 1: 7 in/17cm
Size 2: 8 in/20cm
Size 3: 9 in/23cm

Glossary:
K: Knit
K2tog: Knit two stitches together.
Ktog: Knit all the strands together with one stitch.
LH: Left hand
M1L: Pick up the bar between the stitch you have just knitted and the one you are about to knit, bringing the needle from the front to the back. Knit into the back of the stitch.
M1R: Pick up the bar between the stitch you have just knitted and the next stitch, bringing the needle from the back to the front. Knit into the front.
Sl: Slip a stitch from left hand needle to right hand needle.
P: Purl
P2tog: Purl two stitches together.
PM: Place marker
PSSO: Pass slipped stitch over the knitted stitch.
RH: Right hand
RS: Right side
SKP: Slip one, knit one, PSSO.
SM: Slip marker
St(s): Stitch(es)
WS: Wrong side
How to knit the Flock Socks.
Start your Flock socks by casting on at the cuff
Loosely cast on 50 (60 70) sts, join to work in the round, being careful not to twist sts..
Work in 1×1 rib for 2.5cm/1 in.
Knit the leg
Place a marker (marker 1) after the first 25 (30, 35) sts to establish halfway point.
K all sts for 1 round.
Round 2, 4, 6: *K5, Sl 5 purlwise with yarn in front; repeat from * to end.
Round 1, 3, 5, 9, 11: K all sts.
Round 7: *K7, pick up the 3 strands and the next st from LH needle. Ktog with 3 strands. K2; repeat from * to end.
Round 8, 10, 12: *Sl 5 purlwise with yarn in front, K5; repeat from * to end.
Round 13: *K2, pick up the 3 strands and the next st from LH needle. Ktog with 3 strands. K2, K5; repeat from * to end.
These 13 rounds form the flock pattern. Repeat Rounds 1-13 until piece measures 19 (20, 21)cm/7.5 (7.75, 8.25) in from cast on, ending with a 7th or 13th round.
Shape the heel
Heel increases are worked on every K round. Heel sts (underside) stay in K st after this point, with flock pattern continuing along instep sts.
In this next section, the stitch counts on the heel needle require increasing to whole numbers for size 1 and 3.
Round 1:
Size 1: M1R, PM (marker 2), K1, M1L, K24, PM (marker 3), M1L. SM (marker 1). 3 sts increased. Work in flock pattern to end. There are now 26 sts between markers 2 and 3.
Size 2: M1R, PM (marker 2), K30, PM (marker 3), M1L. SM (marker 1). 2 sts increased. Work flock pattern to end.
Size 3: M1R, PM (marker 2), K1, M1L, K34, PM (marker 3), M1L. SM (marker 1). 3 sts increased. There are now 36 sts between markers 2 and 3. Work in flock pattern to end.
53 (62, 73) sts total.
Round 2:
K all stitches on heel needle(s), work flock pattern on instep, slipping markers as you come to them.
Round 3:
K to marker 2, M1R. SM, K to marker 3, SM, M1L, K to marker 1, SM, work flock pattern to end.
Repeat Rounds 2 and 3 until you have created 18 (20, 24) stitches on the heel needle(s). 44 (50, 60) sts on heel needle(s). 69 (80, 95) sts total.
Turn the heel of your sock:
Working only with the first 44 (50, 60) sts, continue as follows:
- Short row 1: (RS) K9 (10,12) to marker, SM, K 17 (19,19) sts, S1, K1 PSSO. 1 st decreased. This will now be referred to as SKP. Turn.
- Short row 2: (WS) P 8 (9, 10) sts, P2tog. 1 st decreased. Turn.
- Short row 3: (RS) Sl 1 knitwise, K to 1 stitch before the gap which has formed. SKP. Turn.
- Short row 4: (WS) Sl 1 purlwise, P until 1 stitch before gap. P2tog. Turn.
Size 1: On last P row, P3tog at the end. 26 sts.
Repeat Short Rows 3 and 4 until there are 26 (30, 36) sts between the beginning of the round and the halfway marker (marker 1). This was the amount that you started with and your work should be right side facing with marker 2 on your right hand needle. 51 (60, 71) sts total.
Set up in the round:
Remove marker 2. Insert needle as though making a M1R but instead of knitting, slip the twisted stitch on to RH needle. K1 and PSSO. K to marker 3, remove marker 3, insert needle as though making a M1L, but slip the twisted stitch onto LH needle and K2tog. SM, work flock pattern to end.
Size 3: Increase 1 st on sole of foot sts on next round. 72 sts total.
Knitting the foot:
Continuing in flock pattern for instep stitches, and K all sts on sole of foot, until piece measures 3.5 (5, 6)cm/1.5 (2, 2.25)in less than desired length, ending with a 7th or 13th round of flock pattern.
On last round:
Size 1: Increase 1 st after halfway marker (marker 1). There are now 26 sts between markers.
Size 3: move halfway marker (marker 1) one stitch to the left so there are 36 sts between markers.
Finishing at the toe of the sock.
Round 1: *SKP, K 22 (26, 32) K2tog; repeat from * to end. (4 sts decreased in total)
Round 2: K all sts.
Round 3: *SKP, K to 2 sts before marker, K2tog; repeat from * to end.
Repeat Round 2 and 3 until you have 36 (42, 52) sts in total.
THEN, decrease on every round until you have 20 (20, 24) sts in total. Remove marker 1.
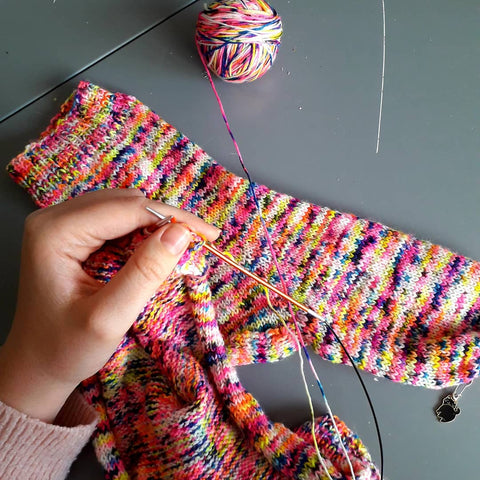
Finishing:
Using kitchener method, graft the remaining stitches together to close the toe. Weave in ends. Click here to see the step by step photo tutorial for this.
Check out some of my other sock knitting patterns:
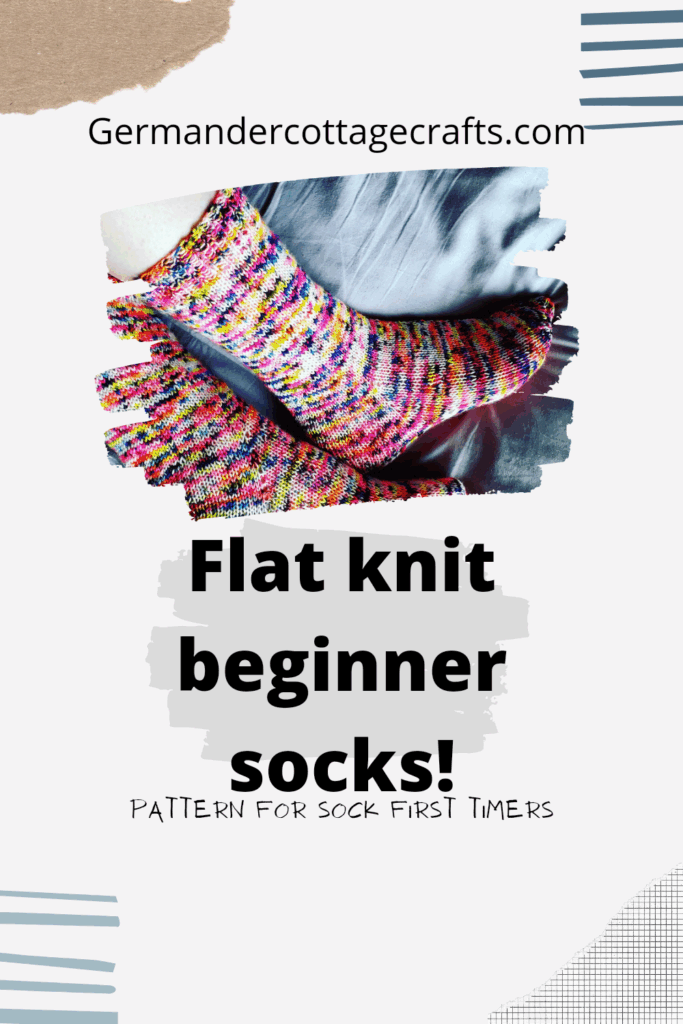
Simple cuff down DK socks.
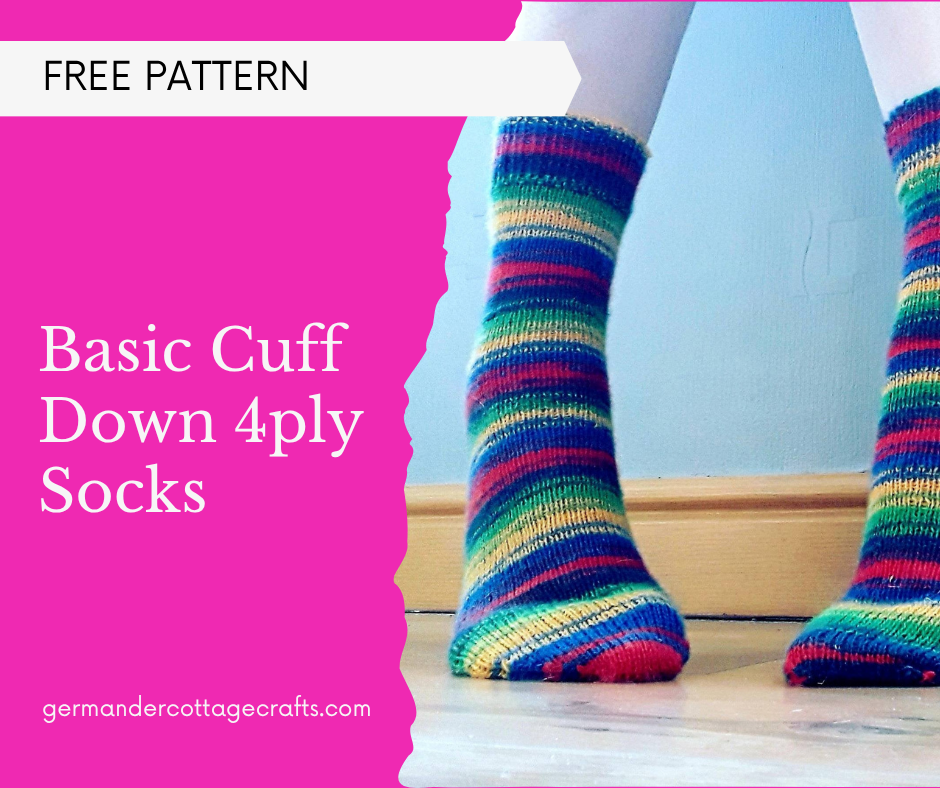
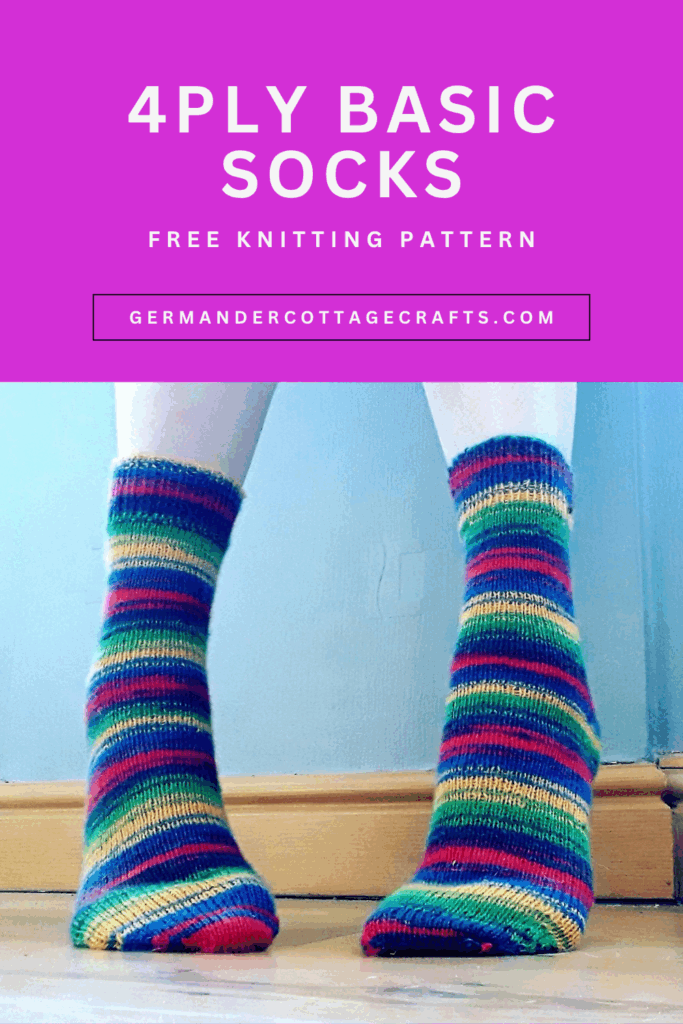
Basic 4ply sock pattern.