Gauge, also known as ‘tension’ is the measurement of stitches to rows or rounds. Gauge is important and here’s why you need to check it.
This is important for several reasons but checking gauge can:
- Ensure you are using a suitable size hook or needle.
- Ensure that you will have the right amount of yarn.
- Help you understand how the yarn behaves.
- Helps you to work out whether the item will fit/be the right size.
It’s not just a hoop to jump through. If you are making a garment and have gone to all the trouble of spending your money on 6-8 balls of good yarn, why skip this part? What if you cast off and it doesn’t and will never fit you?
Common anti-gauge statements:
1. “I just accept the mistakes”
This is baffling to me, personally, because if a mistake could be avoided early on, I would take the chance. The gauge swatch is your crystal ball. It shows you how things will work out in the future!
We will all make mistakes when the project gets going. We could drop a stitch, accidentally repeat a row or skip a step but to willingly risk a mistake? Don’t do that.
2. “You don’t need to check gauge for shawls”
That’s interesting. Will you not run out of yarn if your tension is much tighter than the gauge stated on the pattern? I would think so. Best to check and be sure.
3. “It’s a waste of my time and yarn”
You could perceive it that way but the tension square can be unravelled and used for the main project. You don’t have to order 1 ball, do a tension square and then order the other 5. Just reuse the yarn!
Even if the yarn has been blocked, you can still unravel and use it again.
4. “I’ve used the exact yarn and hook recommended so it will be fine”
That’s very optimistic of you but tension varies from person to person and can be altered daily. Don’t take the risk. My favourite lines in a pattern include “Check tension to ensure success”. This all depends on you, not the materials or the tools.
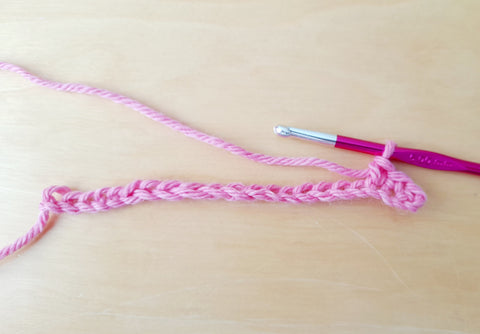
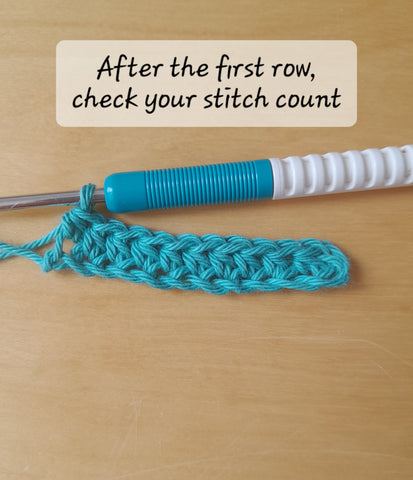
How to I measure my tension?
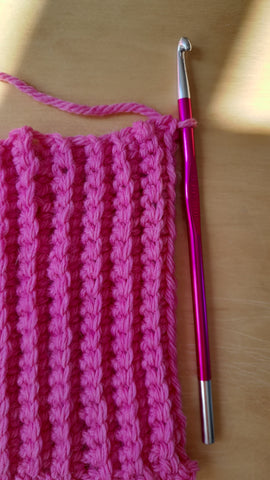
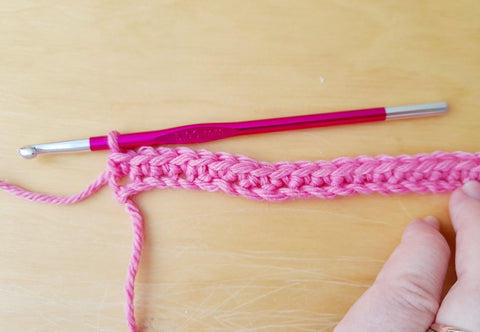
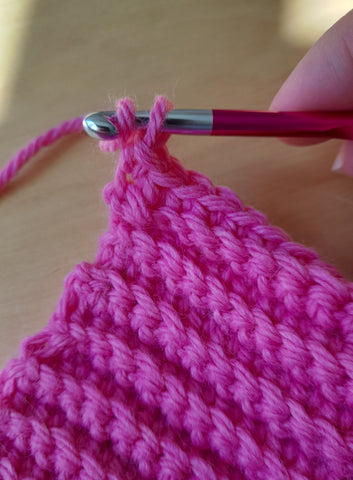
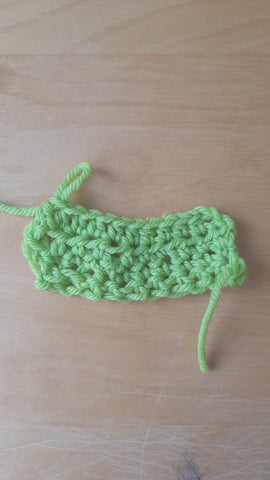
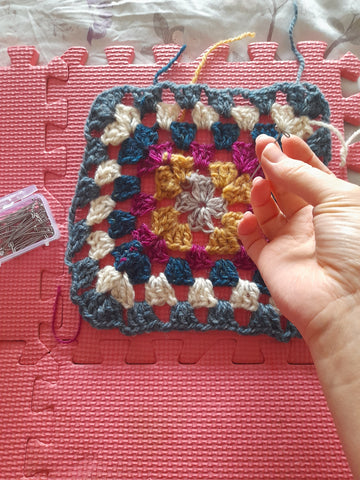
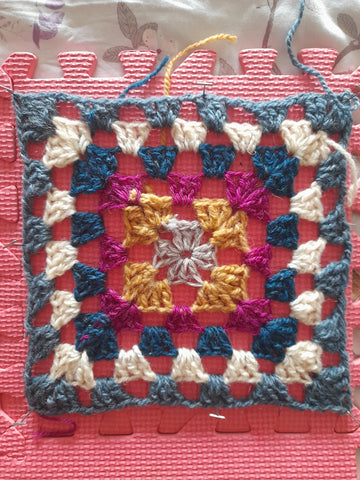
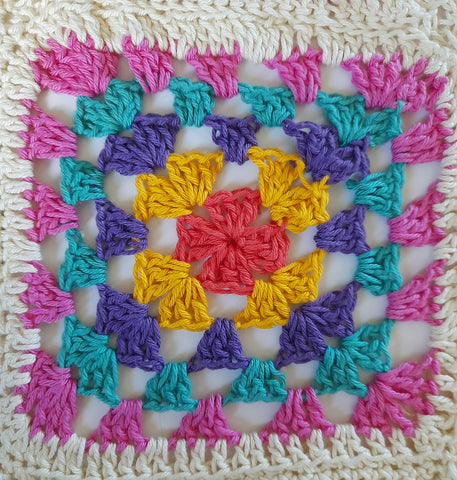
To measure, take a measuring tape, ruler, or a square gauge (pictured) and measure across the stitches for 4 inches (10cm). Then measure the amount of rows per 4 inches (10cm).

In the above example, there are 5 v stitches and 6 rows per 10cm (4in) square.
All good patterns will give you desired measurements over a 10cm/4in square. What you should then do is knit or crochet that many stitches and that many rows and then measure it. Where does your swatch compare?
I have more stitches than the designer’s swatch.
This means that your tension is too tight. If it is too tight, you will end up with the project being much smaller than it should be. The fabric could also be stiff and unflattering, depending on the item. What you need to do is increase the size of your tool by 0.5mm. Keep going up until you get the gauge that is correct.
If your work is coming out as tighter or smaller than it should be, you will likely run out of yarn before the project is finished.
I have fewer stitches than the designer’s swatch.
This means that your tension is too loose. If you’re making a garment, it will be too big! The stitches will look loose with lots of loops visible. What you need to do is go down a needle or hook size to match. Start by going down in increments of 0.5mm. You may need to make a few swatches to find your tension but it will be worth it in the end.
If your work is too loose, you will likely have yarn left over at the end of the project.
I have more or fewer rows than recommended, but my stitch count is perfect. What do I do?
In this scenario, you have a few choices. You can either:
- Change needle type ie switch from aluminium to bamboo. This can affect the height of the stitches.
- Change yarn type. It could be too thin or too thick. Have a look at wraps per inch as opposed to yarn weight, as not all DK and Aran are the same thickness. To find out more about wpi, Eden cottage yarns has a helpful blog post here
- Block it. You could get to 4 inches without an extra row by blocking.
- Work to the measurements on the pattern. Instead of counting the rows, get your measuring tape out and stop when you’ve reached the measurements it is supposed to be e.g. “work until piece measures 30cm/12in).
Why you have to find your own tension
Don’t feel put off because you’re using a 10mm hook but the pattern says 6mm. This just means that you have really tight tension. Tension may ease (or tighten) with practise but working with your individual tension level is absolutely fine.
Think of the tension square as the cat flap. This cat flap only accepts cats of a certain size. Gerbils can’t get in and neither can a husky. As long as you meet those dimensions needed, the cat can come through the cat flap. You can use whatever hook or needles you need to in order to do this. Using a 5mm needle for a 4mm sock pattern recommendation doesn’t mean you’re wrong. It means you need to give yourself more width to allow for your negative tension.
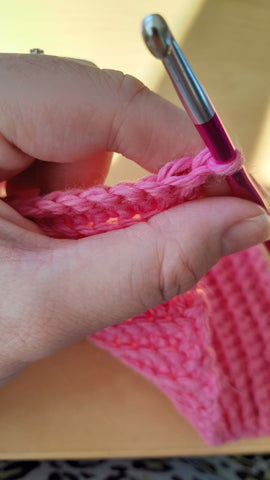
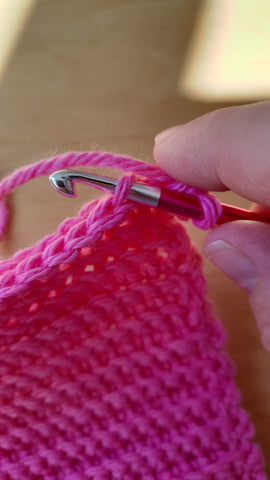
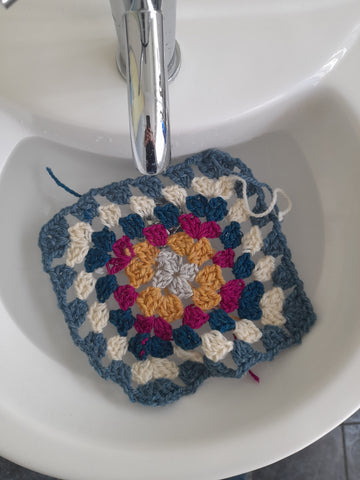
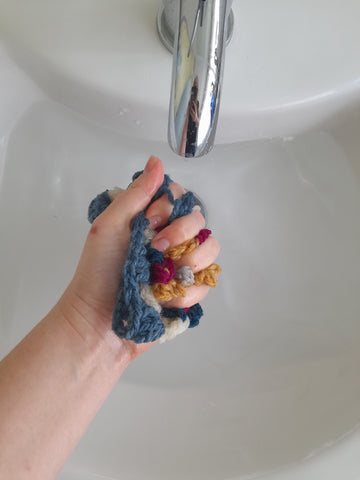
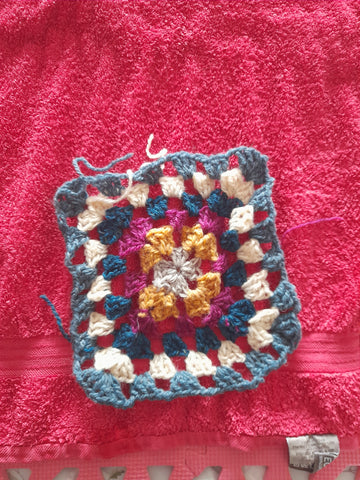
Do I need to block the swatch?
Many designers recommend blocking your swatch so that you can see how the yarn behaves. Some yarn blooms and other yarn shrinks, so block any natural (or part natural) fibres to see how they will behave. This is important because although your tension may be perfect with wool unblocked, blocking the garment could result in it becoming too big or too small.
In patterns the instructions for garments will say “block to measurements” so block the swatch too!
Blocking acrylic yarns is optional. If the listed materials in the pattern are acrylic, it may not have been blocked unless explicitly stated. If the listed materials include a natural fibre, it will have been blocked. Treat the swatch as it was intended.