Category: Tutorials
Knitting and crochet tutorials. Learn to crochet and knit easily with these step by step knitting and crochet tutorials.
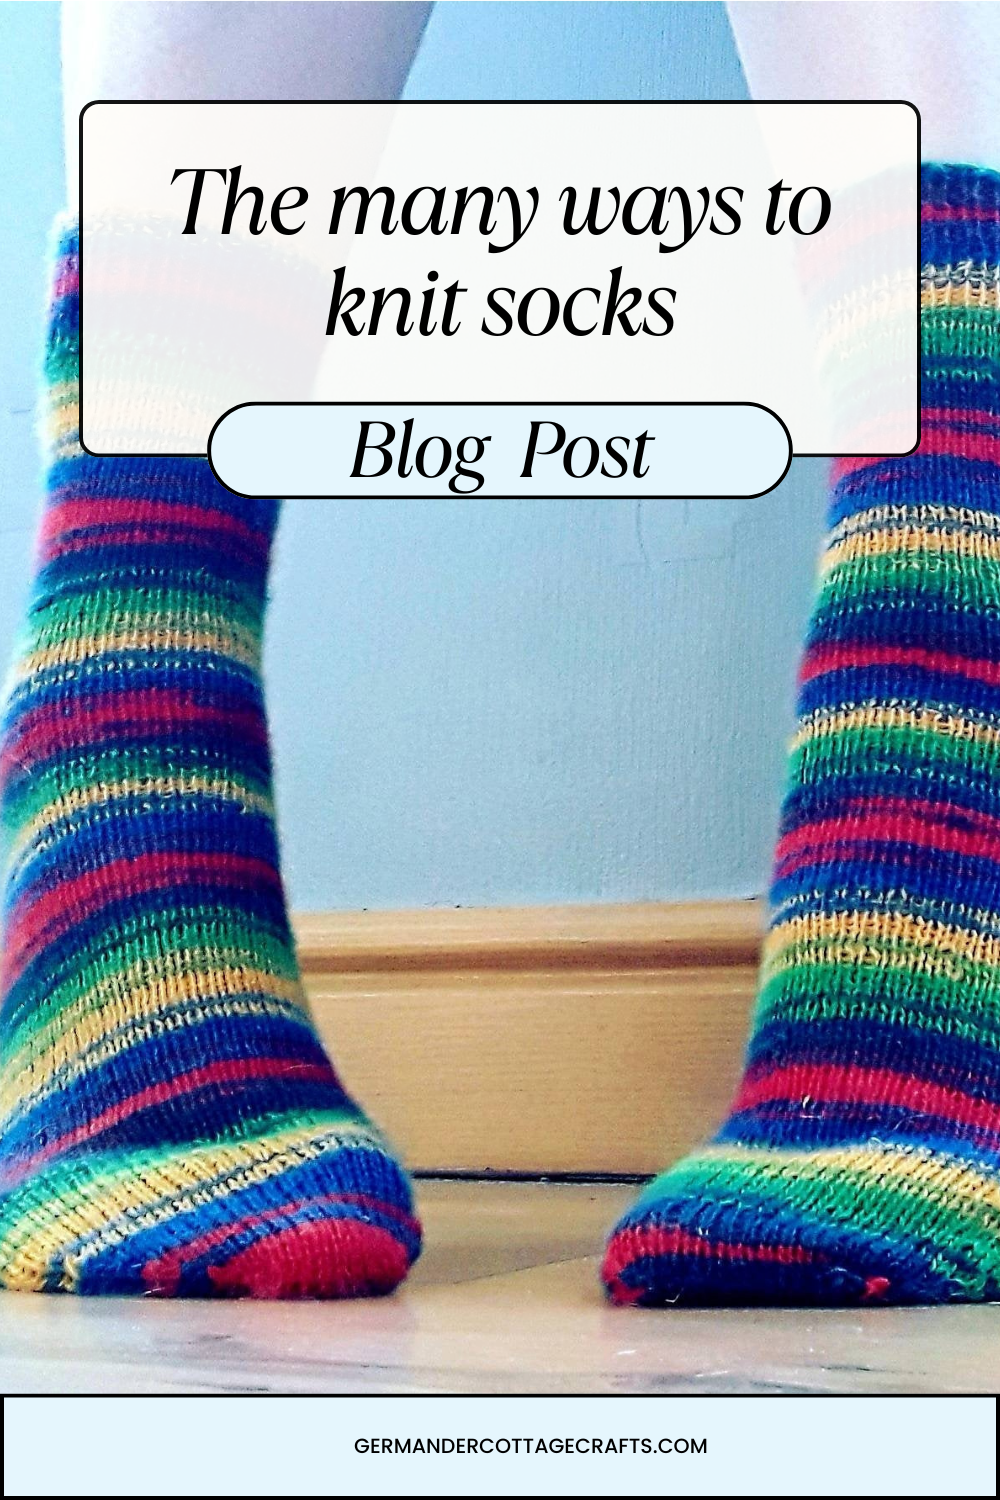
There are many ways to knit socks.
Are you sitting down? I’m going to talk you through the many ways to knit socks. Last year I received a refund request from a customer. They weren’t happy with their sock knitting kit and wanted a refund on the needles. The customer’s words were something like “there’s circular needles in here. No good for knitting socks!” …
Written by
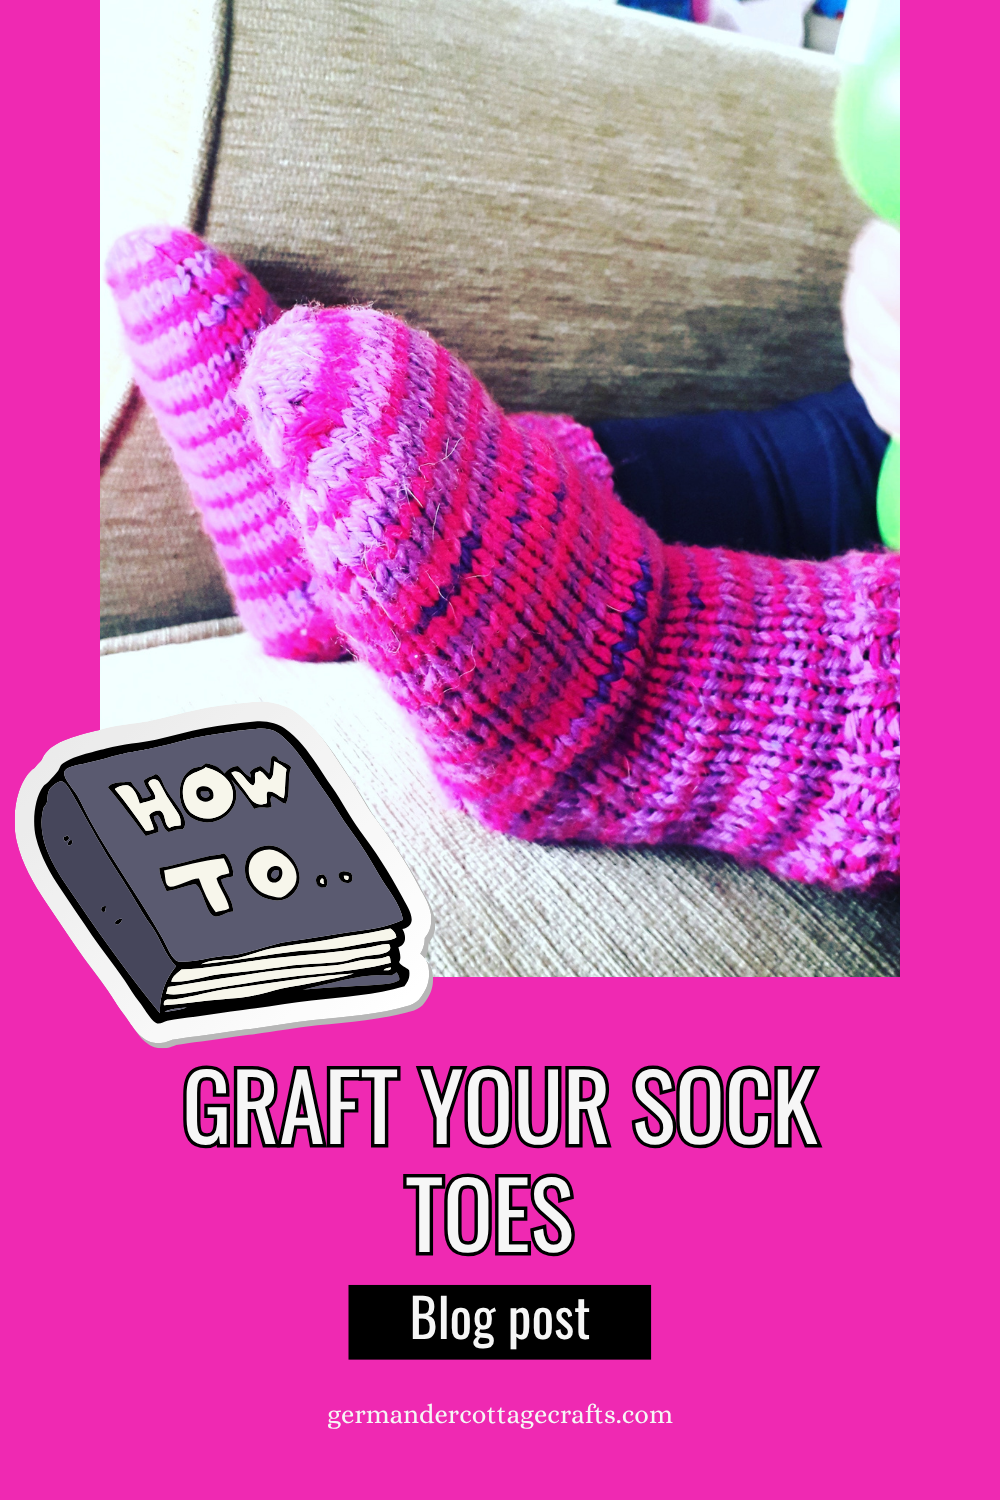
How to graft the toe of your sock. Kitchener stitch tutorial.
Learn how to graft your sock toes seamlessly. Tutorial demonstrating the Kitchener stitch, also known as grafting.
Written by
Sock knitting with two straight needles. Can you knit socks flat?
Wondering how to knit socks on straight needles? Try this two needle flat sock pattern. You can have all the glamour of 4ply socks without the worry of extra needles. This article about knitting socks on straight needles contains affiliate links, meaning that if you do choose to buy, I will receive a small commission…
Written by
How to knit with double pointed knitting needles. DPN tutorial.
In this post we will explore double pointed knitting needles. These are also known as DPN and come in sets of 4 or 5 needles. They also come in 15cm (6in), 20cm (8in) and even 30cm (12in) and 40cm (15in) for larger projects such as adult sweaters! DPNs are really useful when it comes to…
Written by

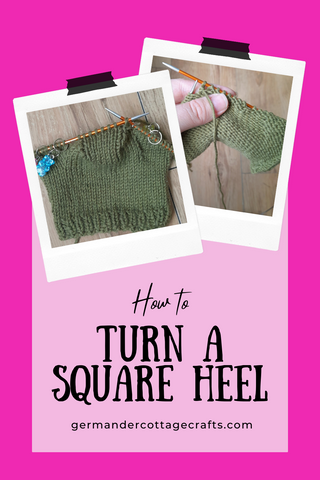
How to turn a square heel. Sock knitting tutorial for beginners: the Dutch heel.
If you’ve been looking at sock knitting patterns and techniques lately, you may have noticed that as well as several styles of sock, there are also different styles of heels! I’m going to show you how to make and turn the square (Dutch) heel which is my favourite sock heel of all time. It’s such…
Written by
Where to put your hook in crochet. How to crochet for complete beginners.
Have you started reading crochet patterns but you’re not sure where to put your crochet hook? Here I’ll show you where to put your hook in crochet. Disclosure: This post may contain affiliate links, meaning I get a commission if you decide to make a purchase through my links, at no cost to you. Stitch…
Written by
Gauge and tension in knitting and crochet. Gauge explained.
Gauge, also known as ‘tension’ is the measurement of stitches to rows or rounds. Gauge is important and here’s why you need to check it. This is important for several reasons but checking gauge can: It’s not just a hoop to jump through. If you are making a garment and have gone to all the…
Written by
Yarn weight and why it matters
How to measure your yarn’s thickness and match it with the required tension. In this blog post I’m talking all things yarn weight and why it matters. Knitting or crocheting with whatever yarn you have to hand may be an option for you if you just want to make something without a pattern but that…
Written by
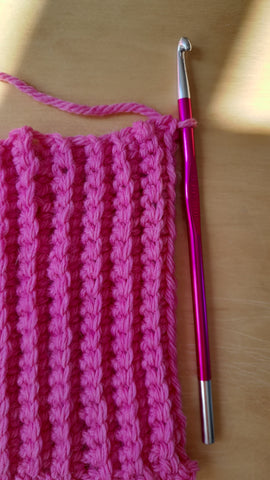
Single Crochet Rib Tutorial
Learn to crochet the knit-like rib stitch.
Written by
How to make T-shirt yarn. DIY T shirt yarn tutorial.
Here’s how to make your own t shirt yarn from fabrics you may want to recycle instead of throwing out. I first decided to use up some t shirt yarn when my lovely dog accidentally walked some poo into the house, smeared it onto the sheepskin rug and then lay on it for extra measure.…
Written by