Tag: beginner pattern

  • How to knit an ear warmer. Simple garter stitch headband tutorial for beginners.

    How to knit an ear warmer. Simple garter stitch headband tutorial for beginners.

    Beginner-friendly tutorial showing you how to knit an ear warmer. This really simple design is also perfect for knitters looking to get through their stash.
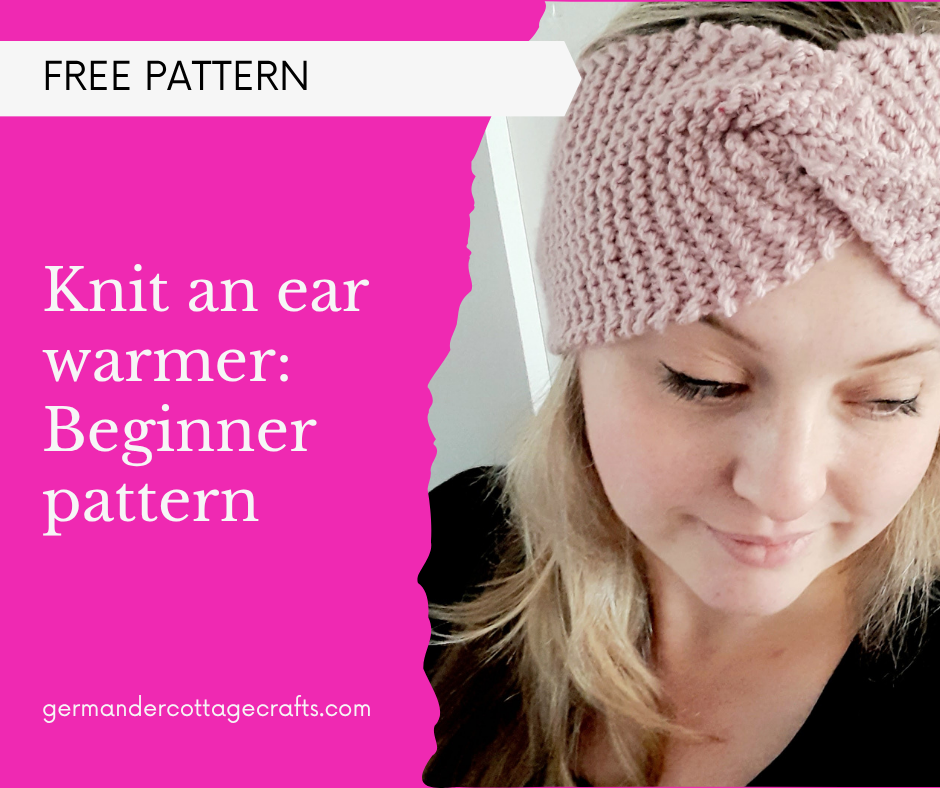
    How to knit an ear warmer. Knitting for beginners. Image shows a woman wearing a garter stitch headband. Ear warmer knitting tutorial. Learn to knit.

    Need a quick gift for a friend? Knit an ear warmer!

    Need to practice casting on and casting off, but you don’t want to knit something tedious like a long scarf? Knit an ear warmer!

    Do you just want a quick, satisfying project? Knit an ear warmer.

    You get my point. In this tutorial I will talk you through how to cast on, knit garter stitch and cast off.

    What you’ll need for this project:

    • Aran weight yarn. I used Kiddies Supersoft Aran in Blush. You will need approx. 50g of yarn no matter which brand you choose.
    • 5mm needles. In the tutorial, I’ve used 5mm circular needles (short, straight needles with a cord connecting them) but any needles are fine. Most beginners use straight needles.
    • Scissors, for cutting your yarn at the end.

    How to knit an ear warmer:

    This is a beginner pattern, meaning anybody who knows how to cast on and knit can make this item.

    Help! I don’t know how to do these things.

    Here’s a video showing you how to cast on. I use a cast on called the backwards loop method. This is the method that I was taught. If you don’t like this style of cast on, there are many others that you can try before you settle on what feels comfortable for you.

    Written instructions for this cast on:

    • Take the tail end between your thumb and forefinger in your right hand.
    • With your left hand, take the working yarn between your thumb and forefinger.
    • Drape the yarn over the top of your next three fingers and round again so that the yarn just overlaps slightly.
    • Turn your hand towards you.
    • With your other hand (keep hold of the tail end), insert your knitting needle into the loop that is sitting across the top of your three fingers.
    • Pull the working yarn to tighten the loop over the needle.
    • Repeat to end.

    Here’s how to knit the garter stitch. The garter stitch is the one we use to knit this ear warmer.

    • Cast on the desired amount of stitches. In this video I have cast on 18 stitches.
    • Insert the right hand needle into the front of the first stitch (it looks like a loop at this point) on the left hand needle.
    • Take the working yarn and wrap it around the back of the right hand needle and bring it down towards you so that it will sit between the left hand and right hand needle.
    • Insert your right hand needle back into the stitch and pull the stitch over the tip of the left hand needle onto the right hand needle.
    • Repeat to end.

    How to cast off:

    Written instructions for cast off:

    Casting off is pretty straightforward as long as you bear this in mind: If your tension is too tight when you cast off, you need to use a needle that is at least 0.5mm thicker. If your tension is too loose, use a smaller needle.

    Instructions:

    • Knit 2 stitches.
    • Using the left hand needle, pass the 1st stitch over the 2nd stitch on the right hand needle. 1 stitch remains on the right hand needle.
    • Knit 1 stitch from the left hand needle. 2 needles remain on the right hand needle.
    • Using the left hand needle, pass the 1st stitch over the 2nd stitch on the right hand needle. 1 stitch remains on the right hand needle.
    • Repeat step 3 and 4 to end.

    Now that you’ve learned how to cast on, knit and cast off, here is the pattern for you to follow!

    Knit an ear warmer:

    Cast on 18 sts

    Knit every row until piece measures 4 inches (10cm) less than your head width:

    • If your head measures 21 inches, Knit to 17 inches.
    • If your heard measures 22 inches, Knit to 18 inches.
    • If our head measures 23 inches, Knit to 19 inches.

    Cast off.

    Placing right sides together, fold the piece in half lengthways and then pinch each end so that they’re halved widthways. Slot the folded pieces together to create 4 layers and an S shape. Sew up all 4 layers together.

    Cut yarn and fasten off. Turn right side out and admire your handiwork.

    See the full video below to see a demonstration of the pinched twist and the finishing.
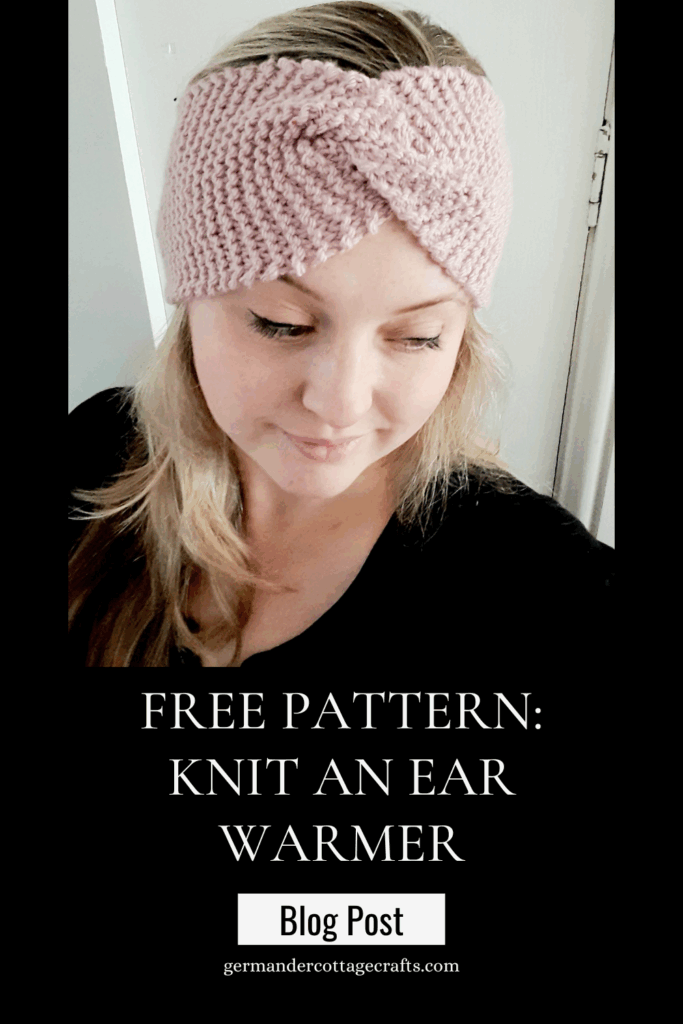
    How to knit an ear warmer. Simple beginner pattern for a knit headband. How to knit for complete beginners. Learn to knit the garter stitch. Woman wearing a knit headband.
  • What is a chain space in crochet? Here’s how to crochet between the stitches.

    If you’ve wondered what a chain space is, look no further. Find out what the ch sp is in crochet patterns. This post will help you understand this technique better and apply it to your own crochet. This is a beginner crochet tutorial for people who are new to reading crochet patterns, or want to try more elaborate crochet patterns such as lace and filet crochet.

    You can also use this information to help you with your granny squares.

    If you’re new to crochet, you may have come across ‘chain space’, often mentioned in a pattern as ch sp. You may have thought ‘what does that mean?’ In this post, I’m going to show you what a crochet chain space is:

    🧶Exactly what a chain space is.

    🧶Where you will find one in your crochet pattern.

    🧶Exactly where you’re supposed to put your crochet hook.

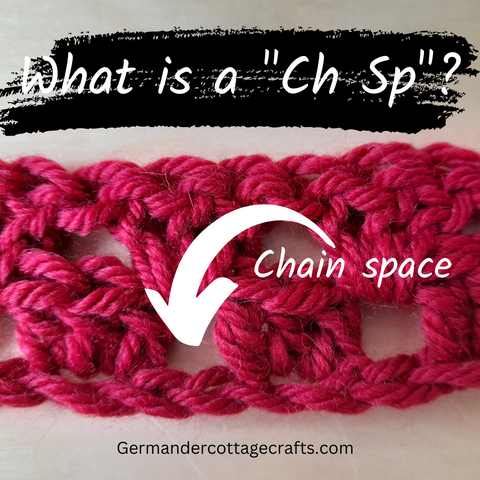
    What is a chain space (ch sp) in crochet? How do we know where the pattern wants us to insert our hook? 

    A chain space is made when you skip a stitch or several stitches. You’ll see a lot of chain spaces used in granny squares or lacy crochet projects. 

    It can be really intimidating to come across this when you’re starting out, but it’s easier than it seems on paper! In crochet patterns, ch sp is used meaning one space. If you are not familiar with any of the stitches mentioned in this tutorial, you can find my handy crochet stitch guide by clicking here.

    Working into the chain space can be a lot of fun as it means your project is moving quickly. You may feel like you’re just working through air. You’ll be able to make more intricate designs. This method is useful for filet crochet and lace crochet, as it looks like lace, but is half the work!

    Should my chain space stitches be different? 

    No. If you are asked to make a double crochet into the chain space, just make a double crochet. The chain space replaces the individual chain you may have otherwise been working in. See my example of where it goes here: 

    This is a double crochet stitch being worked into a chain space. 

    How to work into the chain space

    Other examples of where you need to use spaces to make the design:

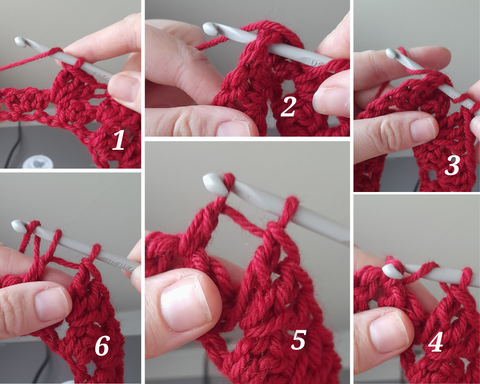
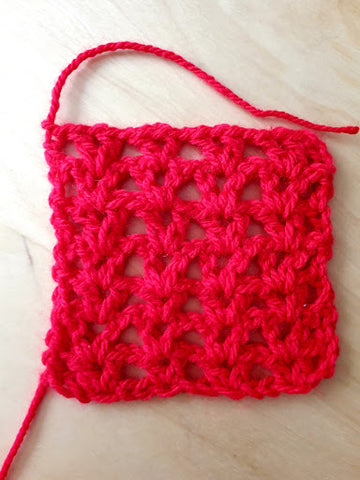
    Chain space in v stitch crochet

    In this image, you can see that V stitch is constructed by working into the centre of every v ch sp across the row. Once you’ve set up the first row, it’s a breeze!

    This is why the v stitch is one of my favourite crochet stitches of all time. With the V stitch, you don’t need to worry about counting chains and stitches because you’re just working into the chain space. Try it, and you’ll see what I mean! Why not have a go at a pattern that features the V stitch? I’ve shared some ideas below:

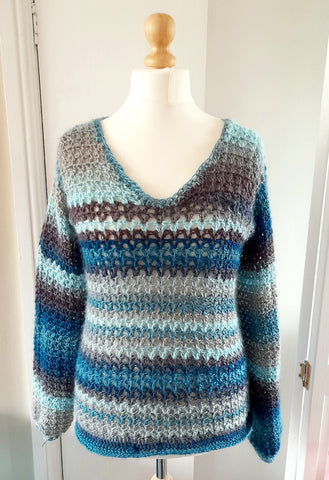
    v stitch crochet sweater

    This is the v stitch pullover. This entire jumper is worked in v stitch. It’s much quicker to whip up than working a dc into every chain, for example.

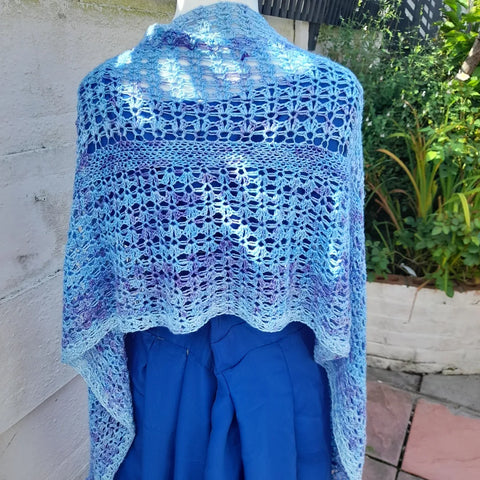
    Using chain spaces also means that projects with finer yarns take less time too. For example, the Titania shawl is a very big shawl but doesn’t take months to make because of the amount of openwork. 

    Titania lace crochet shawl pattern

    The Titania Shawl uses open spaces to create lace!

    Chain space and its descriptions in patterns. 

    In my patterns I always describe the chain space as this: 

    Ch Sp: Chain space. The gap created between stitches.

    This literally means the ‘gap’ that has been made between stitches or chains. Scroll down for a detailed look at where the space is and what you’re supposed to do with it.

    What is a chain space?

    If you look at the image above, you’ll see that some chains have been skipped along the bottom row. This has created a chain space for you to work your next cluster of stitches into. 

    Other ways chain space may appear in patterns: 

    Ch-3 sp: The number here could change from pattern to pattern but it basically means to work your stitch into each space that has been created by 3 chains. It is just specifying what the space looks like. In this example, it has 3 chains above it. In the pattern pictured above I might say “Ch-2 sp” meaning, insert the hook into the space created by the 2 chains made in the row before. This will also appear if there are other types of stitches or clusters being used in the same row or round. 

    I hope this article helped! 

     Thanks for reading. If you’d like to learn more about crochet and crochet patterns, here are some more posts for you to explore. 

    Now that you know what a chain space is in crochet, why not try some of my patterns?

    • V stitch sweater pattern
    • Titania Lace Crochet Shawl
    • Granny Squares

    FAQ

    Q. I can’t see the chain spaces easily. Why is this?

    A. When you’re using a bulky or novelty yarn, it can be hard to see the gaps in your crochet. You may want to use a thinner yarn while you’re learning.

    Something that also happens is that your tension is too tight, and as a result you don’t have enough space between stitches. Move up a hook size and see how that goes.

    Q. My v stitches are too floppy. They don’t sit straight in my fabric. What can I do to fix them?

    A. You might need to adjust your tension by going down a hook size. Loose tension can lead to really loose, open chains. They might need to be slightly tighter.

    cards
    Powered by paypal