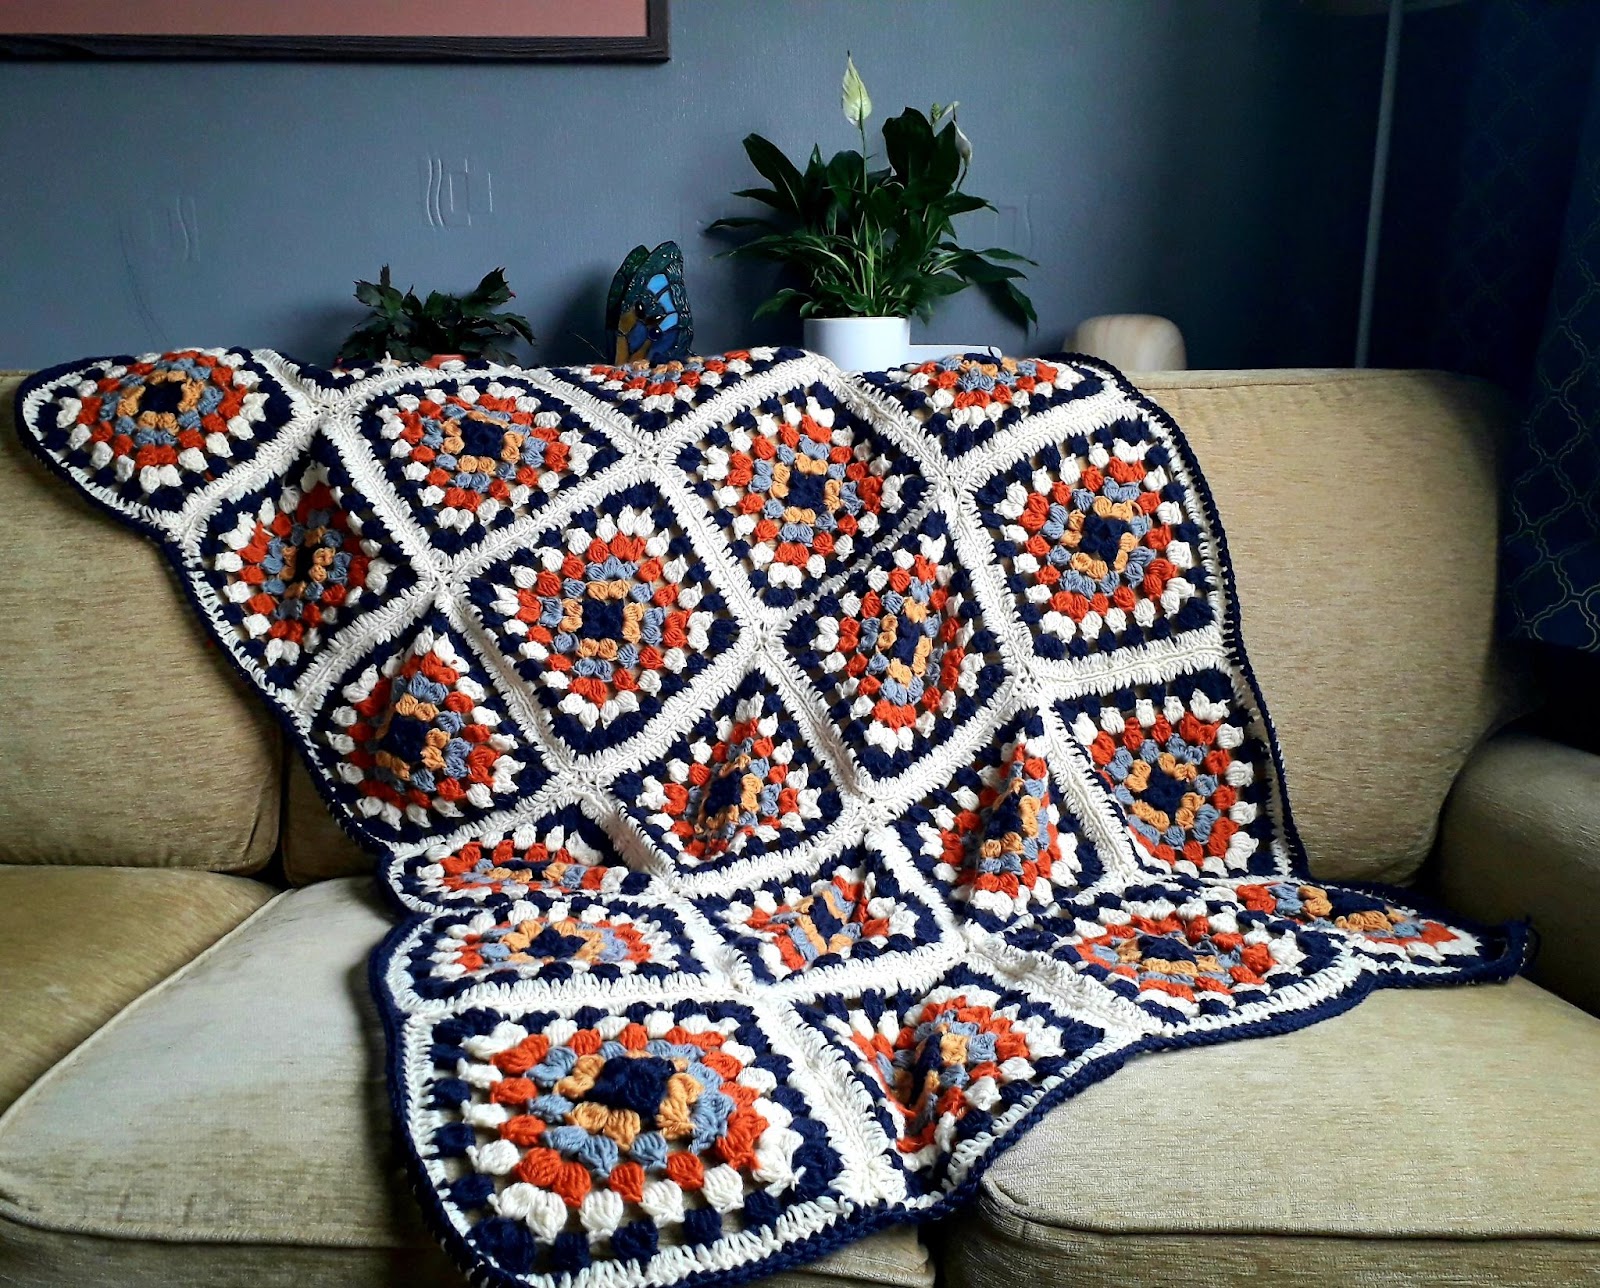
Crochet this beginner granny square blanket with a soft DK yarn for extra cosiness.
I’ve used Cygnet Pure Wool Superwash DK for my granny square blanket as it is soft, durable and feels lovely in a blanket.
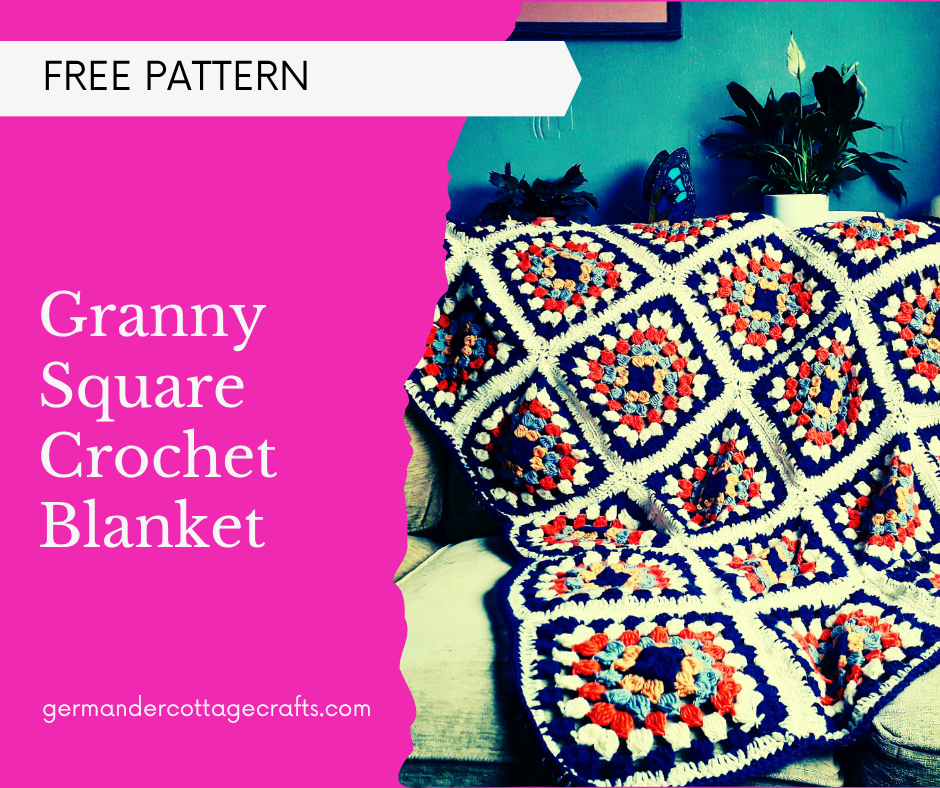
In this article, I will guide you through making your first ever crochet blanket! Please note that I am a Woolbox affiliate, and if you choose to purchase the yarn via the links I have provided, I will receive a small commission at no extra cost to you.
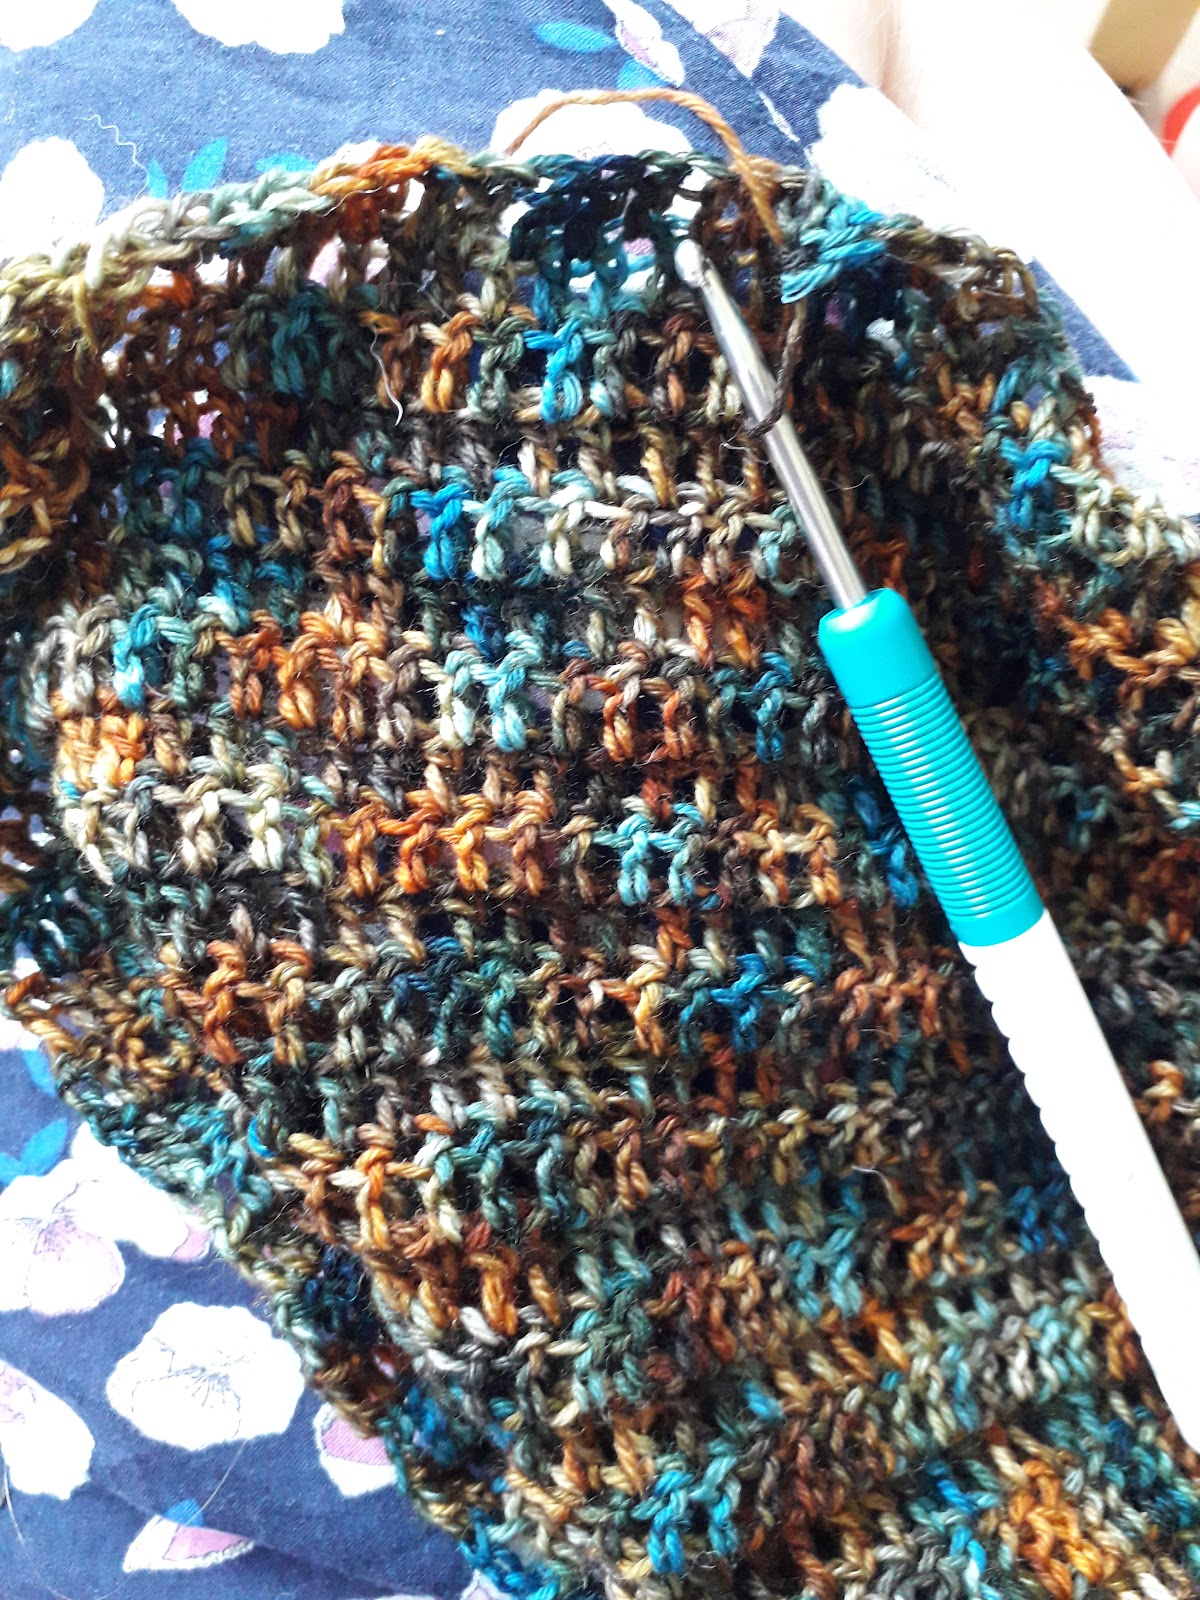
How to crochet a basic granny square:
Although this video doesn’t show the exact same granny square as the one listed in the pattern, watching this video should help you to get the hang of it! All granny squares are the same in the general principle: start in the centre and grow each corner. It doesn’t matter what stitches you do, they’re all going the same way!
Stitches you need to know in order to make this granny square blanket.
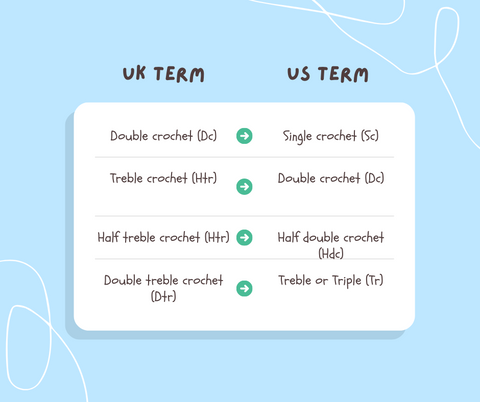
Double crochet (UK Treble)
Abbreviations: Dc (US) Tr (UK)
The Dc is one of the most common crochet stitches you will come across. It’s speedy and tall. Your work will grow quickly.
Chain 3 and turn. Yarn over hook, insert hook, yarn over and pull through a loop. Yarn over and pull through 2 loops. Yarn over and pull through 2 loops.
When making a turning chain, always chain 3.
Start your practice by making a square of dc. Start by chaining 15. (12 ch + 3 ch for turning ch)
To fasten off: Just pull the last loop through and cut!
Beginner crochet has its hiccups. Here’s some troubleshooting:
- My piece is getting narrower.
This could be a tension issue e.g. when you chain, you are pulling too tight and creating small, impenetrable loops. It could also be that you are forgetting your turning chain at the end. Another possibility is that when you turn the work around, you aren’t crocheting into the 4th chain from the hook. Always check to make sure you are starting in the 4th chain from hook.
- My piece is getting wider.
The answer is usually that there are too many double crochet stitches either end. Sometimes when we turn the work around, we can miscount and put the next dc into the 3rd chain from hook, not the 4th. This then gives us an increase at the end of the work. For the first few rows, you really have to check where you are putting your hook. Count the amount of crochet stitches that you have too. Even the pros sometimes add an extra stitch without noticing!
- My stitches don’t look tall enough.
Make sure that you are following the dc instructions. Yarn over before inserting the hook every time.
- I can’t crochet into the chain,
This could be because your chain is too narrow. If you are pulling the yarn too tightly (common with beginners) you won’t be able to use the chain. Try loosening your grip or use a hook 1mm larger when chaining.
- My piece is starting to become rounded.
You are probably putting too many dc stitches into either end, and accidentally working into the sides rather than just across the top. Stop, take a deep breath and start again. Crocheting when you are tired or distracted isn’t worth it. Trust me! I’ve done it many times.
Master granny squares with these tips:
Tips:
- Crochet patterns are always written with abbreviations. Make yourself familiar with the glossary on a pattern, as it will explain what each abbreviation means.
- If preferred, you can keep track of where you are by marking each row/round with a pencil.
- Always check patterns to see if they are written using US crochet terms or UK crochet terms. It makes a big difference!
Materials needed:
- A 4mm crochet hook
- Scissors
- Darning needle
- 1kg of DK yarn. I have used Cygnet Pure Wool Superwash DK. (50g per ball)
For your granny square blanket, you will need:
- 5 balls of Navy for colour A. (250g)
- 2 balls of Gold for colour B (100g)
- 2 balls of lt. Grey for colour C (100g)
- 4 balls of Copper for colour D (200g)
- 7 balls of cream for colour E. (350g)
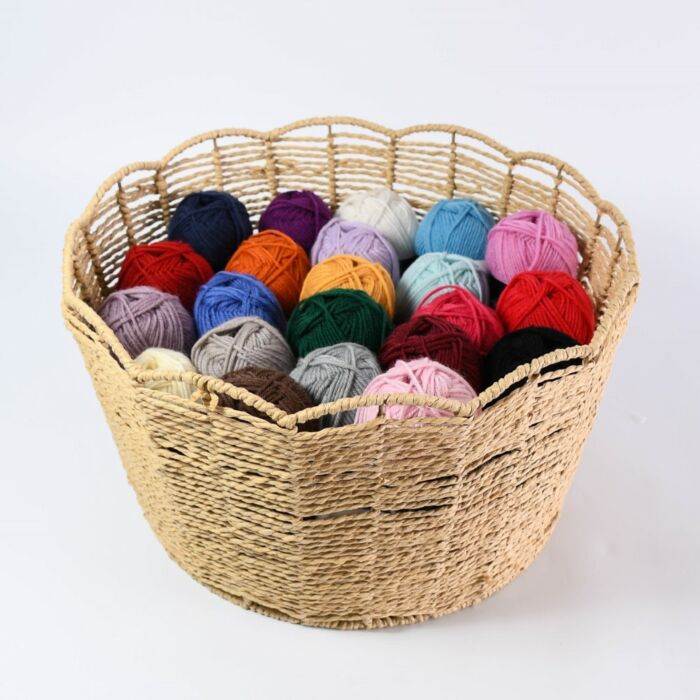
If you are going to substitute yarn brands, make sure that the meterage on the ball is the same or similar. Check out my article ‘The best granny square yarns’ to find the substitutes I recommend.
Glossary
Ch(ain) : Make a chain. Insert hook, yarn over and pull through loop.
Ch(ain) space
Dc: Double crochet. Yarn over hook, insert hook, yarn over and pull through 2 loops on hook. Yarn over and pull through 2 loops on hook.
Dc5tog: Yarn over as though to make a dc. Insert hook, yarn over and pull through 2 loops. Leave remaining loops on hook (2 loops), yarn over, insert hook, yarn over and pull through 2 loops. Leave remaining loops on hook (3 loops), yarn over, insert hook, yarn over and pull through 2 loops on hook leaving remaining loops on hook (4 loops) yarn over, insert hook, yrn over and pull through 2 loops, leave remaining loops on hook (5 loops) yarn over, insert hook, yarn over and pull through 2 loops on hook, leave remaining loops (6 loops) on hook. Yarn over, insert hook, yarn over and pull through all remaining 6 loops on hook.
Sl st: Insert hook into chain, yarn over and pull through. No height should have been added.
Part 2: Starting the squares
What you will need:
- Your chosen yarn in order of appearance. I have started with navy blue to match the blanket sample.
- 1 pair of scissors to cut the yarn.
- A 4mm crochet hook, or the right sized hook for your yarn.
Round 1:
- With colour A, chain 4 and sl st into the 1st chain (4th chain from hook) to make a ring.
- Chain 2 (counts as 1st dc). Yarn over hook. Work dc5tog into the ring.
This is your first bobble stitch cluster.
- Chain 2 (you may want to chain 3 if it seems too tight) and work 5dctog into the centre of the ring.
- Repeat two more times. Sl st into top of 1st dc cluster to close the round.
Round 2:
- Sl st across 1st dc cluster until you get to the 1st chain space.
- Using clasp weft join, or by tying colour B to the strand of colour A, yarn over and insert hook into the chain space.Make a dc 5tog.
- Chain 1 and work another dc5tog into the same chain space.
- Chain 2 (or 3 if it is too tight/short) and dc5tog into the next chain space. Chain 1 and work 5dctog into the same chain space.
- Repeat step 4 until you have 4 corners. Each corner should have 2 bobble stitch clusters. Sl st into the top of the first cluster to close the round.
Round 3:
At this point, you will now have to work a single crochet bobble stitch between corners. Look out for it!
- Using clasp weft join, or by tying colour C to the strand of colour B, yarn over and insert hook into the chain space.Make a dc 5tog. Chain 1 and work another dc5tog into the same chain space.
- Chain 2 (or 3 if it is too tight/short) and dc5tog into the next chain space. This should not be a corner.
- Chain 2. Make a dc 5tog. Chain 1 and work another dc5tog into the same chain space. Chain 2.
- Complete the round by repeating steps 7 and 8 until you finish the last corner. Sl st to join with the 1st bobble cluster of the round.
Round 4-6:
- Using clasp weft join, or by tying the next colour to the strand of the previous colour, yarn over and insert hook into the chain space.Make a dc 5tog. Chain 1 and work another dc5tog into the same chain space.
- Chain 2 (or 3 if it is too tight/short) and dc5tog into the next chain space. This should not be a corner.
- Repeat step 11 (Repeat once more for round 5 and twice more for row 6).
- Chain 2. Make a dc 5tog. Chain 1 and work another dc5tog into the same chain space. Chain 2.
- Complete the round by repeating steps 10 and 11 until you finish the last corner. Sl st to join with the 1st bobble cluster of the round.
- Using the border colour, chain 3 into the first chain space of the round. Make 2 more double crochet stitches.
- Dc into the top of every following bobble stitch, and dc twice into every chain space (2 dc for corner chain spaces).
- Sl st with the 1st dc of the round to close the square.
Repeat all steps a total of 24 times.
Joining your granny squares:
We join the squares using slip stitch (sl st) which is a crochet technique that you have learned already when making the granny square. The only difference here is that the slip stitches will become the seam rather than the end of a round.
When you use a slip stitch join, one side of the piece (right side) will lie flat and the other will have a ridge (wrong side) this is completely normal and is to be expected. Just make sure that you join all of your squares right side to right side and we won’t have a problem!
More help on joining squares is here.
Written instructions:
Place your two squares right sides together. The stitches should all lie parallel.
Working with outside loops only, sl st each st across to join. Make sure that you are only picking up the outside loops as this will affect the overall look of the square.
To join:. Starting at top right of the squares held together, insert your hook into the first outer loop of the square closest to you, picking up a loop. Insert your hook into the outer loop on the square furthest from you, picking up a second loop. 2 loops on hook. Now yarn over and pull through all 2 loops on hook. 1st slip stitch done.
Repeat this to the end ensuring that you have joined all stitches to the very corner of the square.
Join 4 squares together to make each panel. You should have 6 panels in total.
Making up:
You should now have 6 panels that consist of 4 squares each.
Join panels together using slip stitch. Take the time to ensure that all panels are right sides together when you are joining. The ridge should be on the wrong side of the blanket.
The finished blanket should be 4 squares wide and 6 squares long.
Border:
Working the border is simple. You do exactly the same as you do when you apply a border to each granny square.
The only difference is that you are making a dc into the dc below, just as you did when practising dc at the beginning.
- Using the border colour, join the new yarn and chain 3 (This is the first dc). Dc in every stitch to the end. Sl st to join the round.
Repeat once more,
You can make your border as thick as you want. I made mine with 2 rounds of navy blue, but I could have easily done 3 or 4.
You can now block the blanket if you wish. Just ensure that it lies or hangs flat, and pin the corners to sharpen their angles.
Weave in ends and enjoy!