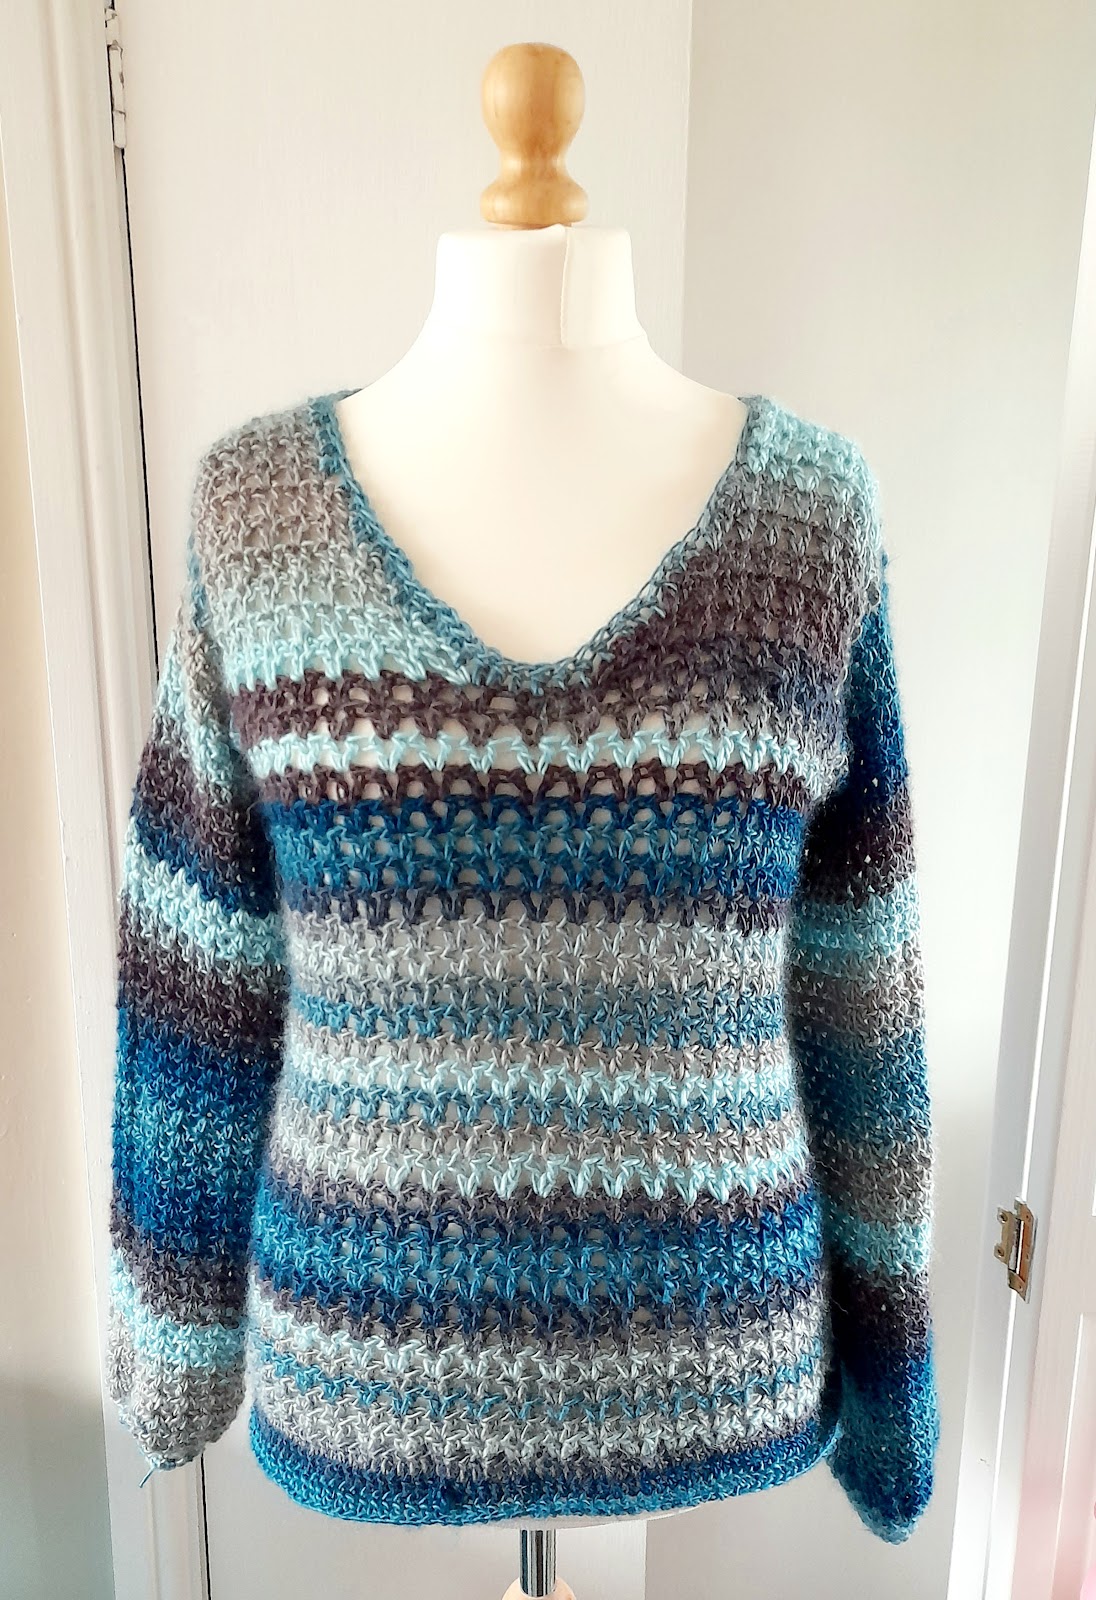
Learn how to make this satisfying v stitch sweater in the round.
This pattern is free with ads on this blog post. If you would prefer an ad-free download, you can get one here.
The Breeze top earns its name for two reasons: the air between the v stitches creates subtle openwork allowing your skin to breathe, while the process of v stitch ensures easy crochet.
V stitch crochet
Thanks to the v stitch, you can spend more time crocheting with air and less time working into the chain!
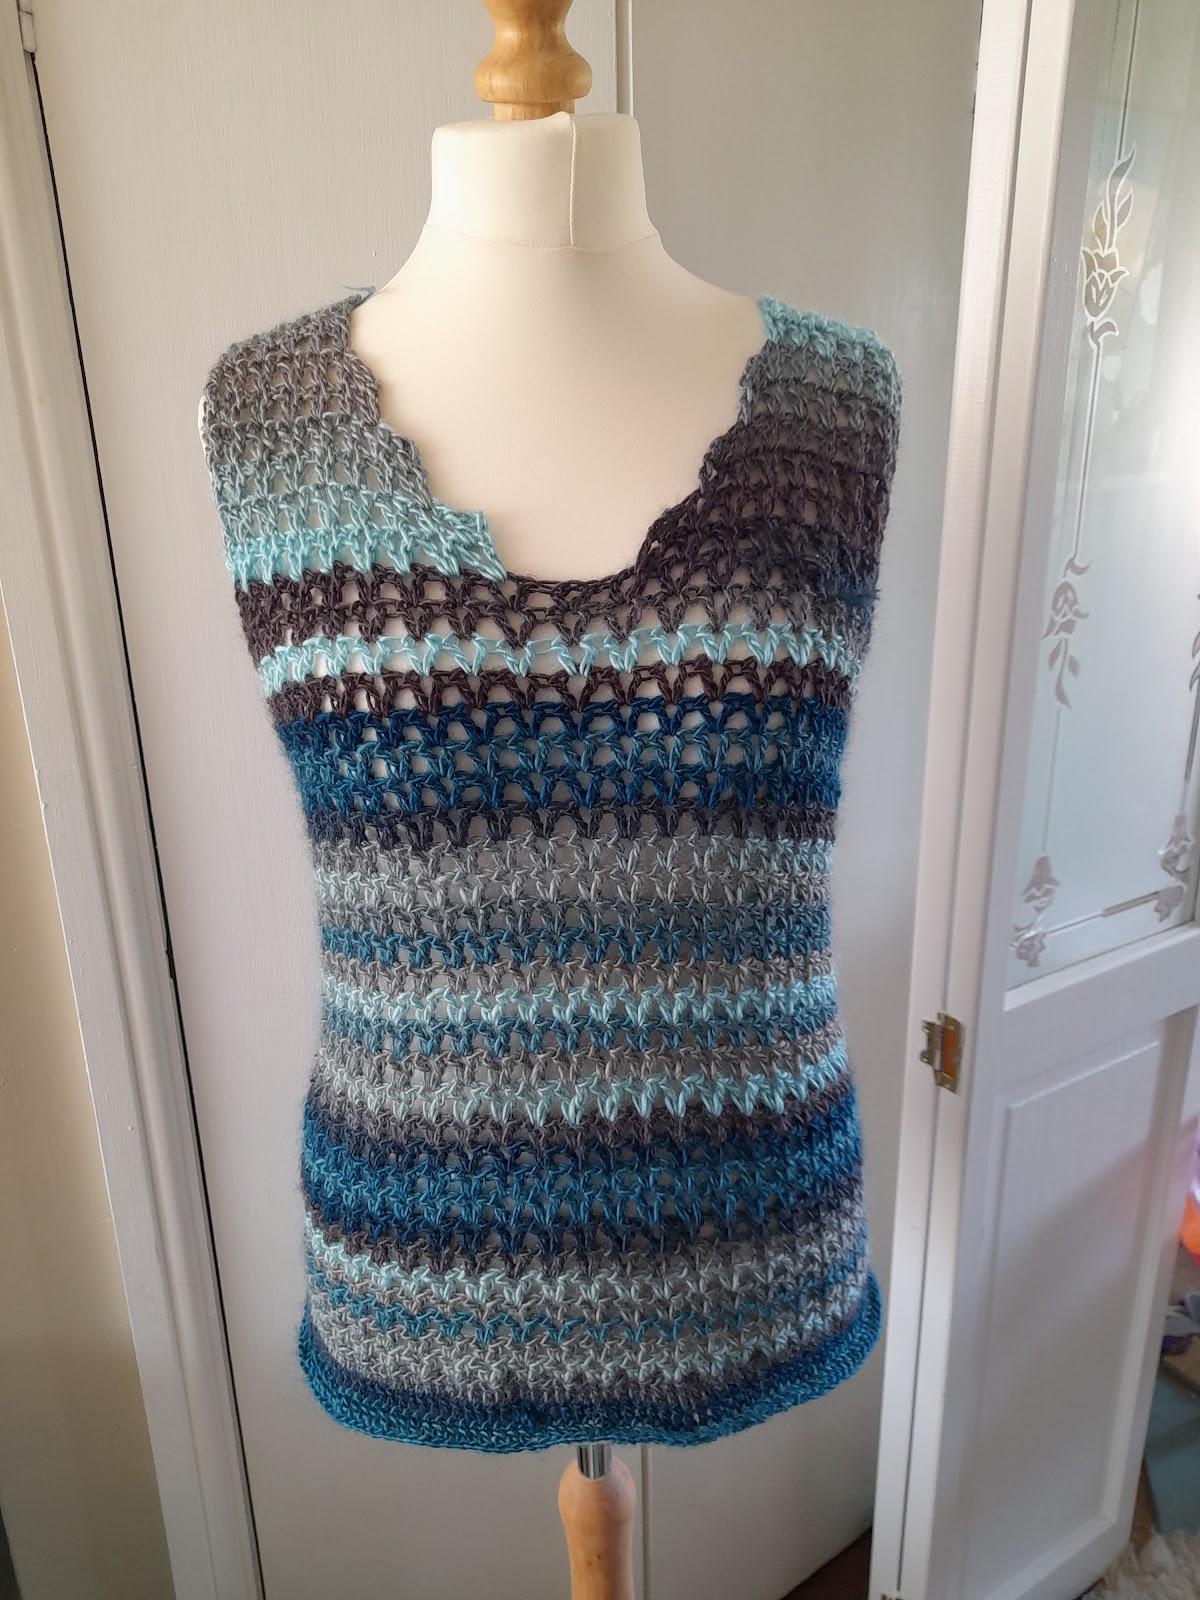
This sweater is available in seven sizes. Make it as a vest or as a long sleeved sweater.
This garment is constructed from the bottom up, with some flat work to shape the front and back neck. The sleeves are picked up and worked in the round.
I used Cygnet boho spirit yarn for this top, which is 100% premium acrylic, sleek and soft, with a subtle sheen. The self-striping quality of the yarn means you can have all of the colours without weaving in any ends! You can read more about the yarn here
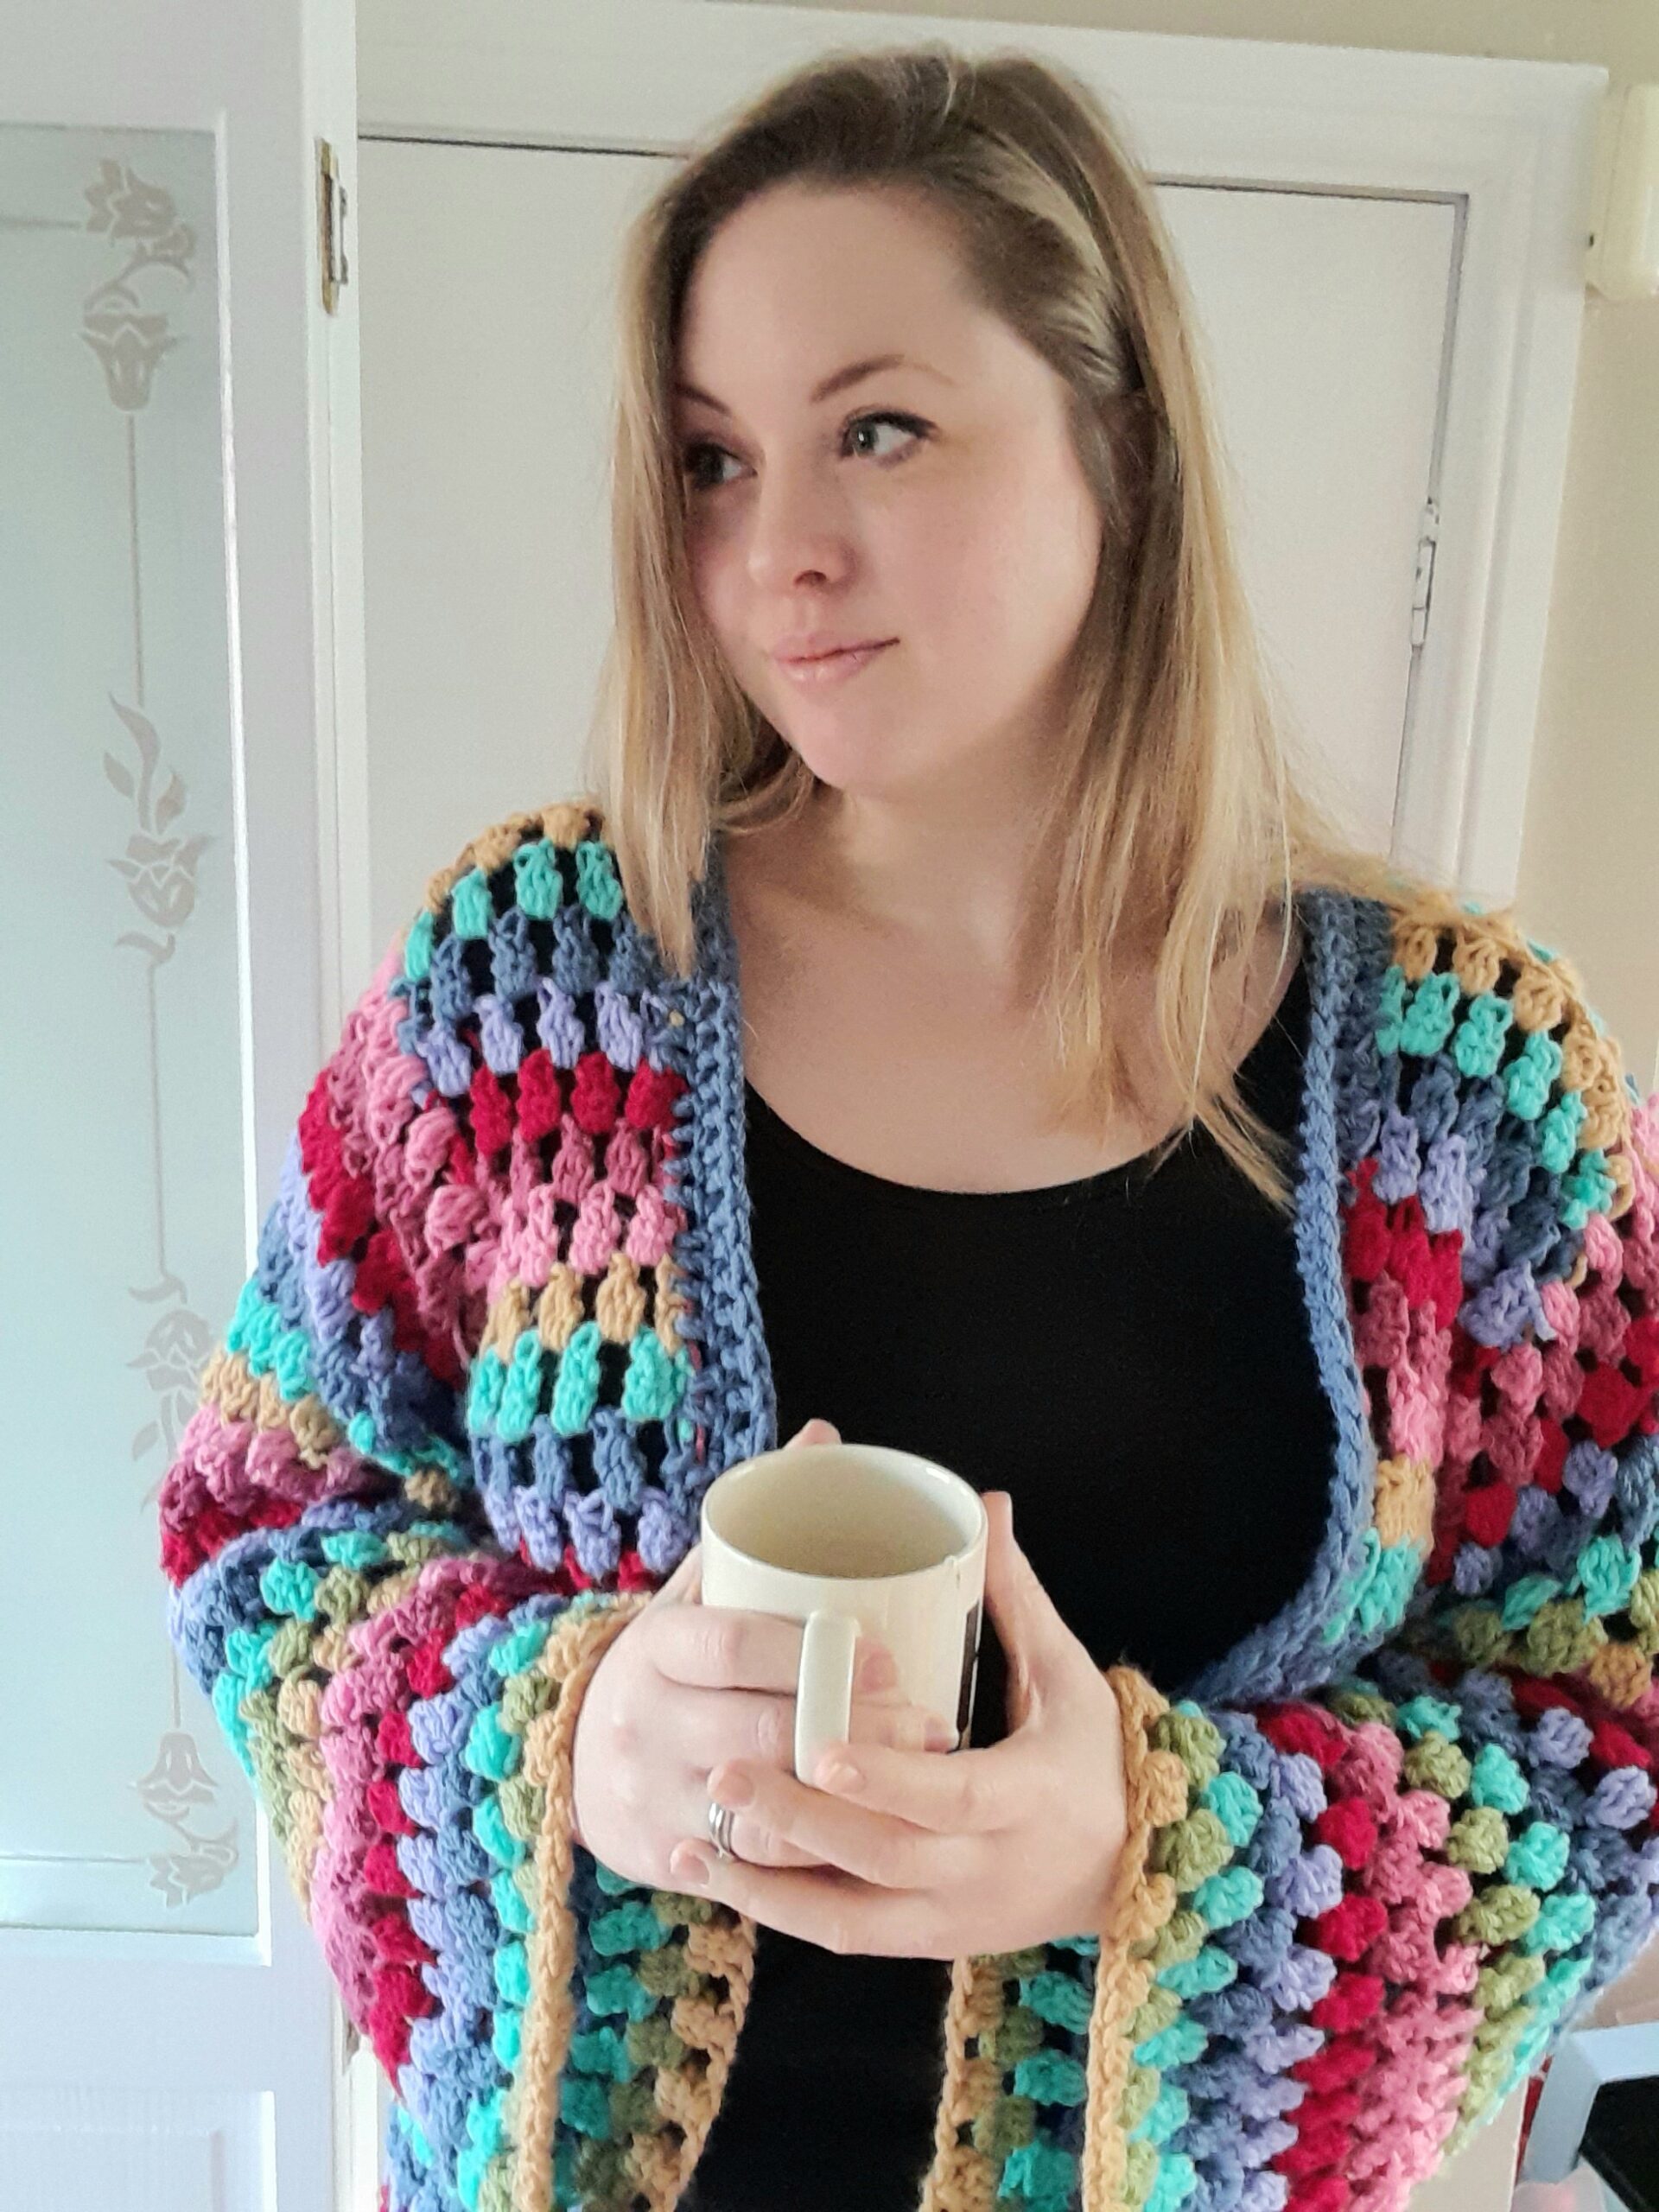
This garment has negative ease. It stretches to fit your proportions with the bust and hip being equal width. Sample shown is size XL on a UK size 14 (US 10/EU 42) mannequin.

The Breeze top earns its name for two reasons: the air between the v stitches creates subtle openwork allowing your skin to breathe, while the process of v stitch ensures easy crochet.
Thanks to the v stitch, you can spend more time crocheting with air and less time working into the chain!
This sweater is available in seven sizes. Make it as a vest or as a long sleeved sweater.
This garment is constructed from the bottom up, with some flat work to shape the front and back neck. The sleeves are picked up and worked in the round.
About the yarn
I used Cygnet boho spirit yarn for this top, which is 100% premium acrylic, sleek and soft, with a subtle sheen. The self-striping quality of the yarn means you can have all of the colours without weaving in any ends!
This garment has negative ease. It stretches to fit your proportions with the bust and hip being equal width. Sample shown is size XL on a UK size 14 (US 10/EU 42) mannequin.
Glossary of crochet stitches
| Ch | Chain | The chain is the loop where you insert your crochet hook. Chains also make the first stitch of the row. Make a slipknot, yarn over and pull through the loop. This creates a chain. |
| Ch sp | Chain space | The space or gap that has been created by stitches in the previous row. |
| Dc | Double crochet | Yarn over, insert hook, yarn over and pull through. Yarn over and pull through 2. Yarn over and pull through 2. |
| RS | Right side(s) | The side of the fabric that is to be shown worn on the person, on the outside of the finished garment. |
| Sk | Skip | Skip as instructed. |
| Sl | Slip stitch | Insert hook, yarn over hook, pull through all loops. |
| St | Stitch | The stitch: e.g. double crochet, v stitch. |
| V st | V stitch | Make a double crochet into the chain or chain space, chain 1 and make another double crochet into the same chain or chain space. The two dc stitches create a ‘V’ shape. |
US terms are used throughout this pattern. If you need a reminder, you can use my crochet terms guide here.
Sizes are colour coded for your convenience: S, M, L, XL, 2XL, 3XL, 4XL
In parts where size is not mentioned, this means that the instructions are the same for all sizes e.g. cuff and edging.
You can adjust the length of the garment at the waist and sleeves by removing/adding 1 or 2 rows/rounds. 1 row is 1 in/2.5cm.
Measurements
| Bust measurement | Finished measurement | Full back length | Sleeve | Yarn (per 100g ball) |
| S/32in/72cm | 33in/84cm | 21.5in/55cm | 20.5in/52cm | 4 |
| M/34in/862cm | 35in/90cm | 22.5in/57cm | 21in/54cm | 4 |
| L/36in/91cm | 37in/94cm | 22.5in/57cm | 21in/54cm | 5 |
| XL/40in/120cm | 39in/98cm | 24.5in/62cm | 21in/54cm | 5 |
| 2XL/44in130cm | 40in/102cm | 25.5in/65cm | 22.5in/56cm | 6 |
| 3XL/48in/140cm | 42in/106cm | 25.5in/65cm | 22.5in56cm | 6 |
| 4XL/52in/133cm | 45in/114cm | 26in/66cm | 22.5in56cm | 6.5 |
Materials:
- Worsted weight yarn such as Cygnet Boho Spirit (240m/262 yds per 100g/3.5oz ball; 100% Premium Acrylic) 4/4/5/5/6/6/6.5 balls.
- 5mm (H) crochet hook, or size needed to obtain gauge
- Tapestry needle
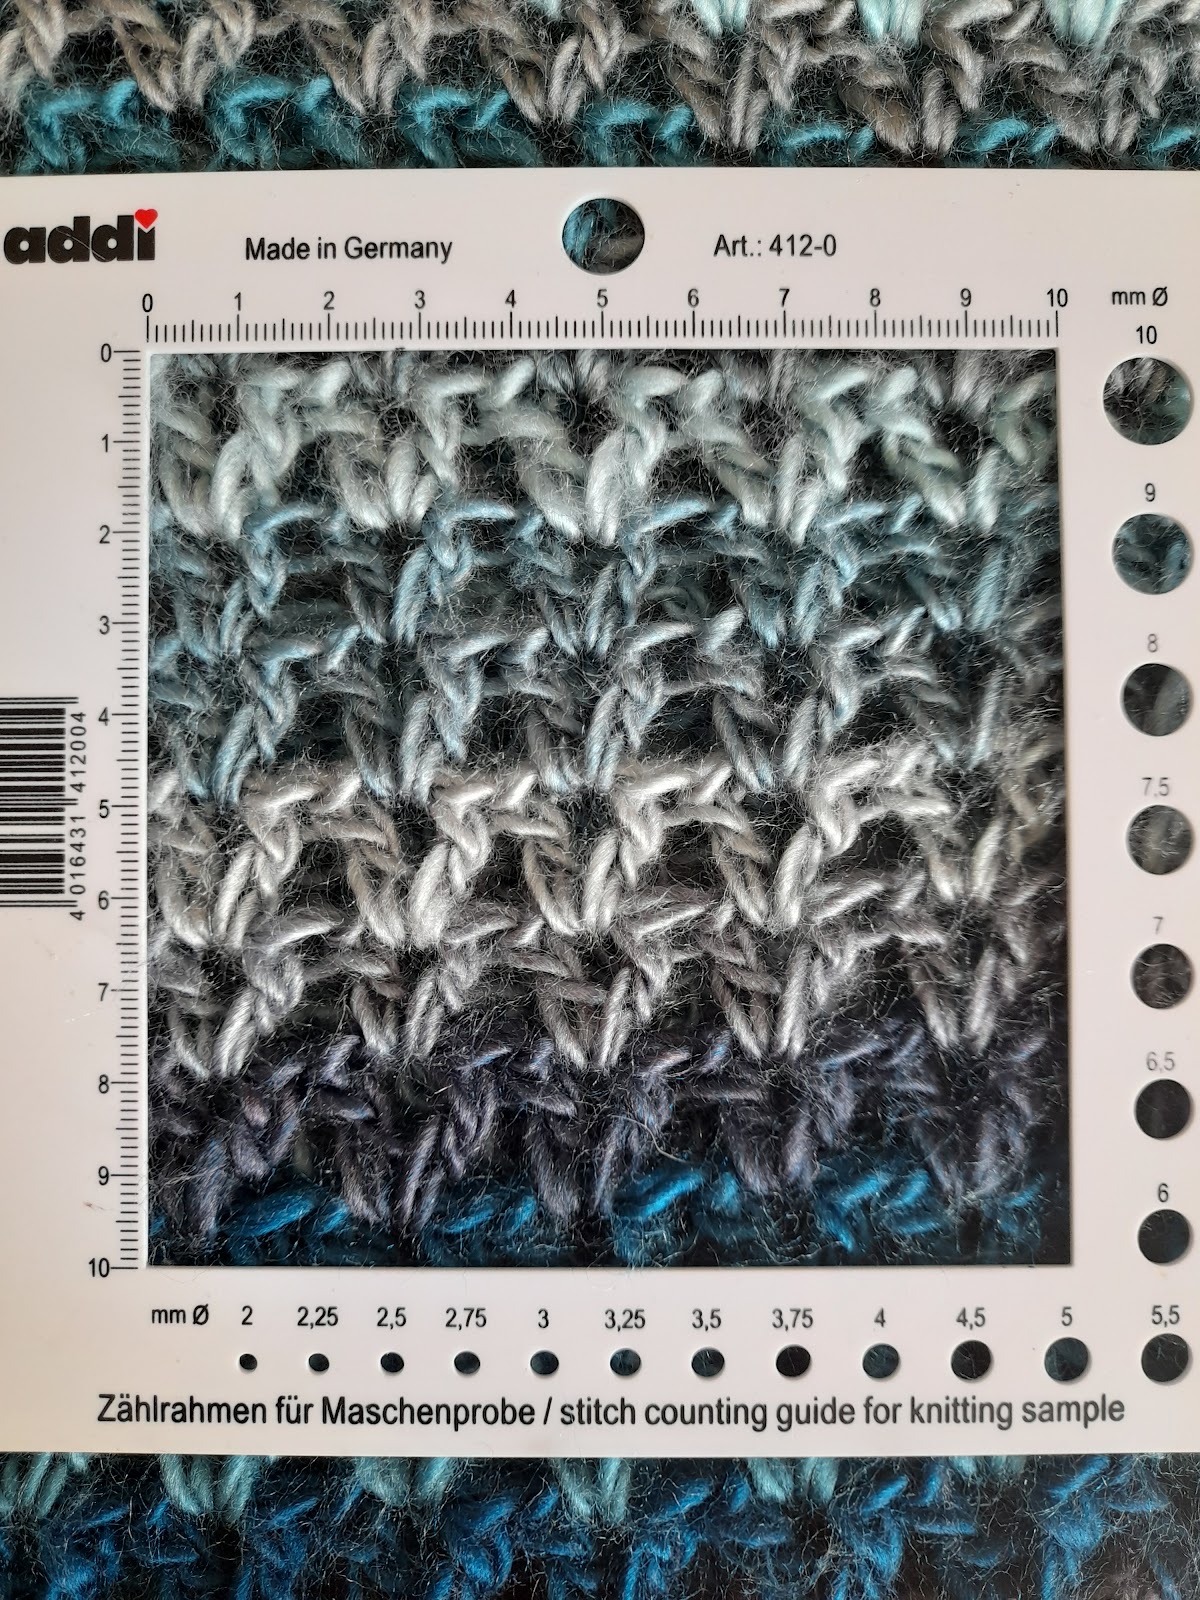
Gauge:
5 v sts and 6 rows to 4”/10cm on 5mm (H) crochet hook.
Body:
Ch 123/135/141/147/153/159/171, sl 1st ch and last ch to join in the round.
Ch 2 (counts as 1st dc st) and dc in every ch, taking care not to twist sts. Sl to join in the round.
Repeat last row 2/2/2/3/3/3/3 more times.
V stitch rounds
Round 1: Ch 4 (counts as 1st half of v st), dc in 5th ch from hook. (1 v st completed). *Sk2, v st in next st; repeat from * to end. Sl to join the round. 41/45/47/49/51/53/57 v sts.
Round 2: Ch 4, dc in first v ch sp (counts as 1st v st). *V st in every v ch sp around; repeat from * to end. Sl to join the round.
Repeat round 2 for 18/20/20/22/22/22/23 rounds, or until body measures 38/40/42/44/44/44cm (15/16.5/16.5/17/17/17/17.5in).
19/21/21/23/23/23/24 rounds in total.
Split for front/back
There will be an even number of v sts at the back of the garment and an odd amount of sts at the front. This is because 1 v st will be left unworked in the centre front to help shape the v neck. If it helps, place a removable marker on the centre front v st. Divide the body in half.
Back (worked flat)
Row 1 (RS)- Ch 4 (counts as 1st half of v st), dc in 5th ch from hook. Work 15/17/17/17/17/19/21 more v sts. Turn. (16/18/18/18/18/20/22 v sts in total) 4/4/5/6/7/6/6 sts isolated for armholes on either side of the piece.
Work 8/8/8/8/9/9/9 more rows. Turn
Back neck shaping
Work 5/6/6/6/6/7/7 v sts. Fasten off. Sk 6 sts for neck, rejoin and work 5/6/6/6/6/7/7 v sts to end. Fasten off.
(10/10/10/10/11/11/11 rows in total).
Front:
Sk 4/4/5/6/7/6/6 v sts and reattach yarn. Work 17/19/19/19/19/21/23 v sts. Turn
Left front shaping:
Work 8/9/9/9/9/10/11v sts. Turn, leaving 9/10/10/10/10/11/12v sts unworked.
Ch 4 and dc in 5th ch from hook (counts as 1st v st). V st to end.
Neck shaping
Row 1- Ch 4 and dc in 5th ch from hook (counts as 1st v st). Work 6/7/7/7/7/8/9 v sts, leaving 1 unworked. Turn.
(7/8/8/8/8/9/10 v sts total)
Row 2- Ch 4 and work v st to end. Turn.
Work last 2 rows until there are 5/6/6/6/6/7/8 v sts remaining.
Work even for 2/2/2/2/2/2/2 rows.
10/10/10/10/11/11/11 rows in total.
Fasten off. Cut yarn.
Right front shaping
Rejoin yarn at marker 4. Work 8/9/9/9/9/10/11 v sts. Turn, leaving 1 st unworked in centre front.
Row 1- Sl across 1 v st, v st in next 7/8/8/8/8/9/9 v sts. Turn. (7/8/8/8/8/9/9 v sts total)
Row 2- Ch 4 and work v st to end. Turn.
Work last 2 rows until there are 5/6/6/6/6/7/8 v sts remaining.
Work even for 2 rows.
10/10/10/10/11/11/11 rows in total.
Fasten off. Cut yarn.
Neck after shaping.
Join shoulder seams
With sl st join or a tapestry needle, join the shoulder seams.
Collar
With new yarn, join at the top right of the v neck and ch 3. Dc in centre of every horizontal dc when working down the right side of the neck, dc in top of every dc and centre of every v when working across the centre front, and in the side of every dc working back up the left side. Finally, work a dc into the centre of every v and top of every dc across the back of the neck. Sl st to join the round. Fasten off.
Vest- armholes
Reattach yarn and work armhole as follows:
At this point you will be working into the side of the dc sts or the ch sp created by a v st on its side.
Ch 4, dc in same ch (counts as 1st v st), sk 1 ch sp (or side dc). V st, sk 1 ch sp, v st, *sk 1 ch sp, v st; repeat from * to end. Sl to join the round.
Sleeves:
At this point you will be working into the side of the dc sts or the ch sp created by a v st on its side.
Reattach yarn and work armhole as follows:
Ch 4, dc in same ch (counts as 1st v st). V st another 24/24/25/25/25/26/26 v sts evenly across armhole. Sl to join the round.
Next round and every following round:
Ch 4, dc in same ch. V st in every v ch sp around. Sl to join the round.
Continue until sleeve measures 48/50/50/50/52/52/52cm (19/20/20/20/21/21/21in). 24/25/25/25/26/26/26 v sts
Cuff
4 rounds of dc in total. Try the sleeve on to see if you would prefer a longer or shorter cuff.
- Sl st and ch 2, dc into every ch around. Sl st to close round.
- Ch 2, *dc in next 2 sts, sk 1; repeat from * to end.
- Dc in every dc.
- Repeat round 3 once more.
Fasten off. Cut yarn.
Finishing
Fasten off. Weave in ends and enjoy.

If you loved this v stitch sweater pattern, let me know in the comments! happy hooking!