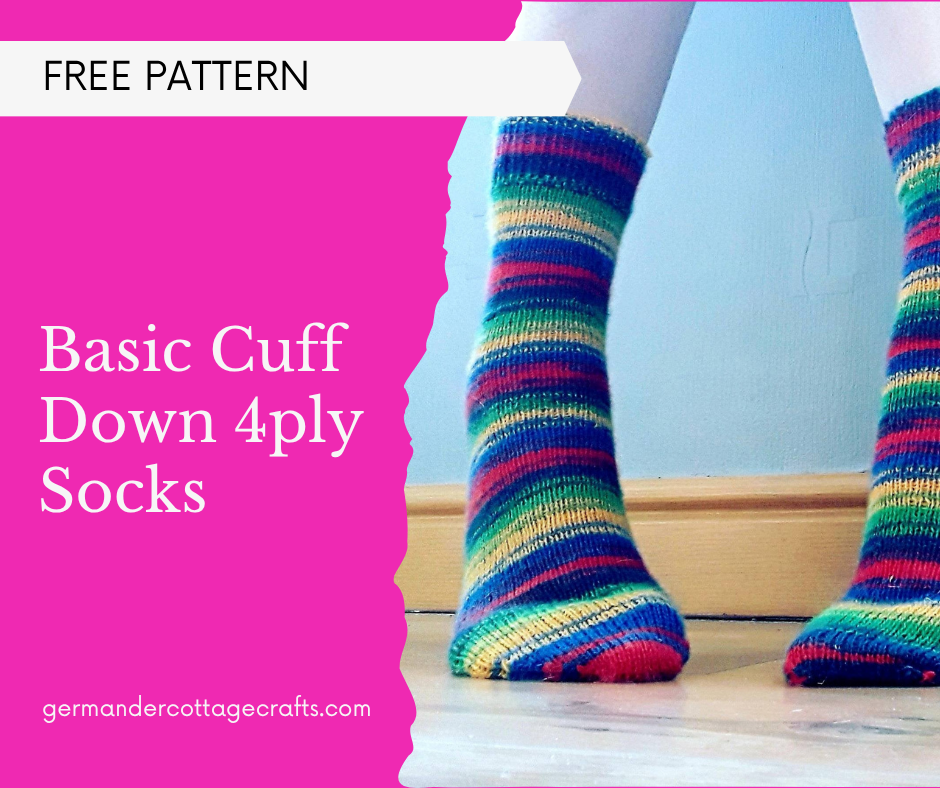
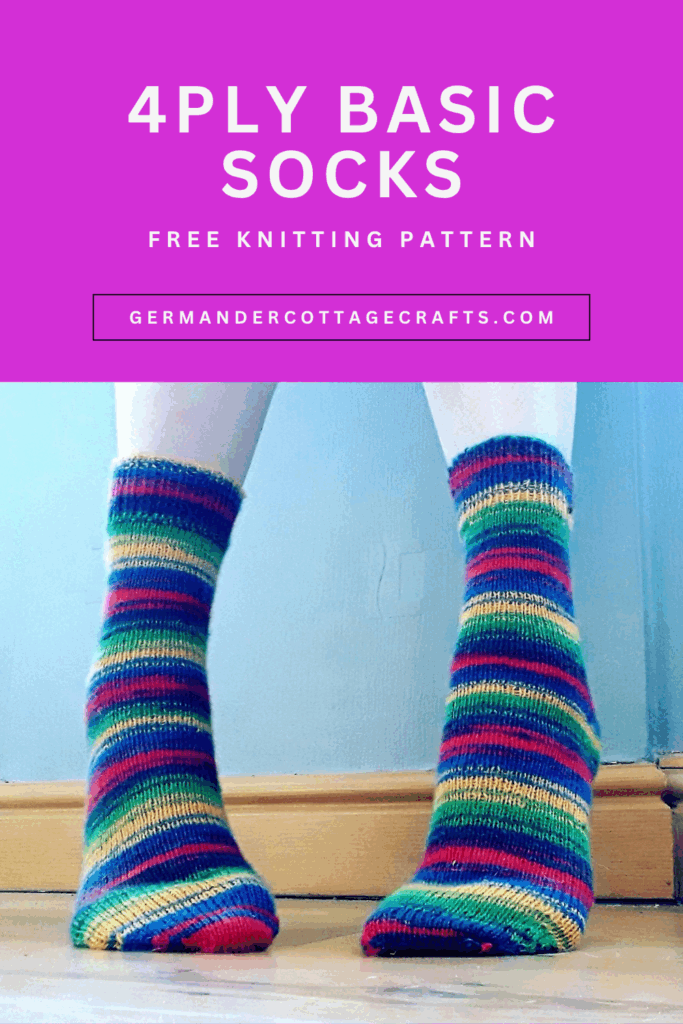
The Andalusian stitch is one of my favourite stitches. It’s elegant, detailed and this is without having to do anything particularly complicated. This is a simple knit and purl stitch, and even someone trying socks for the first time could do this pattern. This sock pattern comes in three sizes and covers most adult foot sizes. Please make sure you measure around your foot before proceeding. Socks have negative ease, meaning they may seem small but that’s because they need to stretch to stay in place!
Here’s a quick description of what the andalusian stitch actually is:
Rounds 1-3: K all sts.
Round 4: *P1, K1; repeat from * to end.
This is the Andalusian stitch pattern.
The Andalusian stitch socks are a simple, detailed sock design that are perfect for intermediate knitters looking to experiment with more textured detail.
This pattern is available for free with ads, or, if preferred, you can get a handy PDF from Ko fi or Ravelry.
This article does contain affiliate links, meaning that if you decide to purchase via the links, I earn a small commission.
These are adult socks worked in the round from the cuff down. The textured Andalusian stitch pattern requires only knit and purl stitches to create a broken rib effect. I used a semi solid colour to emphasise the texture of both the sock and the heel. The heel is shaped using increases and decreases, and the toe is grafted together using the kitchener method.
For this sock pattern, I used High Twist Sock by Little Grey Girl Yarns (75% Superwash Merino & 25% Nylon) – 425m/465yd per 100g/3.5oz. Sample shown in the Avenell colorway, and it costs around £20. As this was a hand dyed yarn, sometimes the exact match won’t be available. Here’s a list of suitable alternatives to suit your budget:
Other yarns to use for this pattern according to budget.
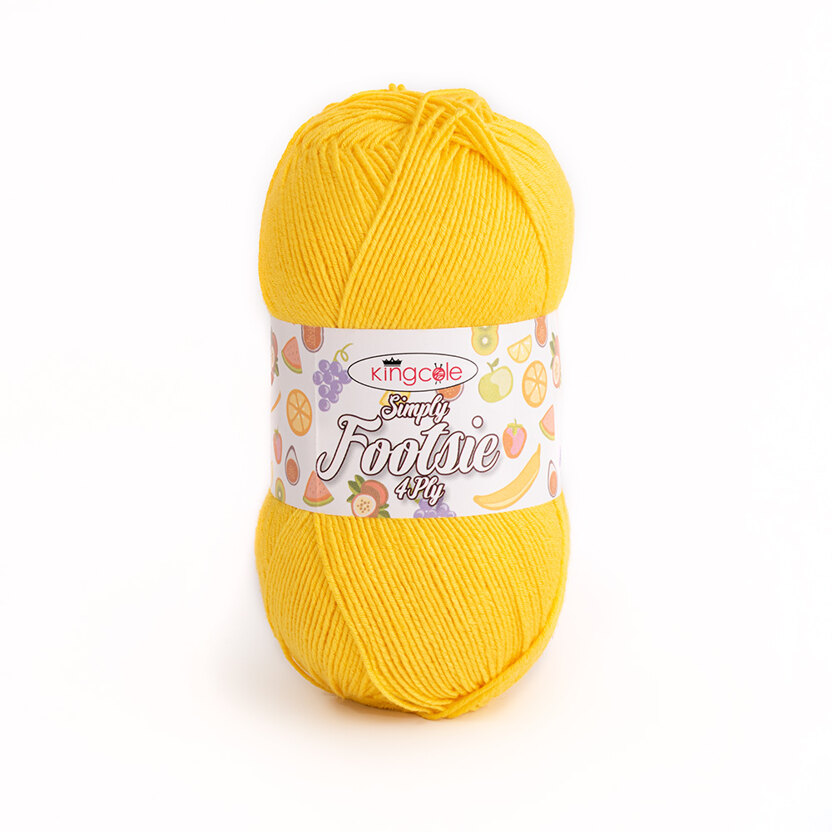
King Cole Footsie 4ply: This 4ply sock yarn comes in a limited colour palette but it is only £5.54 ($7.40USD) per ball. You get a whopping 430m per ball, too. It’s excellent value and as it’s a solid colour, you’ll be able to see the stitches clearly! King Cole Footsie 4ply is a 100% synthetic yarn (93% acrylic, 7% other), so if you’re not fussed on wool or can’t wear it, this sock yarn is a better choice.
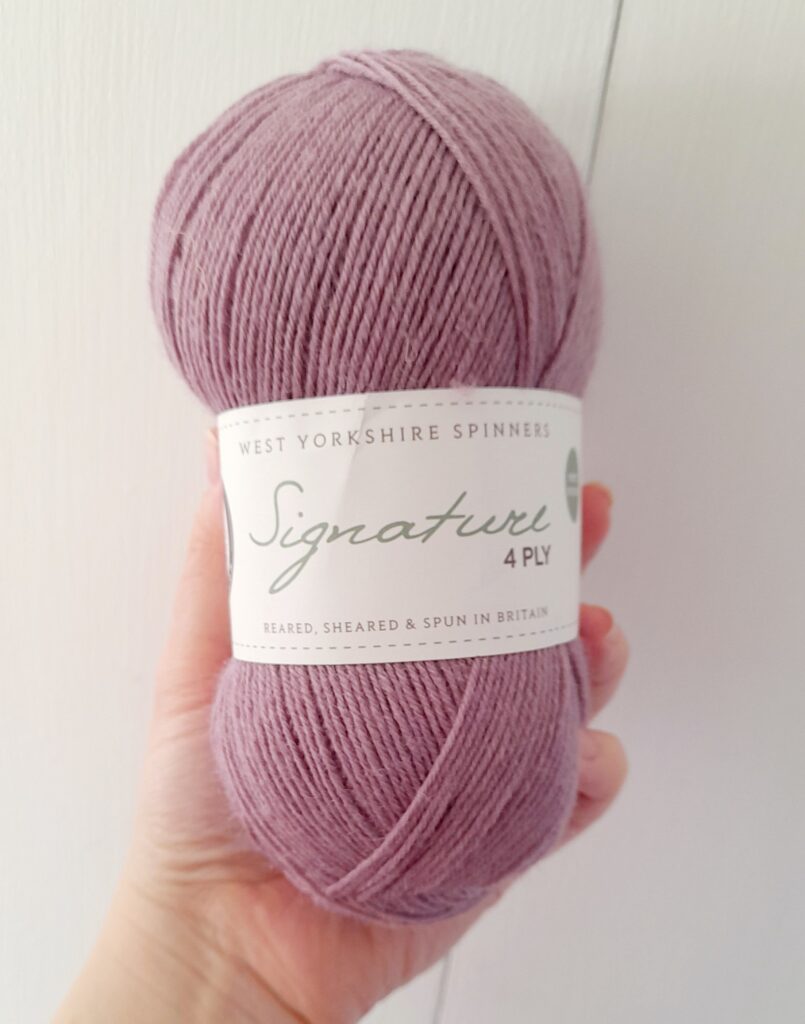
West Yorkshire Spinners Signature 4ply: This yarn would work in a solid or self striping colourway. The yarn amount is the same and the gauge will be similar too. It’s not as ‘shiny’ as some hand dyed socks are, but the wool is still soft and incredibly comfortable. The crispness of the wool would ensure excellent stitch definition in this pattern particularly. I would recommend a colour like Poppy Seed, Pennyroyal or Fuchsia. Pennyroyal is pictured below.
West Yorkshire Spinners Signature 4ply costs between £7.50 and £9
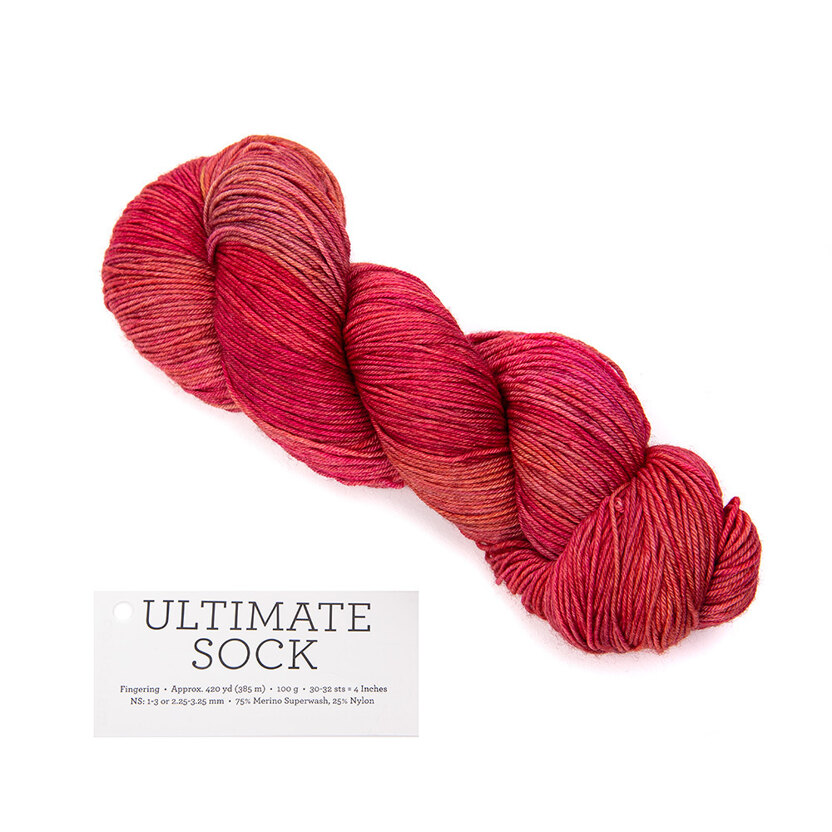
Malabrigo Ultimate Sock: This 4ply yarn is at the more luxurious end of sock yarns. It’s 75% merino wool, so is very soft with that slight sheen. It is also hand dyed, so would look lovely with the texture of this sock pattern. It comes in a range of colours and is proced at or around £17.99, but one skein will do.
The colour shown below is Zinnias (658).
To make these socks, you will need to be familiar with the square heel. There’s a step by step photo tutorial here and a video below.
How to knit the Andalusian stitch socks.

Glossary
DPN: Double pointed needles
K: Knit
K1, P1 rib: Knit 1 stitch, purl one stitch
K2tog: Knit two stitches together
M1L: Pick up the bar between the stitch you have just knitted and the one you are about to knit, bringing the needle from the front to the back. Knit into the back of the stitch.
M1R: Pick up the bar between the stitch you have just knitted and the next stitch, bringing the needle from the back to the front. Knit into the front.
P: Purl
P2tog: Purl two stitches together
PM: Place marker
PSSO: Pass slipped stitch over the knitted stitch.
RS: Right side
SKP: Slip one, knit one, PSSO
SL: Slip stitch
SM: Slip marker
St(s): Stitch(es)
WS: Wrong side
Gauge
35 stitches and 52 rounds = 10cm/4in using 2.5mm (US 1.5) needles
Materials
- High Twist Sock by Little Grey Girl Yarns (75% Superwash Merino & 25% Nylon) – 425m/465yd per 100g/3.5oz. Sample shown in the Avenell colorway.
- Darning needle
- 4 stitch markers
- 2.5mm (US 1.5) circular (80cm/32in cable for magic loop) or DPNs or size needed for gauge.
if you don’t have any suitable needles yet, I have a handy blog post here about DPNs, and one about circular needles to help you choose.
Leg/foot circumference
Size 1: 6.5 in/16cm
Size 2: 7.5 in/18cm
Size 3: 8in/21cm
The Pattern
Cuff
Loosely cast on 56 (64 72) sts, join to work in the round, being careful not to twist sts.
Work in 1×1 twisted rib for 2.5cm/1in.
Starting the leg of your andalusian stitch socks:
PM after the first 28 (32 36) sts to establish halfway point.
Rounds 1-3: K all sts.
Round 4: *P1, K1; repeat from * to end.
This is the Andalusian stitch pattern.
Repeat Rounds 1-4 until leg measures 18cm/7.25in from cast on.
Shaping your square (Dutch) sock heel.
When working the heel, continue in the Andalusian stitch pattern for the stitches after the halfway marker. The heel and the underside of foot will be in knit stitch from now on.
Round 1:
M1R, PM (marker 2) and K 28 (32, 36) stitches, PM (marker 3) and M1L, SM (marker 1). Work Andalusian st pattern to end of round.
Round 2:
K to halfway marker, Andalusian st pattern to end of round, slipping markers as you come to them.
Rnd 3:
K to marker 2, M1R, SM, K 28 (32, 36) sts, SM and M1L, SM. Work Andalusian st pattern to end of round.
Repeat Rounds 2 and 3 until you have created 20 (22, 24) sts.
Turning the heel of your sock:
Working only with the first 48 (54, 60) sts continue as follows:
Short row 1: (RS) K to marker, SM, K 17 (20, 23) sts, SL1, K1 PSSO. This will now be referred to as SKP. Turn.
Short row 2: (WS) P 7 (9, 11) sts, P2tog. Turn.
Short row 3: (RS) K to 1 st before the gap which has formed, SKP. Turn.
Short row 4: (WS) P until 1 st before gap, P2tog. Turn.
Repeat Rows 3 and 4 until there are 28 (32, 36) sts between the beginning of the round and the halfway marker (marker 1). This was the amount that you started with and your work should be RS facing with marker 2 on your right hand needle. 56 (64, 72) sts in total.
Set up in the round:
Rnd 1:
Remove marker 2. Insert needle as though making a M1R but instead of knitting, SL the twisted st on to right hand needle. K1 and PSSO. K to marker 3, remove marker 3, insert needle as though making a M1L but slip the twisted stitch onto left hand needle and K2tog. SM, K to end.
Foot:
K to halfway marker, Andalusian pattern to end of round until foot measures 2.5cm/1in less than desired length.
Toe
Rnd 1: *SKP, K to 2 sts before marker, K2tog; repeat from to end. (4 sts decreased in total)
Rnd 2: K to end of round.
Repeat Rounds 1 and 2 until you have 36 (36, 40) sts in total.
THEN, decrease on every round until you have 20 (20, 24) sts in total. Remove marker 1.
Finishing
Using kitchener method, graft the remaining sts together to close the toe. Weave in ends.
Thanks for using my andalusian stitch sock knitting pattern. Did you make a pair? Let me know in the comments. If you’d like, you can send me a photo of the socks and I’ll post them in the projects gallery here!