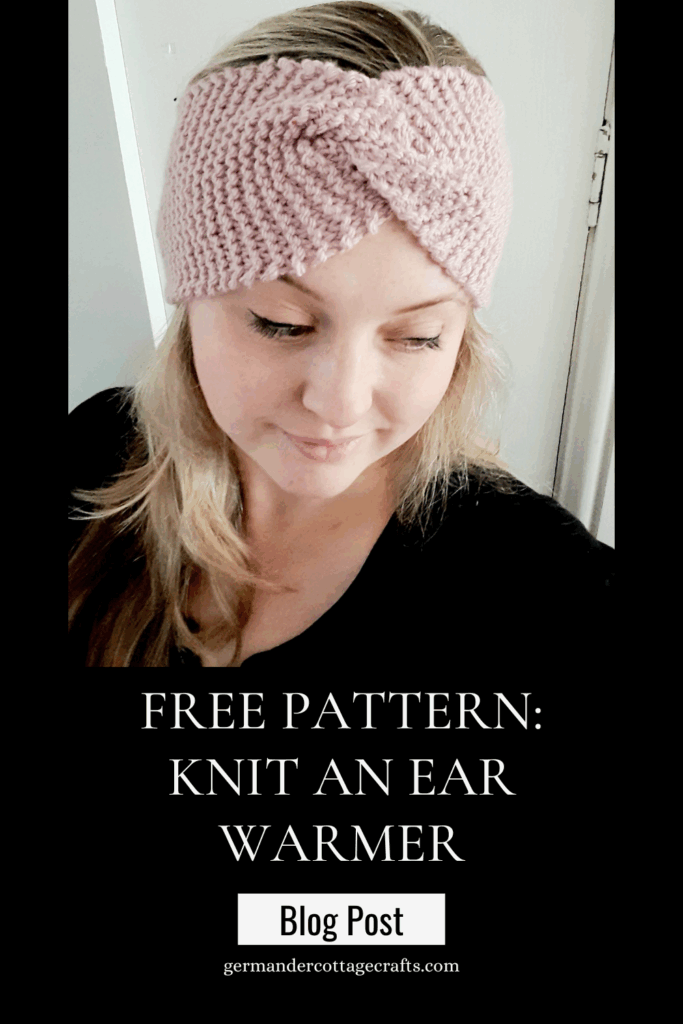
Beginner-friendly tutorial showing you how to knit an ear warmer. This really simple design is also perfect for knitters looking to get through their stash.

Need a quick gift for a friend? Knit an ear warmer!
Need to practice casting on and casting off, but you don’t want to knit something tedious like a long scarf? Knit an ear warmer!
Do you just want a quick, satisfying project? Knit an ear warmer.
You get my point. In this tutorial I will talk you through how to cast on, knit garter stitch and cast off.
What you’ll need for this project:
- Aran weight yarn. I used Kiddies Supersoft Aran in Blush. You will need approx. 50g of yarn no matter which brand you choose.
- 5mm needles. In the tutorial, I’ve used 5mm circular needles (short, straight needles with a cord connecting them) but any needles are fine. Most beginners use straight needles.
- Scissors, for cutting your yarn at the end.
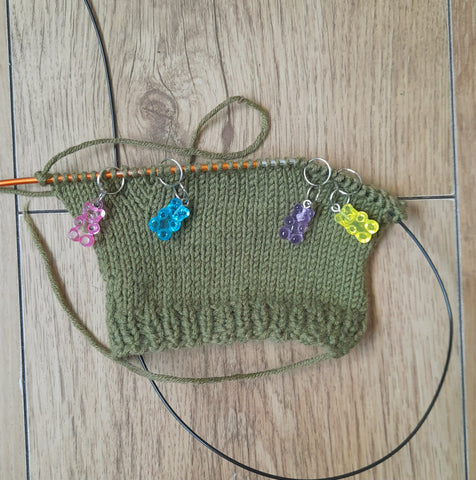
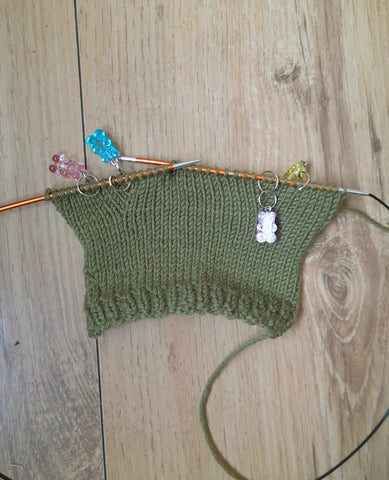
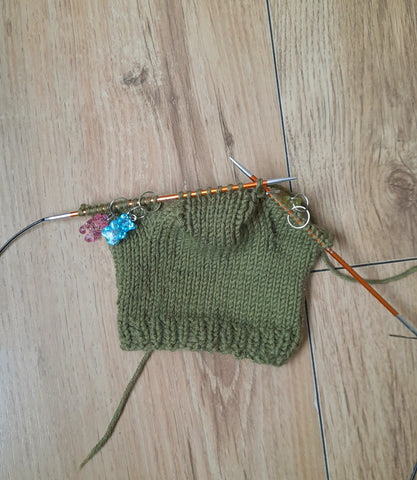
How to knit an ear warmer:
This is a beginner pattern, meaning anybody who knows how to cast on and knit can make this item.
Help! I don’t know how to do these things.
Here’s a video showing you how to cast on. I use a cast on called the backwards loop method. This is the method that I was taught. If you don’t like this style of cast on, there are many others that you can try before you settle on what feels comfortable for you.
Written instructions for this cast on:
- Take the tail end between your thumb and forefinger in your right hand.
- With your left hand, take the working yarn between your thumb and forefinger.
- Drape the yarn over the top of your next three fingers and round again so that the yarn just overlaps slightly.
- Turn your hand towards you.
- With your other hand (keep hold of the tail end), insert your knitting needle into the loop that is sitting across the top of your three fingers.
- Pull the working yarn to tighten the loop over the needle.
- Repeat to end.
Here’s how to knit the garter stitch. The garter stitch is the one we use to knit this ear warmer.
- Cast on the desired amount of stitches. In this video I have cast on 18 stitches.
- Insert the right hand needle into the front of the first stitch (it looks like a loop at this point) on the left hand needle.
- Take the working yarn and wrap it around the back of the right hand needle and bring it down towards you so that it will sit between the left hand and right hand needle.
- Insert your right hand needle back into the stitch and pull the stitch over the tip of the left hand needle onto the right hand needle.
- Repeat to end.
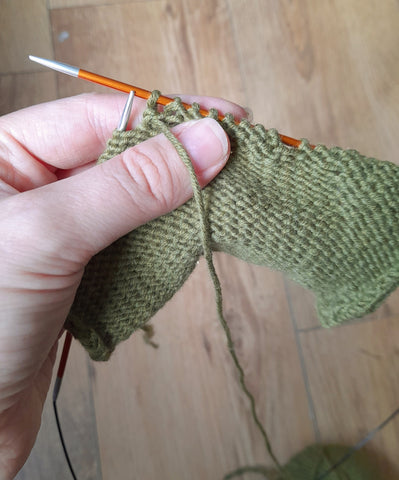
How to cast off:
Written instructions for cast off:
Casting off is pretty straightforward as long as you bear this in mind: If your tension is too tight when you cast off, you need to use a needle that is at least 0.5mm thicker. If your tension is too loose, use a smaller needle.
Instructions:
- Knit 2 stitches.
- Using the left hand needle, pass the 1st stitch over the 2nd stitch on the right hand needle. 1 stitch remains on the right hand needle.
- Knit 1 stitch from the left hand needle. 2 needles remain on the right hand needle.
- Using the left hand needle, pass the 1st stitch over the 2nd stitch on the right hand needle. 1 stitch remains on the right hand needle.
- Repeat step 3 and 4 to end.
Now that you’ve learned how to cast on, knit and cast off, here is the pattern for you to follow!
Knit an ear warmer:
Cast on 18 sts
Knit every row until piece measures 4 inches (10cm) less than your head width:
- If your head measures 21 inches, Knit to 17 inches.
- If your heard measures 22 inches, Knit to 18 inches.
- If our head measures 23 inches, Knit to 19 inches.
Cast off.
Placing right sides together, fold the piece in half lengthways and then pinch each end so that they’re halved widthways. Slot the folded pieces together to create 4 layers and an S shape. Sew up all 4 layers together.
Cut yarn and fasten off. Turn right side out and admire your handiwork.
See the full video below to see a demonstration of the pinched twist and the finishing.