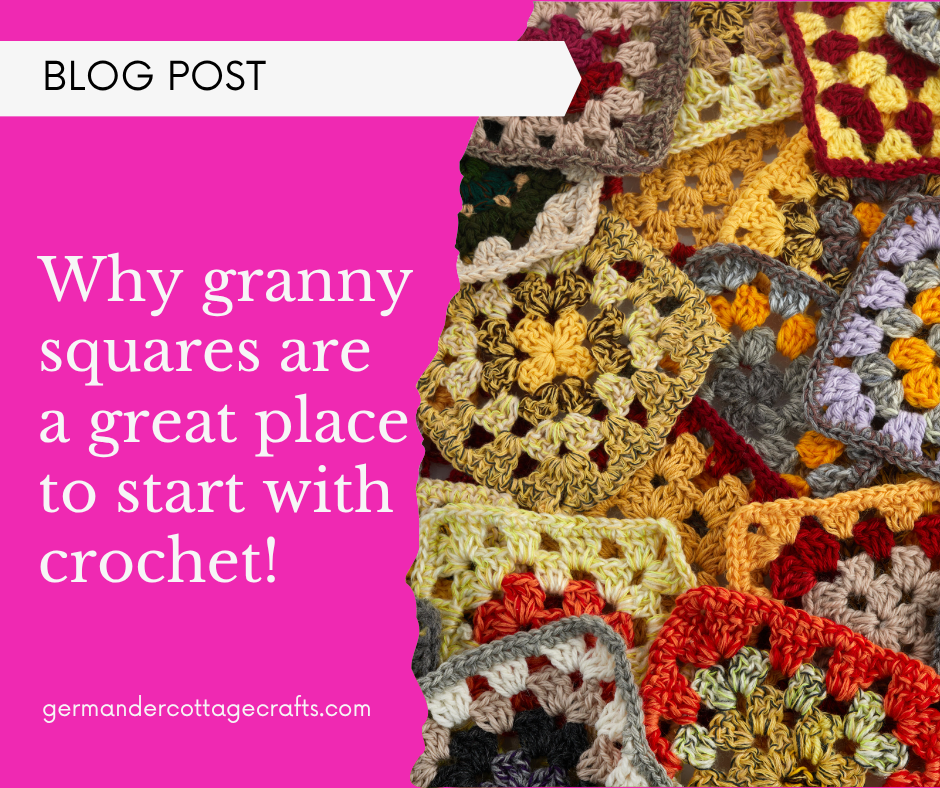
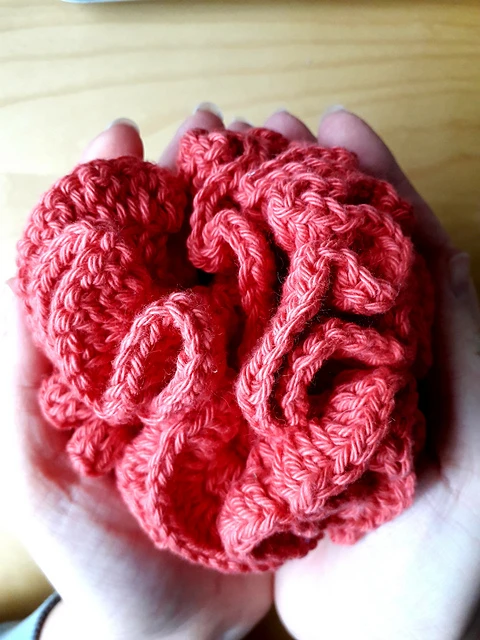
It’s a common misconception that crafters make to think that crochet is only about granny squares and anything that vaguely resembles a granny square. That’s not true. There is so much more to crochet than granny squares but it is a good place to start and I will tell you why in this post.
What else can I crochet?
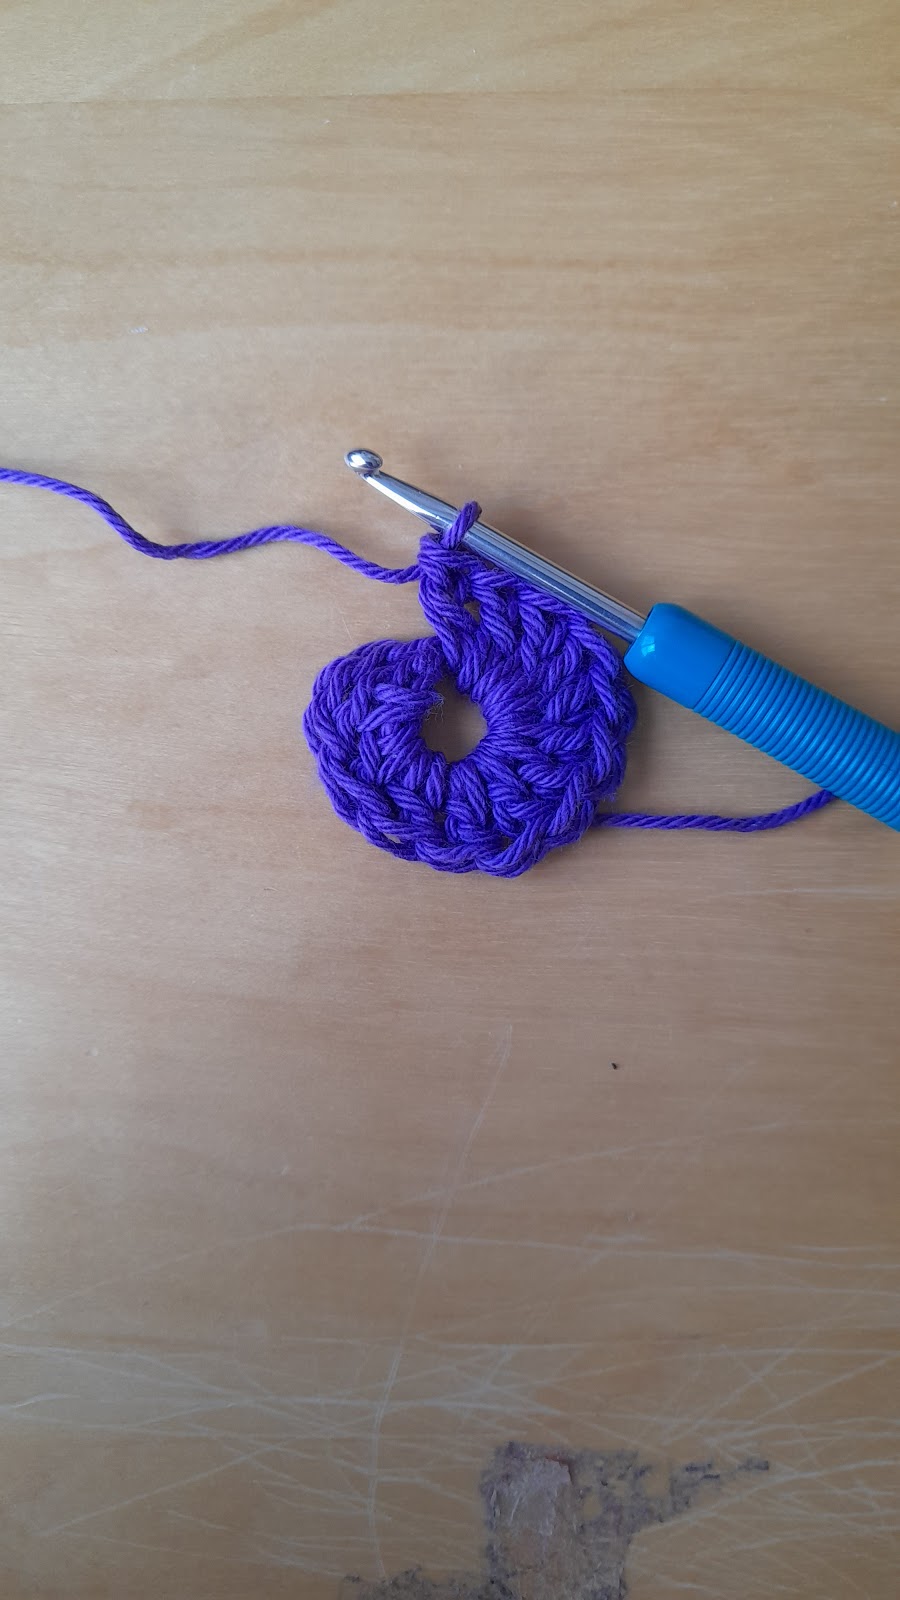
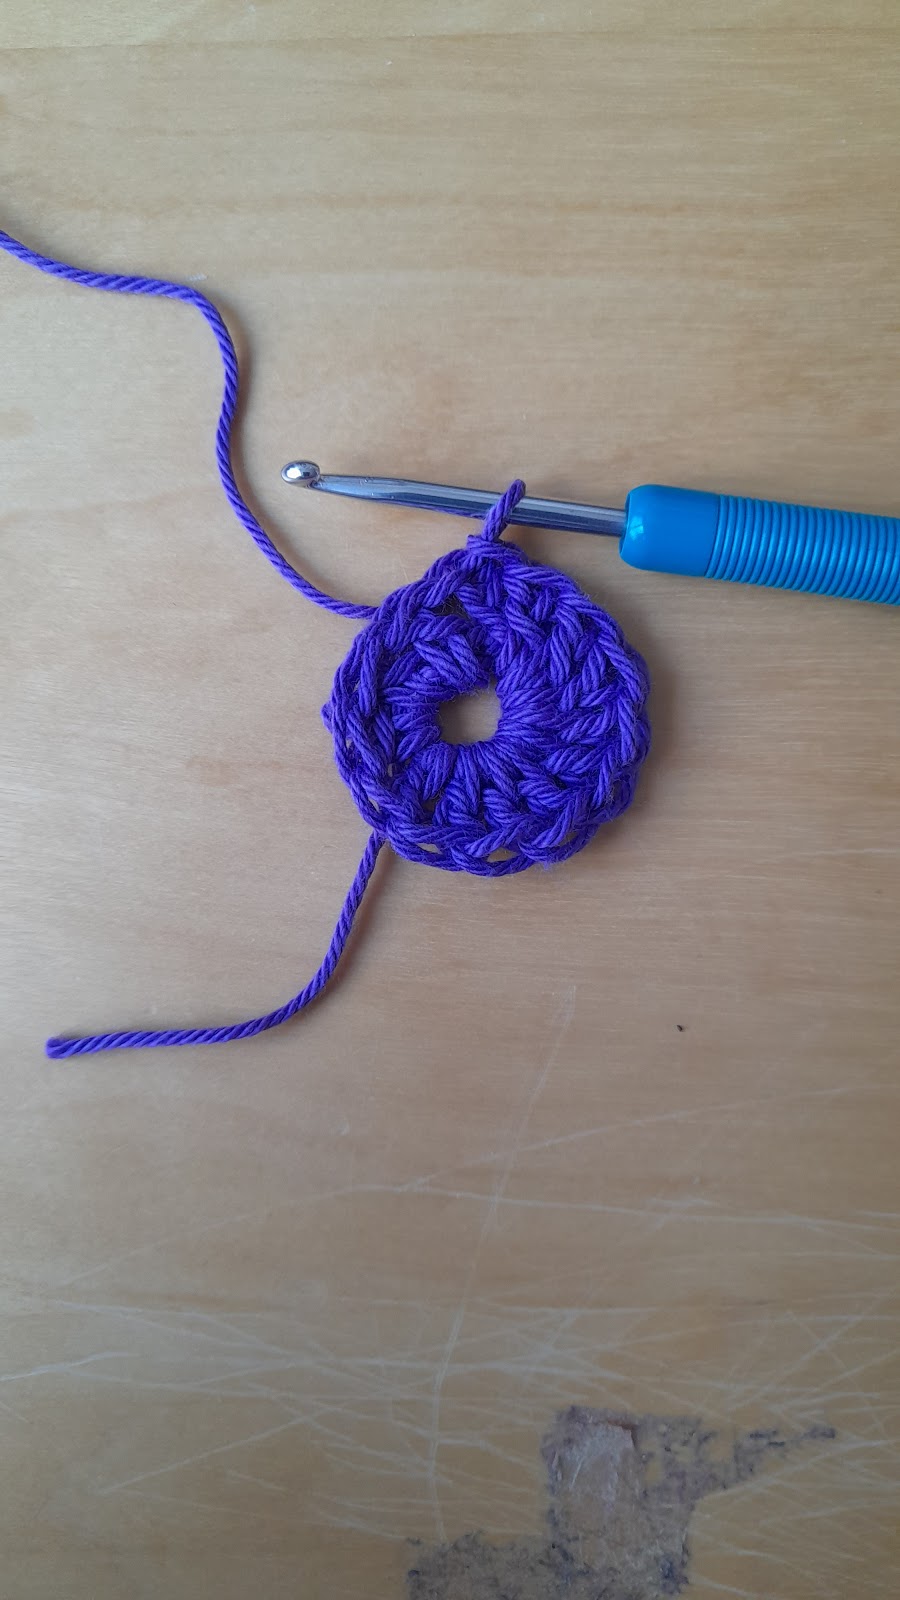
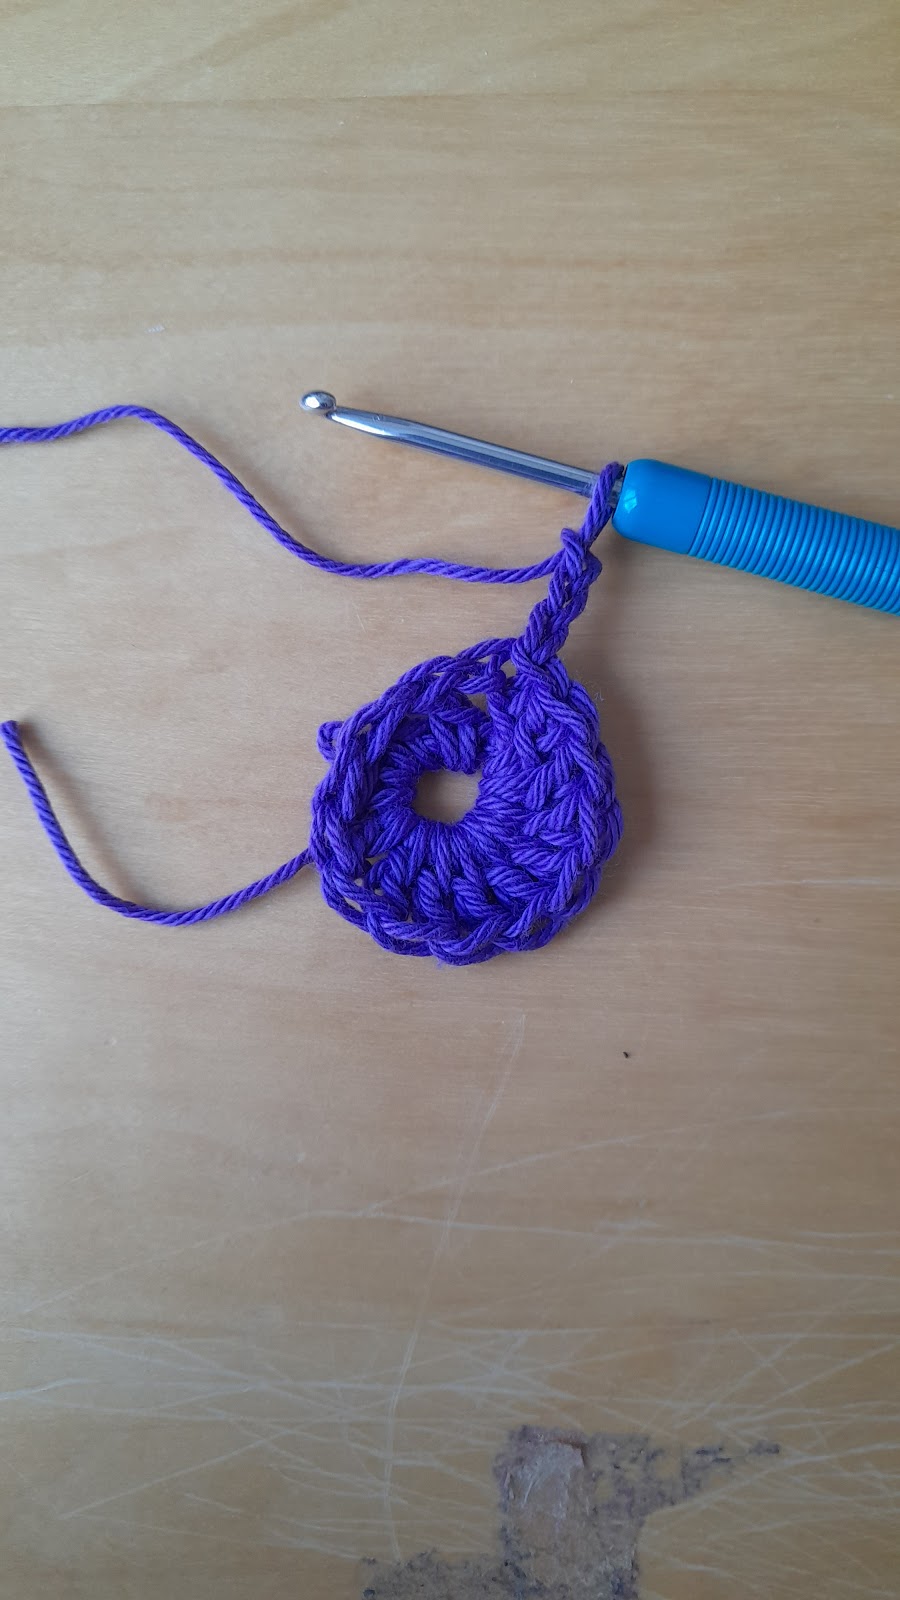
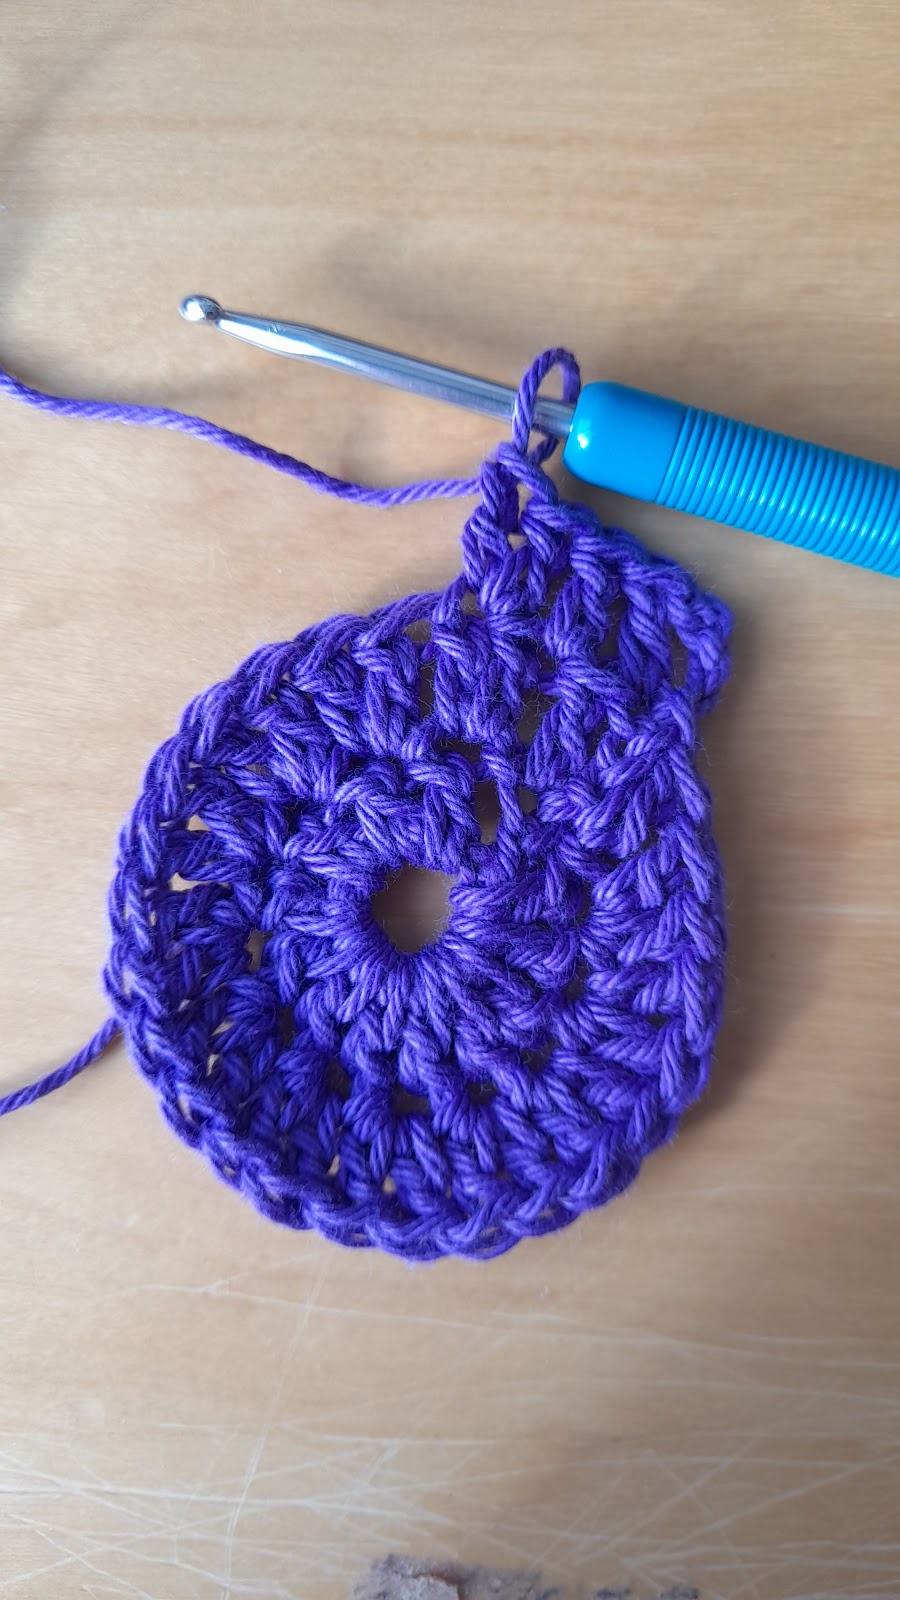
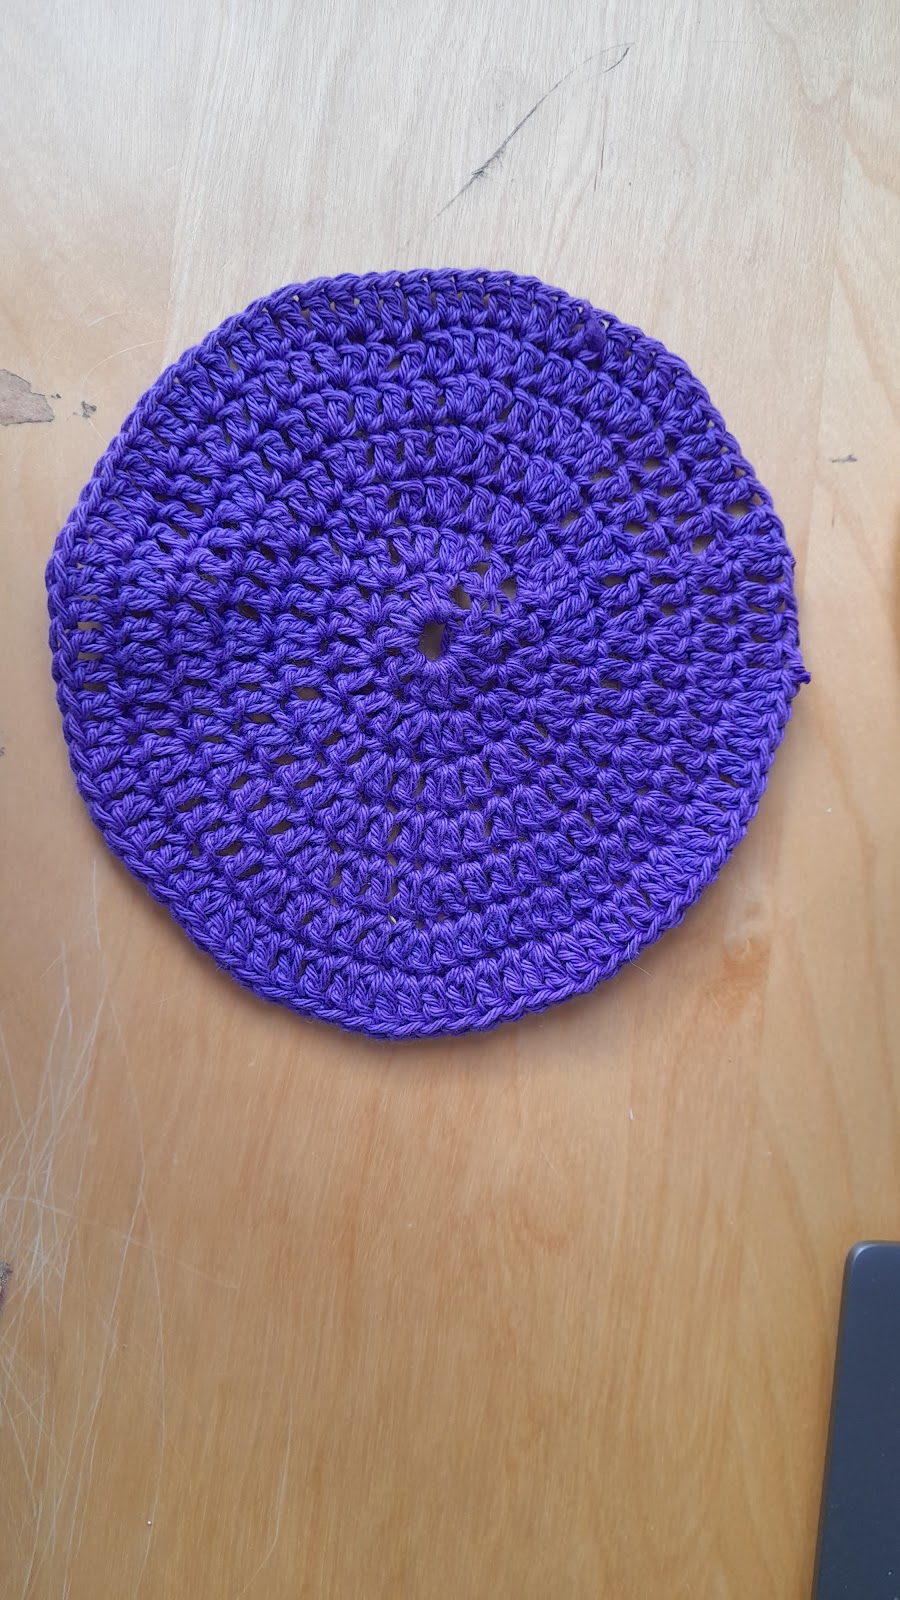
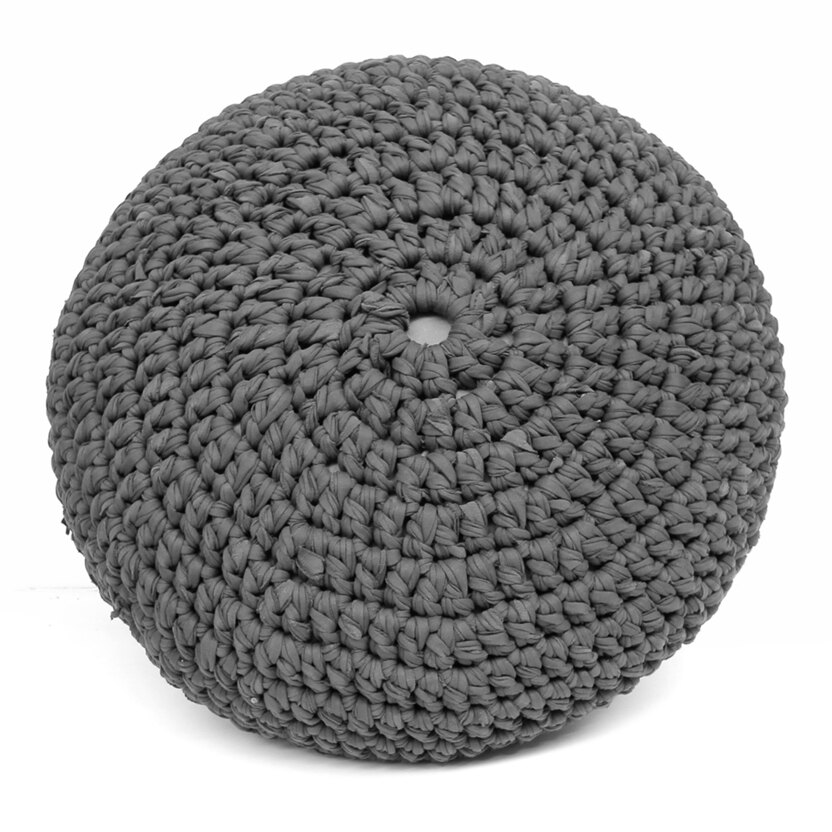
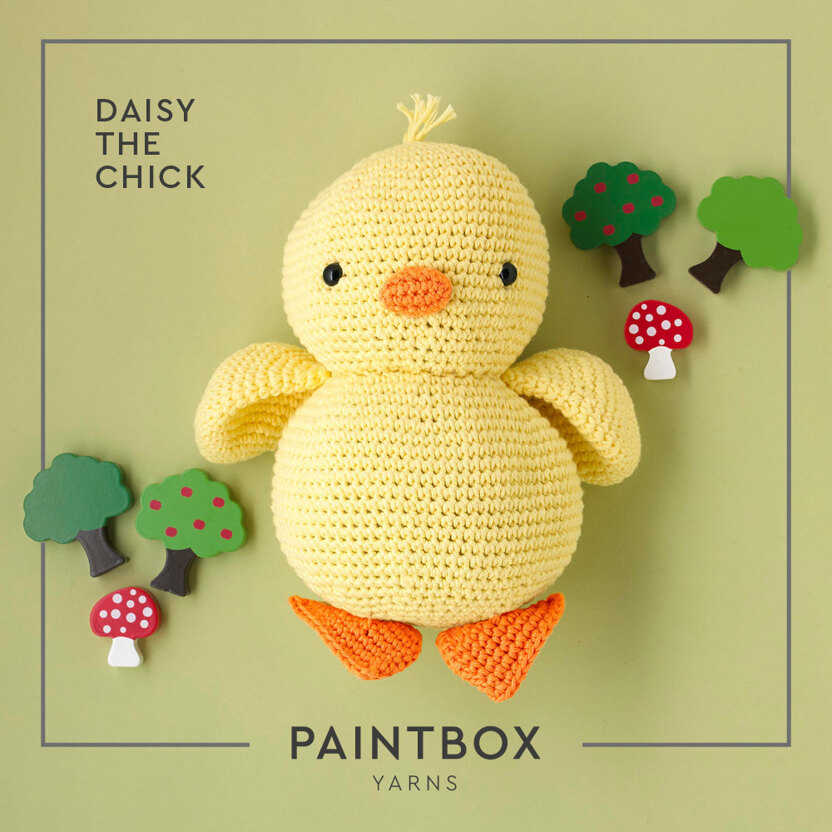
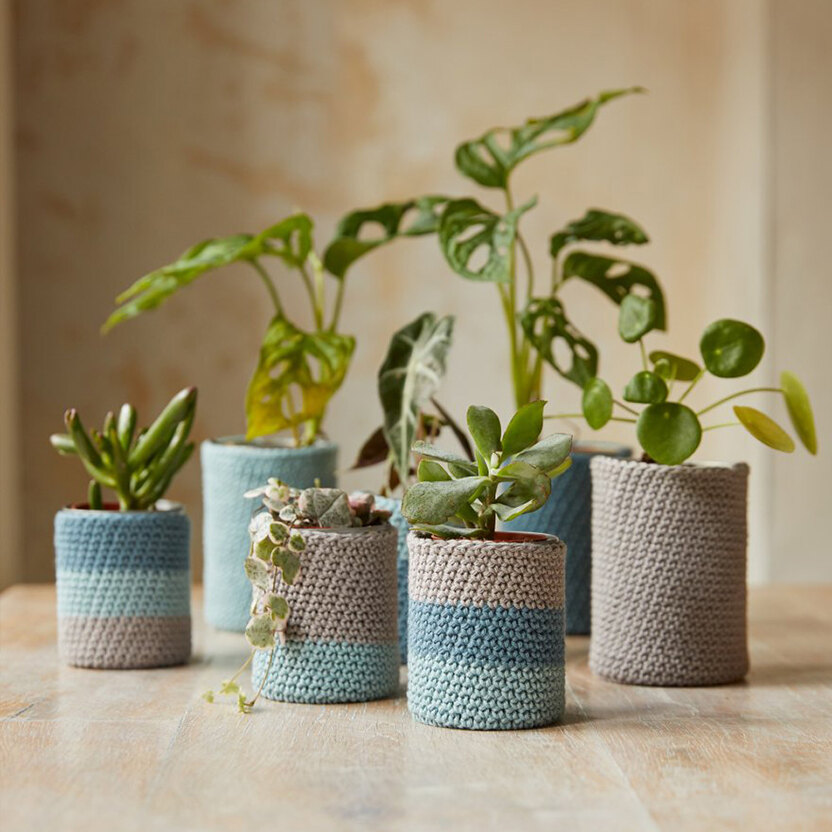
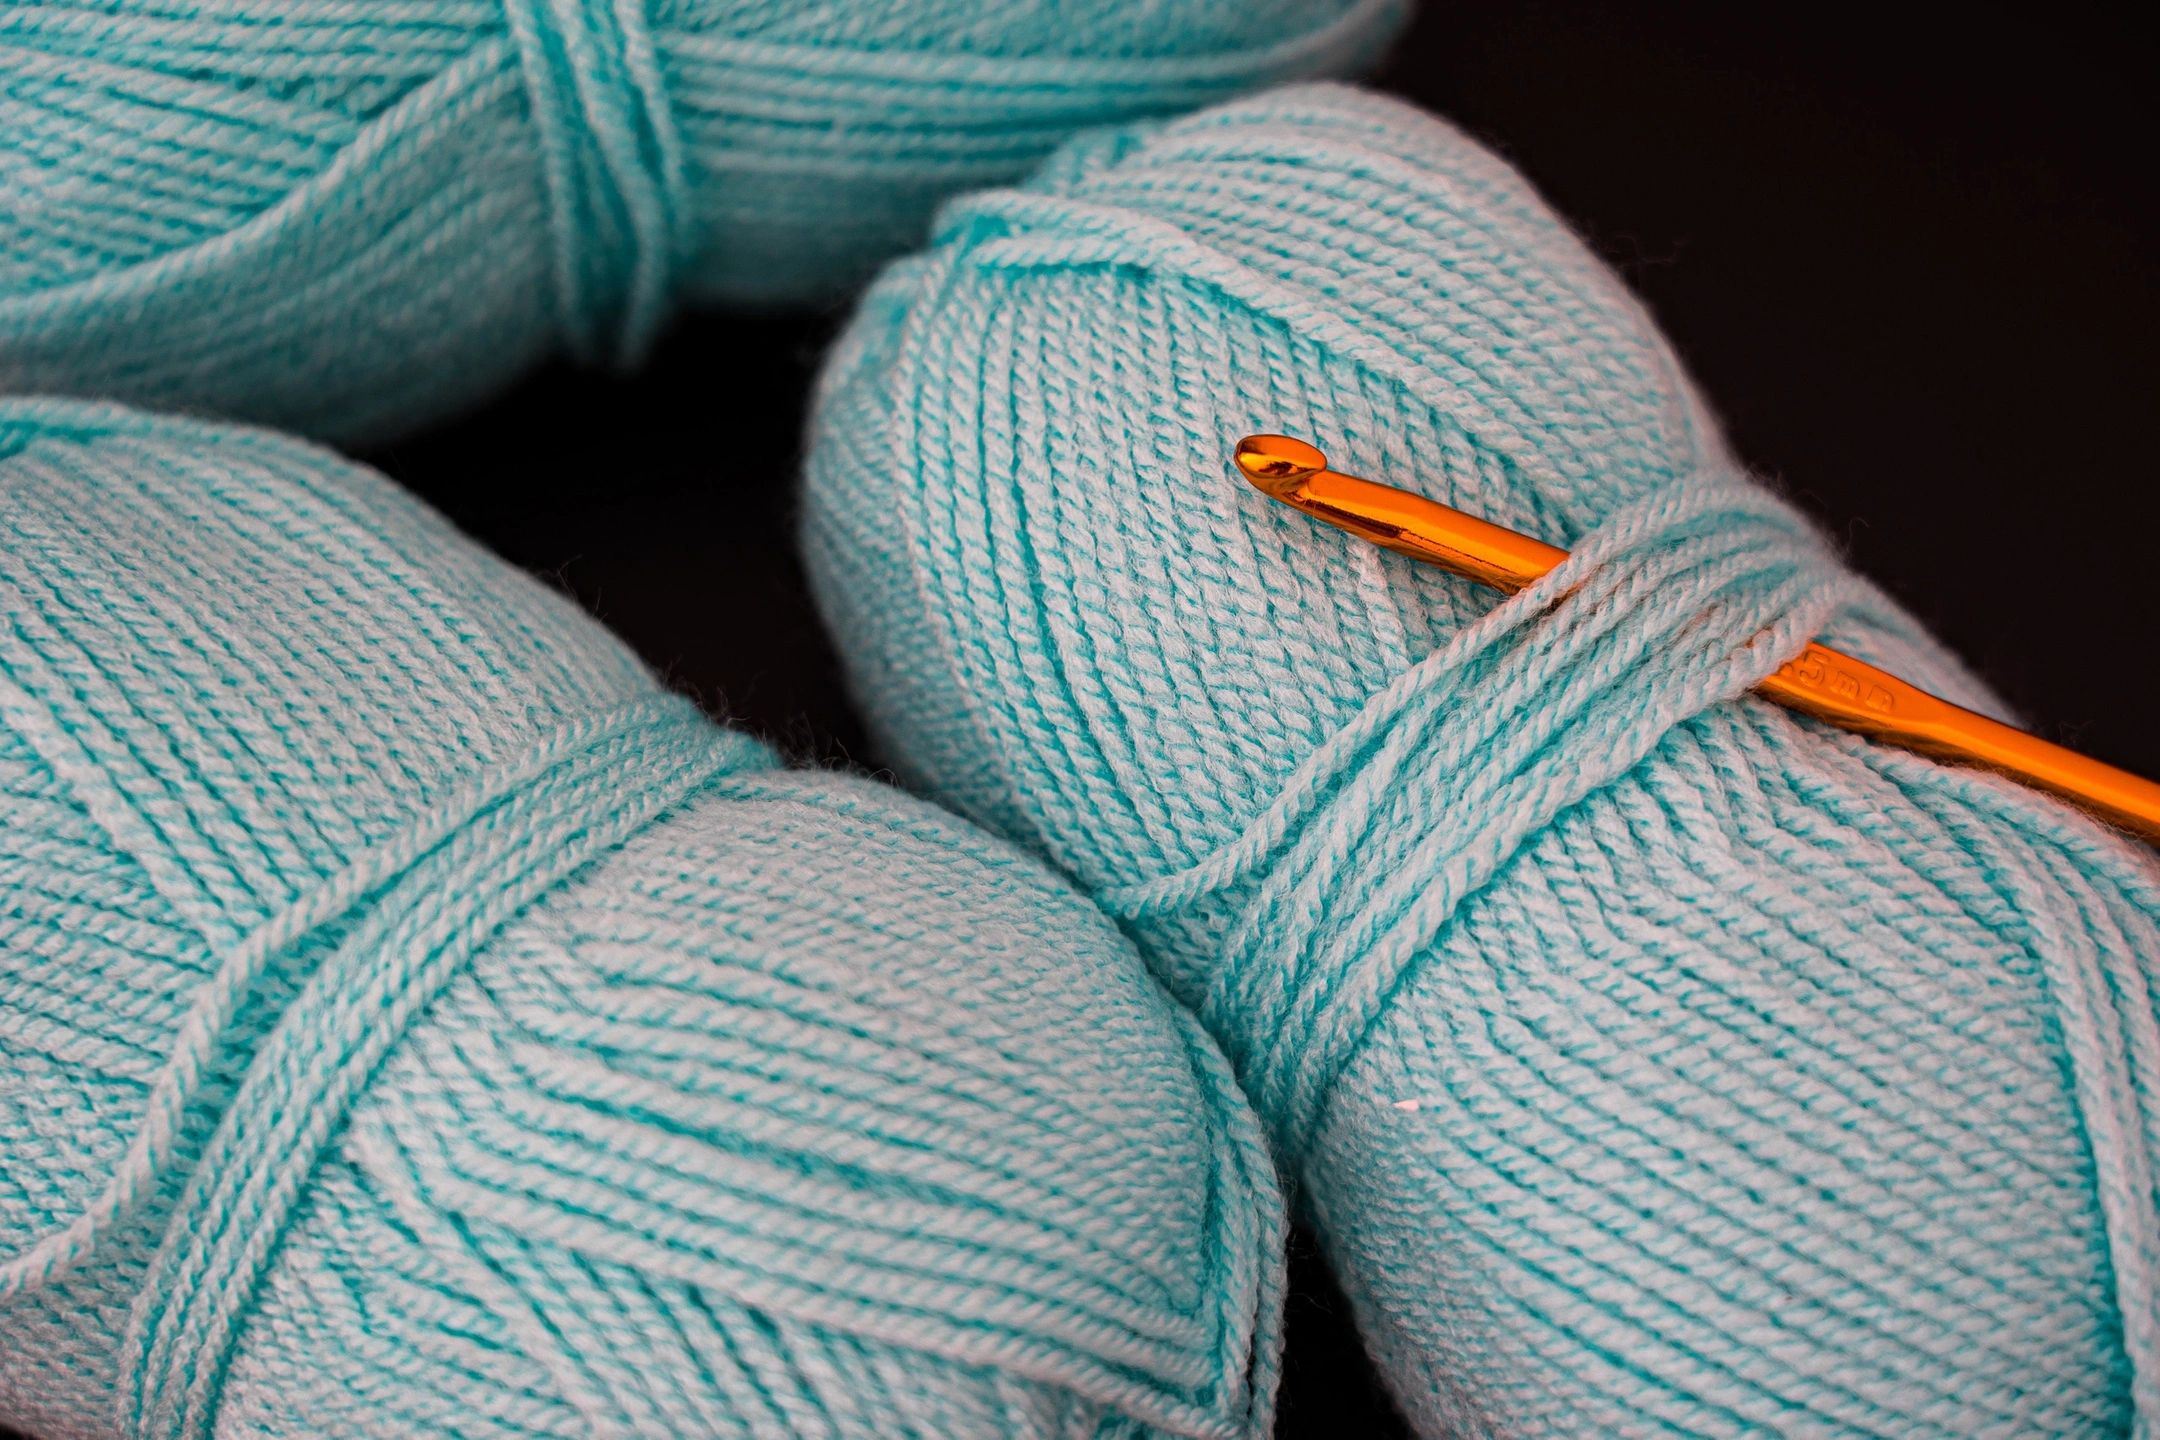
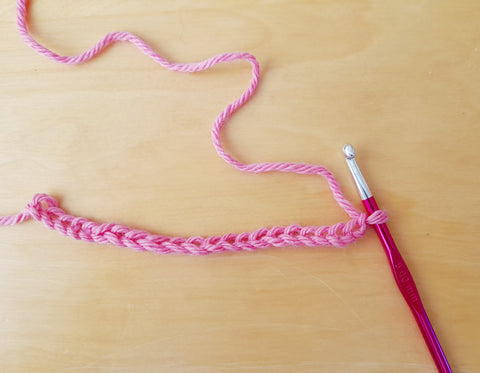
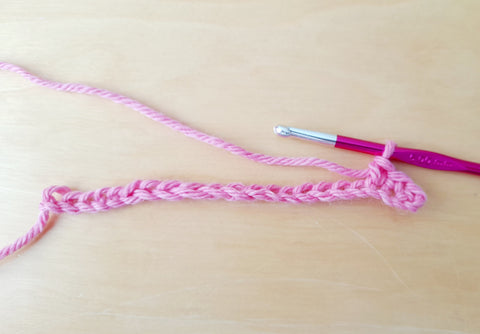
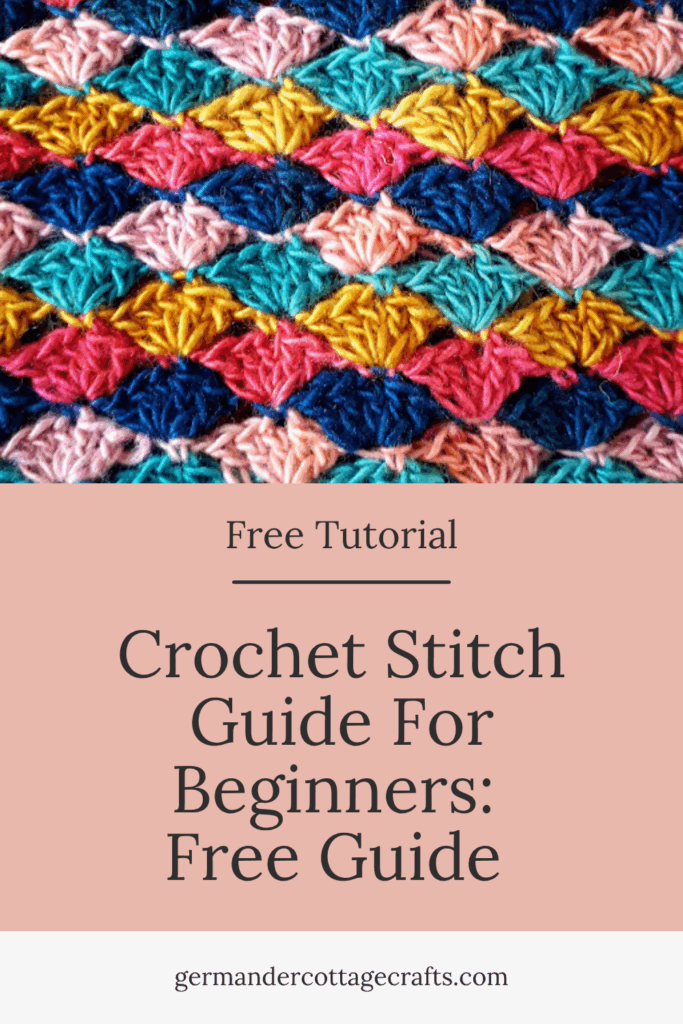
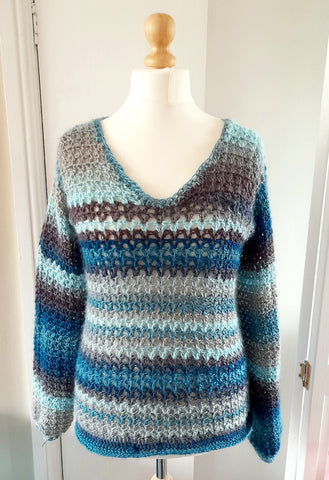
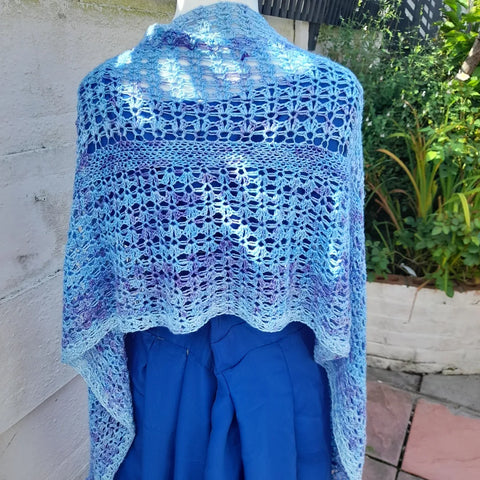
First, we should talk about what other options there are for crocheters who don’t want to have a go at crochet squares. There are many things you can crochet without having to make anything square. Using any of the four basic crochet stitches, you can create garments, bags, blankets, toys, home decor and much much more.
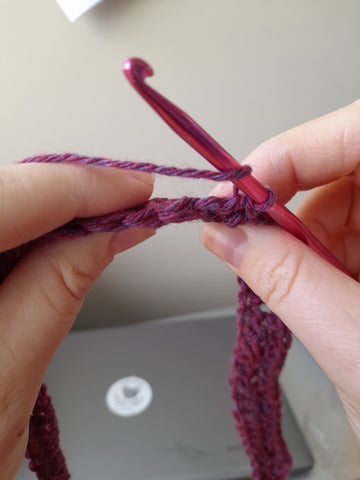
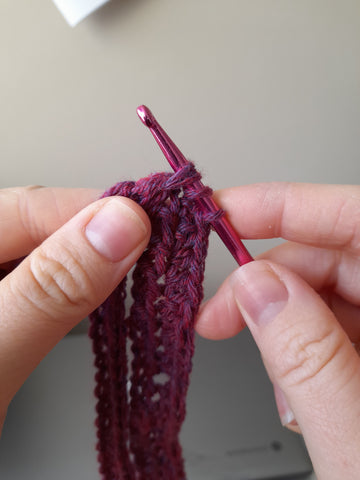
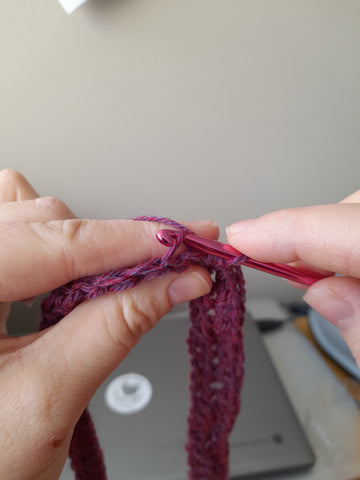
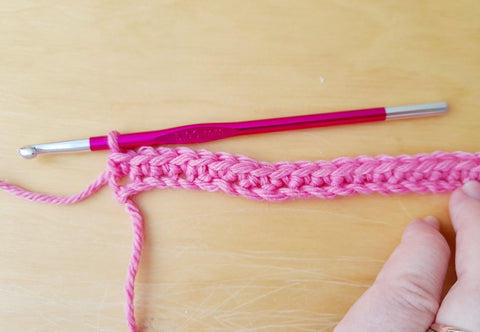
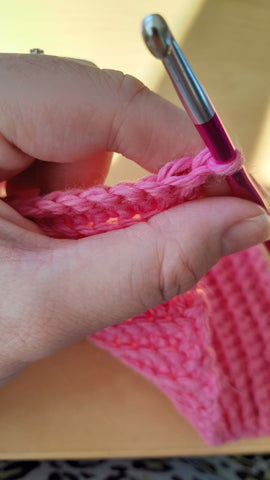
All crochet stitch patterns are made of one of the following stitches:
- Single crochet (UK treble)
- Half double crochet (UK half treble)
- Double crochet (UK treble)
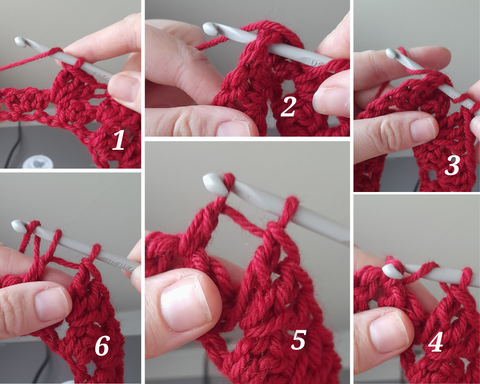
Every stitch following these stitches is just a variant or a ‘build’ on the basics. To make a triple stitch (UK triple treble) you make a double crochet twice. To make a shell or fan stitch, you need to make 5 double crochet stitches into the same chain. To make a v stitch, you make two double crochet stitches into the same chain, with one chain separating them to create the v shape.
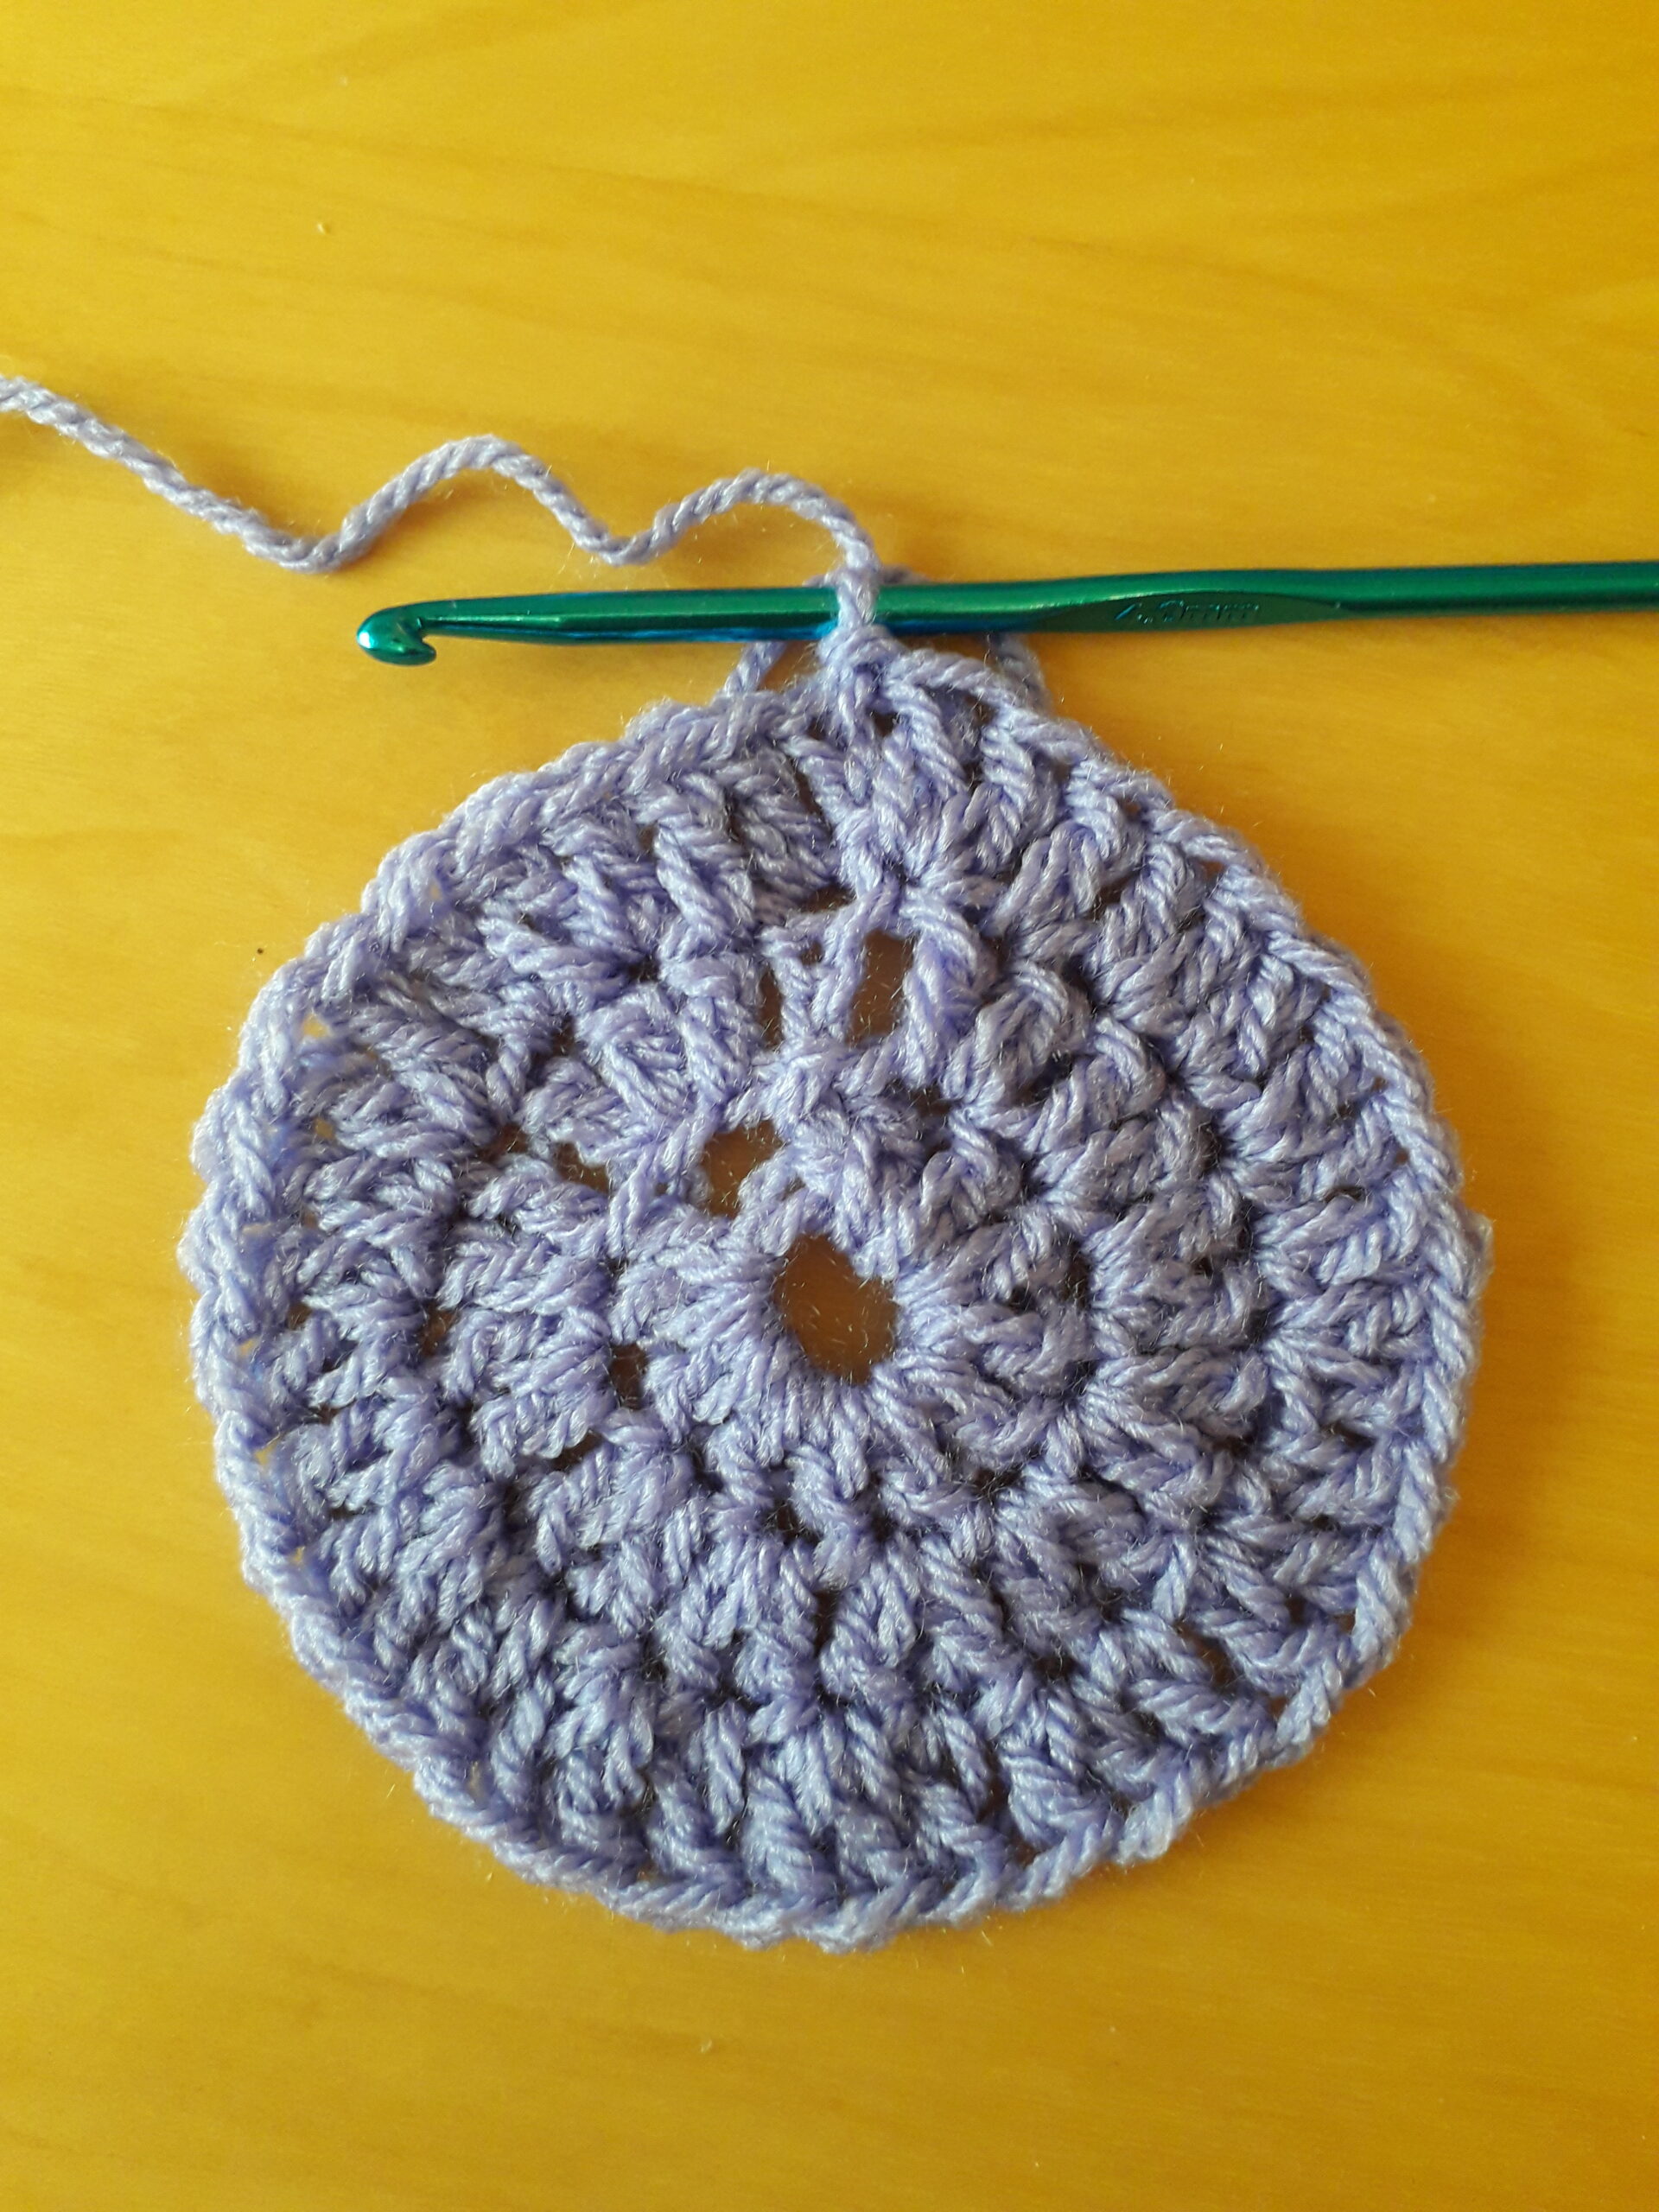
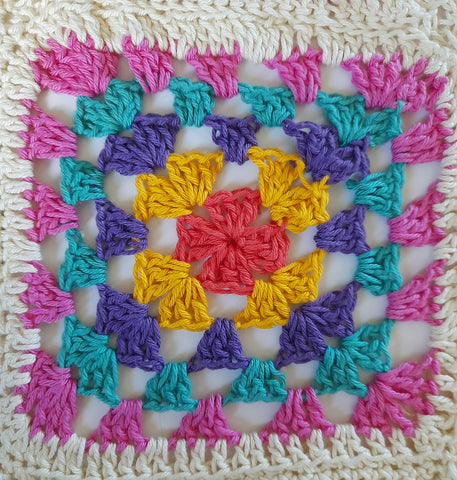
If you do want to start with the granny square, that’s fantastic! You can learn a few things from this clever shape:
- You can learn how to build in rounds.
- Learn to change colours.
- Learn to make corner spaces.
- Learn how a chain space works.
- Keep them small or make something massive!
As you can see, you can learn a lot from that humble square. There’s something pretty and comforting about a granny square throw. This one is available as a free pattern here.

The humble granny square is a great place to start and here are some further posts to help you get going:
- How to get your granny squares right every time.
- How to join granny squares.
- Why you should try the granny square
- How to block your granny squares
- Beginner granny square blanket
Free Granny Square Patterns to try:
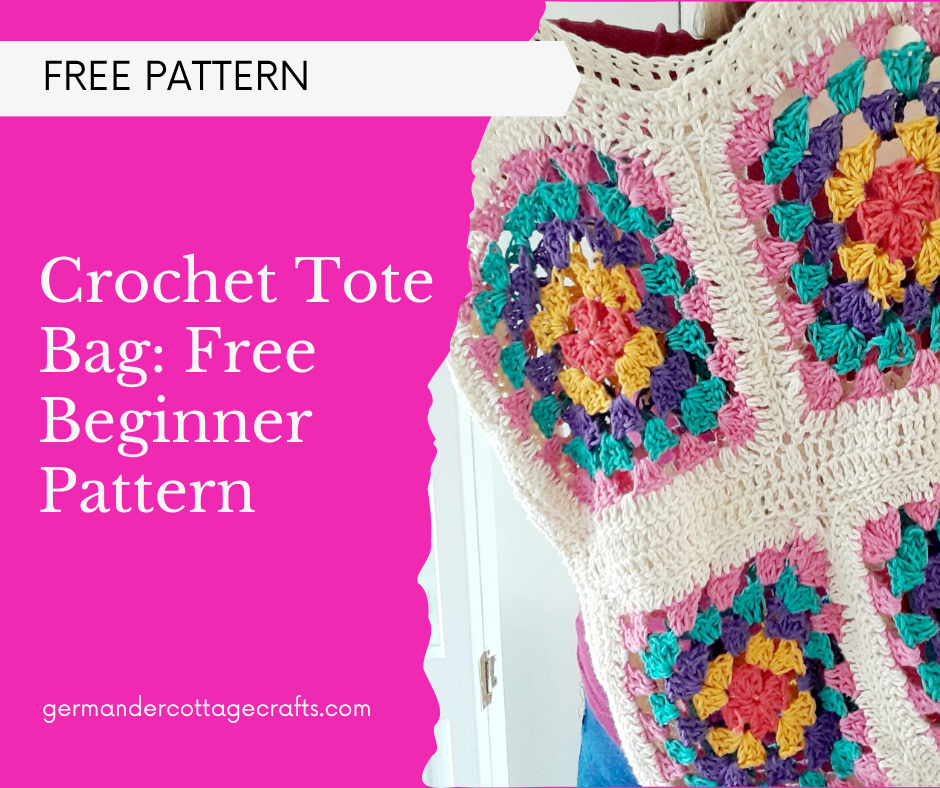
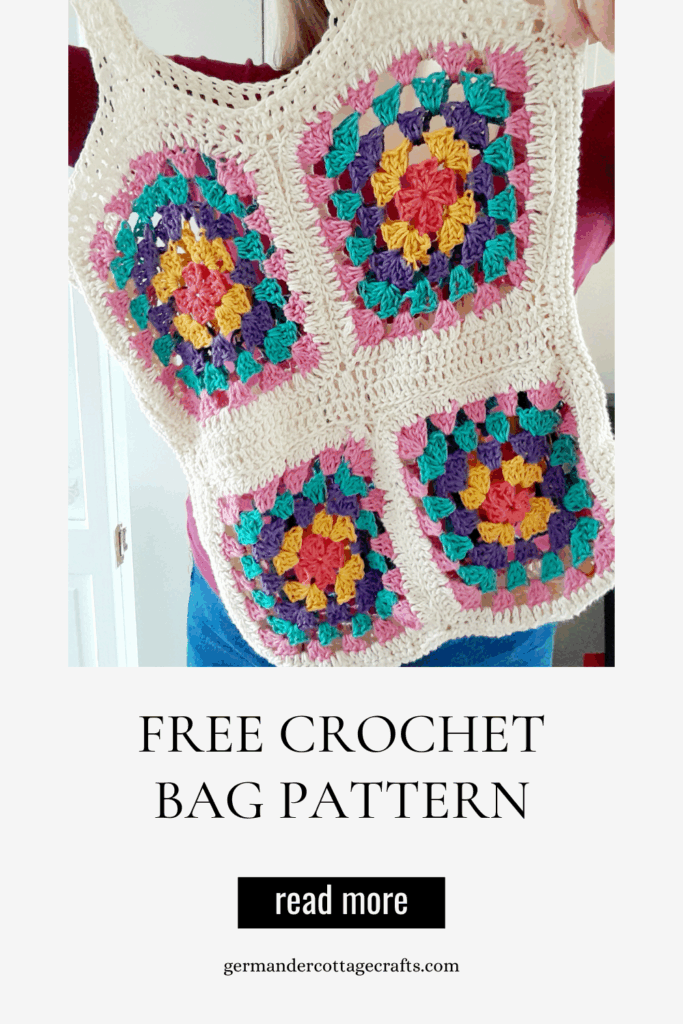
Kits and patterns that build on the granny square:
These kits and patterns contain affiliate links. This means that if you choose to purchase, I do receive a small commission at no extra cost to you.
Sirdar Stories Crochet Metro Top
Sirdar Stories: Poetic Pastels Our Metro Square Top puts the fashionable crochet granny square front and centre. If you haven’t tried a granny square to wear yet, this is an easy crochet pattern to get you started. As well as your granny square, you’ll crochet panels of double crochet and use gradual shaping to create the flattering deep u-shaped neckline, tapered shoulders and neat fit that will make this top a summer staple. Great for beginners!

Sirdar Stories DK Urban Hues Cardigan Crochet Pattern
Crochet some pretty pastel granny squares, add a flattering open neckline and wide airy sleeves to make your summer essential Urban Hues Cardigan. Perfect pattern for intermediate. Use panels of granny stripes to get a neater fit and give your new favourite crop cardigan a crisp finish with a double crochet trim.


