Category: Knitting and crochet
Learn to crochet. Learn to knit. Knitting and crochet patterns and tutorials. Find the best yarns to use for your crochet and knitting projects.
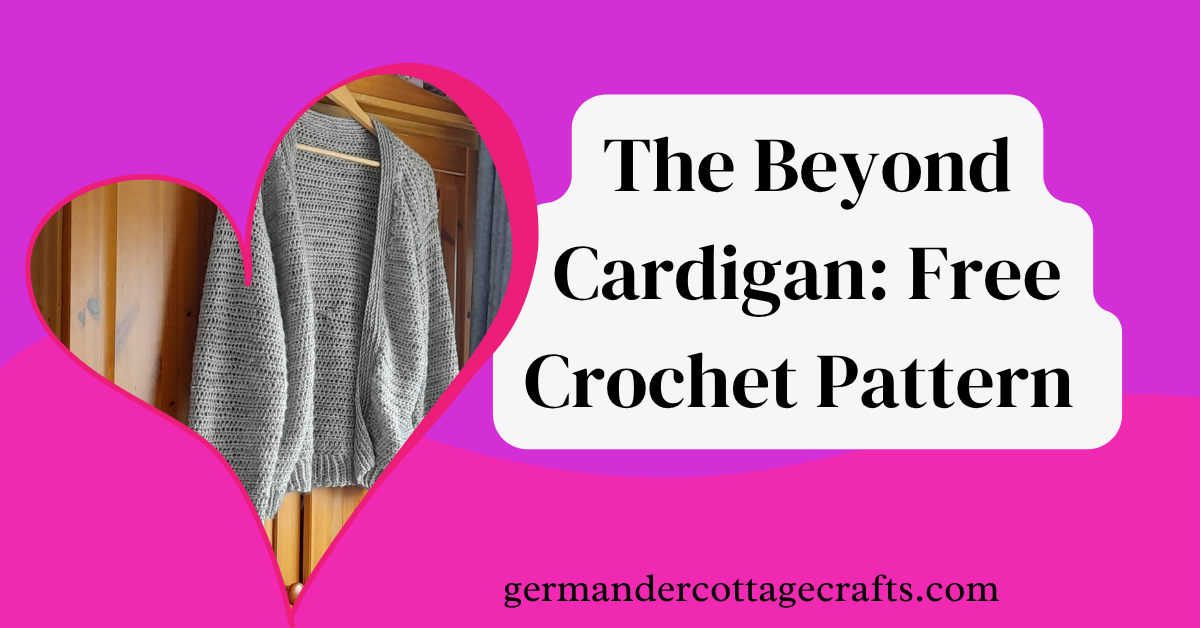
Free crochet cardigan pattern: Beyond
Crochet the Beyond cardigan, a quick and easy garment constructed with half double crochet. Free crochet pattern.
Written by
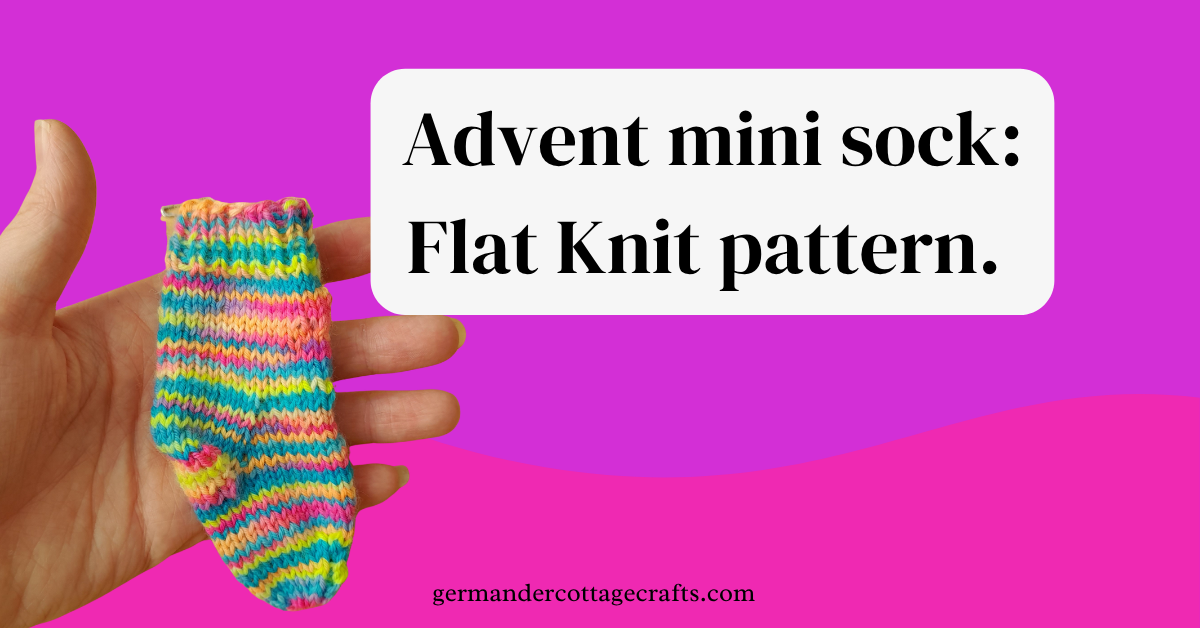
Flat knit mini sock. Free knitting pattern.
Free sock knitting pattern for the advent mini sock. Advent sock knitting pattern.
Written by
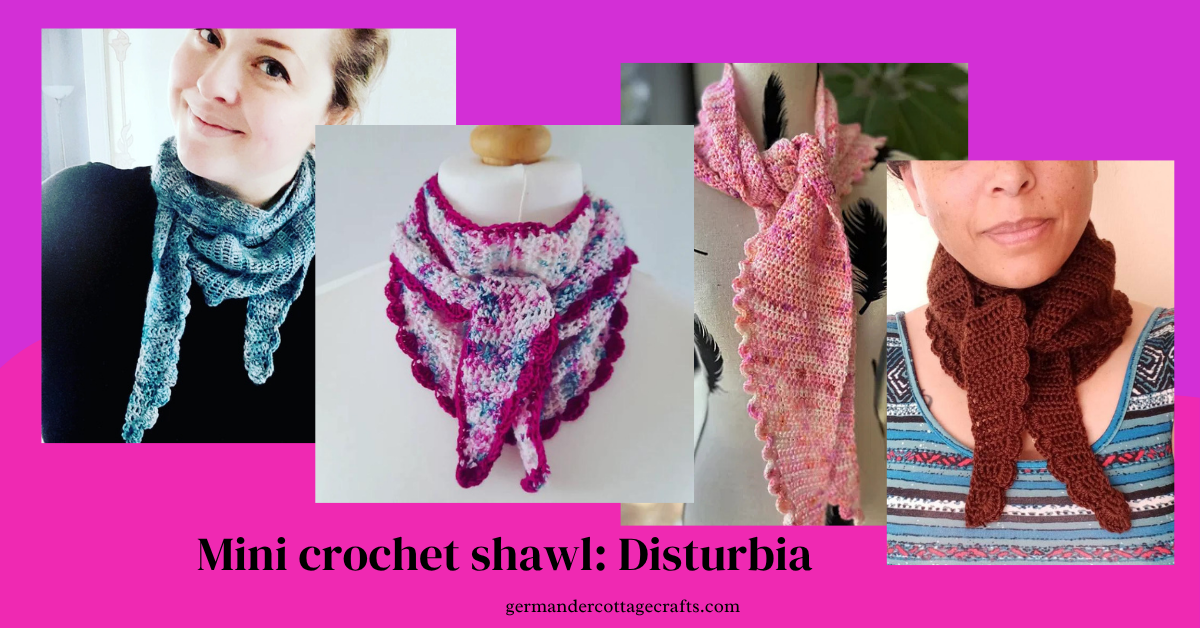
The Disturbia mini Crochet Shawl
The Disturbia yarn and the disturbia shawl patterns were a hit during the Knit365 collaboration of 2023.
Written by
Free sock patterns to knit.
All of the free sock knitting patterns available on this blog.
Written by
Simple DK sock knitting pattern. DK Boot socks.
Free sock knitting pattern for a pair of cosy, DK boot socks!
Written by

Free sock pattern: Advent mini sock knitting pattern.
Free knitting pattern for a pair of mini socks. Knit these for an advent calendar, a little one or just for practice!
Written by

How to create crochet fabric that drapes.
In this post, I’ll be talking about drape in crochet and how you can make a few simple tweaks to ensure your crochet fabric hangs as you want it to. You may have heard that crochet fabric doesn’t look as good as knit fabric. Did you know that it can? Here I will explain how…
Written by

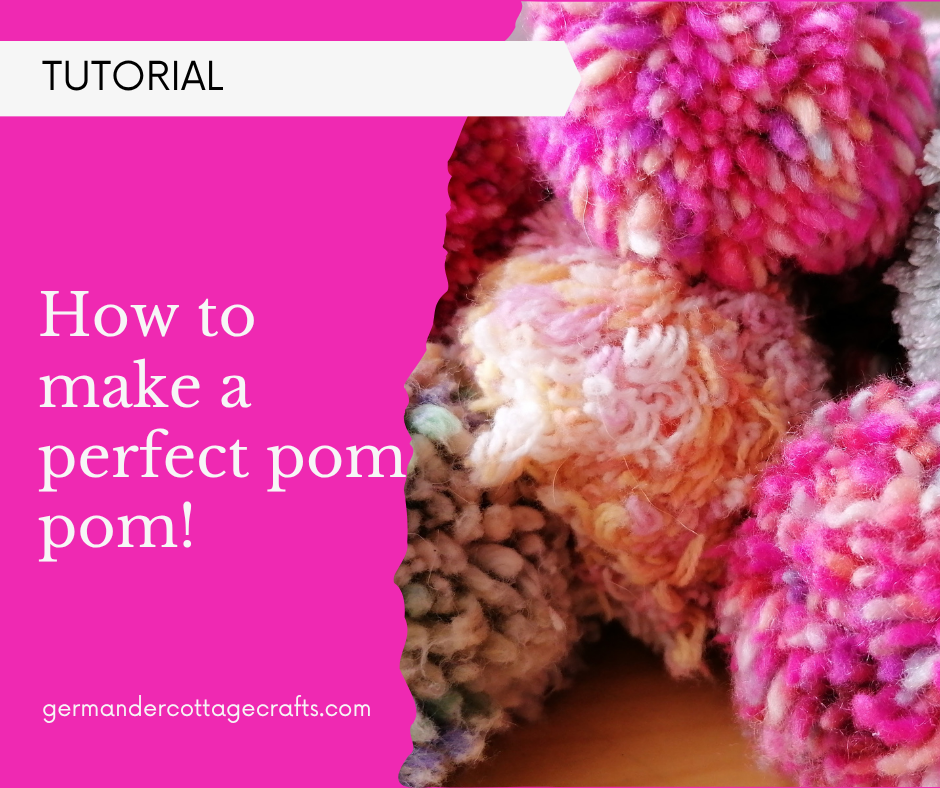
How to make pom poms. Making pom poms and choosing the best pom pom maker.
Disclosure: This post may contain affiliate links, meaning I get a commission if you decide to make a purchase through my links, at no cost to you. In this post I’m going to show you how I make perfectly round, full pom poms for hats and other craft projects. Pom poms can be notorious for…
Written by
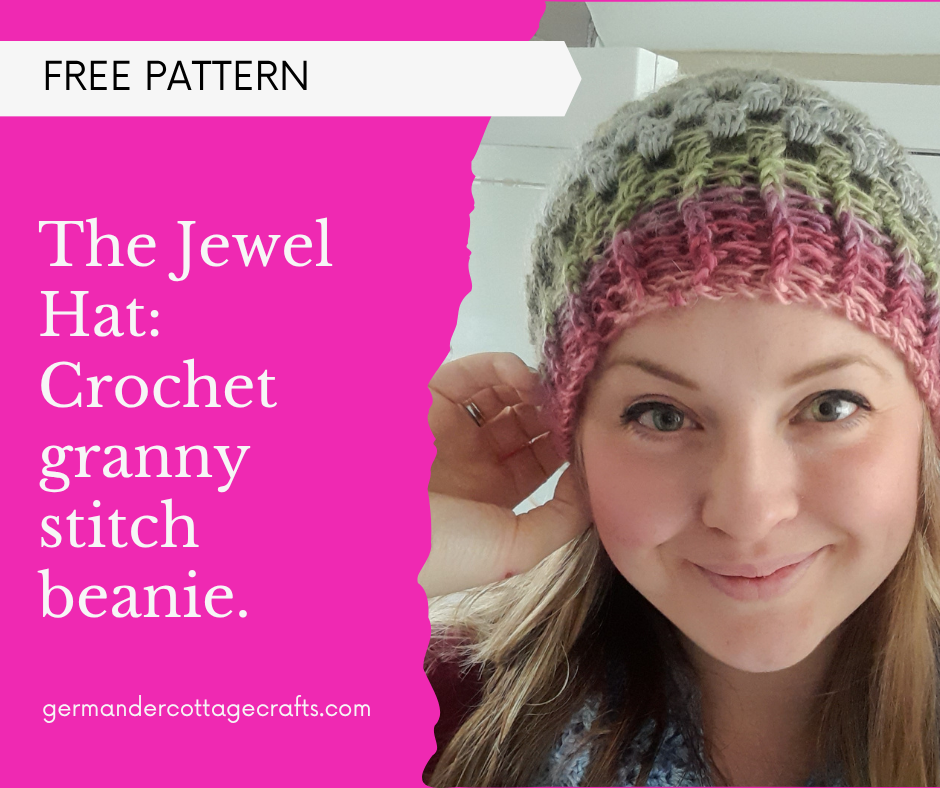
The Jewel Hat: Crochet Beanie Granny Stitch Pattern.
Jewel hat crochet beanie (100% crochet version) This is the little sister of the Jewel Hat, with the main difference being that the hat is 100% crochet construction. FpHdc and BpHdc create a ribbed brim and bobble stitches create clusters of jewel like shapes across the hat. Add a pom pom for extra enjoyment. If…
Written by
How to knit an ear warmer. Simple garter stitch headband tutorial for beginners.
Beginner-friendly tutorial showing you how to knit an ear warmer. This really simple design is also perfect for knitters looking to get through their stash. Need a quick gift for a friend? Knit an ear warmer! Need to practice casting on and casting off, but you don’t want to knit something tedious like a long…
Written by
