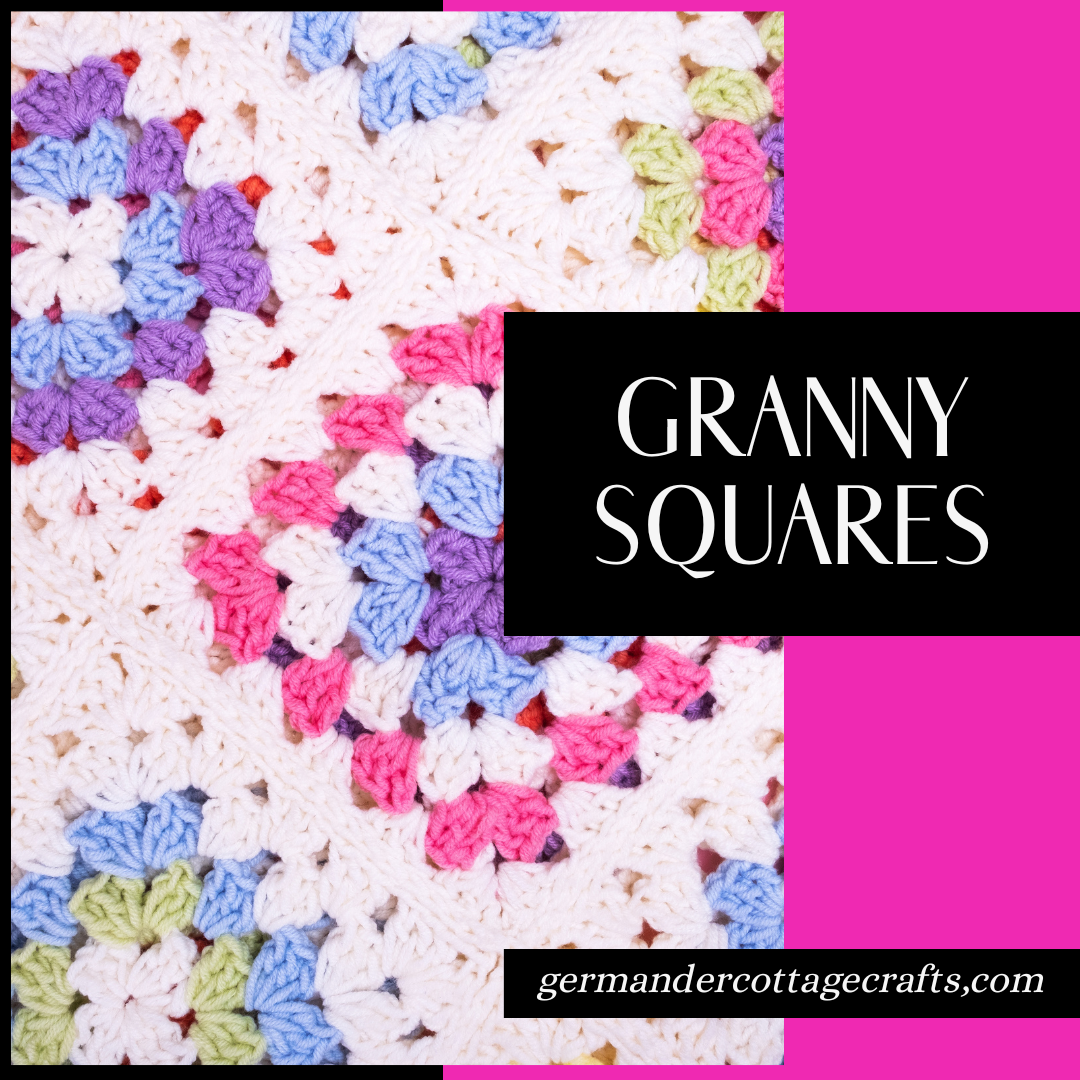
Yarn substitution is something that can seem complicated, but once you know what to look out for, you can use up your stash! Yarn substitution is a really handy skill that every yarn wielder needs to know, as not all yarn will be available forever.
Ever downloaded a pattern and find that the yarn used in the sample photos isn’t even available in your country? Or that it is but it is way out of your budget? Would you prefer to use up your stash and stick with something you have?
This is all easy to sort out with some simple yarn substitution.
Substituting based on the label:
Meterage/yardage.
Don’t just go with the same weight- how many balls of your sub yarn do you need?
Say for example the yarn in the pattern asks for a brand of DK yarn that is 100m per 100g ball and the yarn that you’re using is 200m per ball, you’ll need 50% fewer balls of yarn. Some patterns will tell you the exact meterage/yardage and this makes it really easy to substitute.
How thick is it?
Don’t be fooled by the label saying “DK”. For a long time, Cygnet Boho Spirit was labellled as a DK even though it works up as a worsted. Their Truly wool rich DK is also on the thick side, so it’s worth finding out for yourself before you jump into a pattern.
If you’re trying to use up stash yarn and some balls are missing labels, you can also measure wpi (wraps per inch).
How do I measure wraps per inch?
Take a pencil or a standard pen and wrap your yarn around it several times. You need to wrap until you’ve done at least 2.5cm (1 inch). Take a measuring tape or a ruler and measure how many wraps you can fit in an inch.
I can fit 23 wraps to an inch on this pen. I can now look at the yarn chart above and see that my yarn belongs in the #1 category for “light fingering, 4ply”. This is a great way to see how thick your yarn is if you’ve lost the label. I would therefore be able to use this yarn in a pattern that calls for light fingering or 4ply.
Swatching
Whilst I do not expect anybody to go out and buy a ball of every potential yarn to swatch with, I do suggest that you do this if the yarn is all to hand i.e in your stash already. Not only will you get to see how it works up but you will also be able to see if you like it and if you think it will work with the project.
Always use the gauge/tension as your guide and you will not go wrong. People sometimes ask me “what yarn do you recommend?” for my patterns if they are in a country where the yarn is not available or if the recommended yarn is out of budget. My answer is always:
Whatever yarn gives the correct meterage.
Whatever yarn meets the gauge required.
If you are looking to buy new yarn for a project and don’t know what would be a good substitute, you can always use yarnsub.com for extra help choosing.
Do you love the idea of cosy, hand-knit socks but dread the complicated process of using four or five double-pointed needles? Knitting socks can be intimidating for even the most experienced knitter. If you’re looking for something that will build your confidence, look no further!
In this article, we will explore the method of knitting socks flat on just two straight needles. Yes, you read that right – no circular needles or DPNs required! Whether you are a beginner knitter or an experienced one looking for a new challenge, this method will revolutionise your sock-making game. Say goodbye to pesky stitches falling off the needles and hello to a simpler, more manageable knitting experience. Get ready to dive into the world of flat-knit socks and discover the endless possibilities.
This simple two needle flat knit socks pattern is a straightforward, simple way to learn the basic construction of a sock. Many knitters are hesitant to try socks on double pointed or circular needles, so I designed this pattern as a confidence builder. This pattern also covers the square heel, which is my favourite type of sock heel: The Square heel. Here’s a video showing you how to knit this heel:
This is a free pattern for two needle socks knit flat. You can either use the blog pattern for free, or if you’d like, here’s the easy PDF for your own convenience.
Whether you are looking to try a different construction for socks or you simply prefer knitting flat, these socks are for you. No side, toe or heel seams are required; just one simple seam up the front of the sock. The heel is worked using short rows and the toe consists of a drawstring finish.
Materials required to make these flat knit socks:
60g (70g, 90g) of 4ply sock yarn.
Yarn used in socks pictured is Gamer Crafting Sock 4-ply [75% Merino, 25% Nylon, 400m per 100g] in ‘Pride Was A Riot’.
2mm and 2.5mm needles (or size needed to obtain gauge) for working flat.
4 stitch markers.
Darning needle.
Gauge:
32 sts and 38 rows to 10cm/4 inches in stocking stitch on larger needles.
Finished Foot/Leg Circumference:
Size 1: 17.5cm/7 inches
Size 2: 20cm/8 inches
Size 3: 22.5cm/9 inches
Sample shown in size 2. Length of leg from cuff to heel is 24cm/9.5 inches.
Foot length from back of heel to toe is 24cm/9.5 inches.
Glossary:
K: Knit
K2tog: Knit two stitches together. (1 stitch decreased)
M1L: Pick up the bar between the stitch you have just knitted and the next stitch, bringing the needle from the front to the back. Knit into the back. (1 stitch increased)
M1R: Pick up the bar between the stitch you have just knitted and the next stitch, bringing the needle from the back to the front. Knit into the front. (1 stitch increased)
P: Purl
P2tog: Purl two stitches together. (1 stitch decreased)
PM: Place marker
PSSO: Pass slipped stitch over
RS: Right side of work
SKP: Slip one stitch knitwise, knit one stitch, pass slipped stitch over knitted stitch. (1 stitch decreased)
SM: Slip marker
SSK: Slip two stitches separately knitwise to right-hand needle, knit them together through the front of the stitches. (1 stitch decreased)
St(s): Stitch(es)
WS: Wrong side of work
Cast on your flat knit socks.
Leg
With smaller needles, cast on 56 (64, 72) sts.
Rib row: [K1, P1] to end of row.
Repeat Rib row to work 1×1 rib until cuff measures 5cm/2 in, ending after a WS row.
Switch to larger needles.
Work stocking stitch (knit on RS, purl on WS) until leg measures 18.5cm/7.25 in from cast-on edge, ending after a WS row.
Next, it’s time to shape the heel. Pay close attention to this part because if you don’t have the right amount of stitches, your heel won’t sit right.
RS: K to marker 1, SM, K to marker 2, M1R, SM, K to marker 3, SM, M1L, K to marker 4, SM, Knit to end.
WS: P all sts.
Repeat last 2 rows another 8 (9, 10) times, until you have increased 10 (11, 12) sts on either side of the heel markers, ending after a WS row. 76 (86, 96) sts in total.
Now, turn the heel with short rows. See the video above if you’re still unsure about this part.
RS: K to marker 1, SM, K to marker 2, SM, K17 (20, 23), SKP. Turn work.
WS: P7 (9, 11), P2tog. Turn.
RS: K to 1 stitch before the gap which has formed, SKP. Turn.
WS: P to 1 stitch before gap, P2tog. Turn.
Repeat last 2 rows another 8 (9, 10) times, until there are 28 (32, 36) heel sts between markers 1 and 4, ending after a WS row. This is the number of heel stitches you started with; your work will be RS facing with marker 2 on your right-hand needle.
Knitting the foot of your flat knit sock.
Remove marker 2. Insert needle as though making a M1R but instead of knitting, slip the twisted stitch on to right-hand needle. K1 and PSSO. K to marker 3, remove marker, insert needle as though making a M1L but slip the twisted stitch onto left-hand needle and K2tog. K to marker 4, SM, K to end.
You can remove markers 1 and 4 while you work the foot; you will need them again when you reach the toe.
Work rest of foot in stocking stitch until it measures 5 (6, 6.5)cm/2 (2.25, 2.5) in less than desired length.
It’s time to shape the toe of your sock.
RS: K12 (14, 18), SSK, PM, K2tog, K22 (28, 28), SSK, PM, K2tog, K to end. (4 sts decreased)
WS: P all sts.
RS: K to 2 sts before marker, SSK, SM, K2tog, K to 2 sts before marker, SSK, SM, K2tog, K to end. (4 sts decreased)
WS: P all sts.
Repeat last 2 rows another 8 (10, 11) times, until there are 16 (16, 20) sts in total.
Finishing your sock
Cut a long tail of yarn and, with a darning needle, thread tail through remaining sts and pull tight to close. Then, using mattress stitch, seam up the front of the sock. Weave in yarn ends.
I hope you enjoy your new, flat knit socks. Let me know how you get on in the comments.
You can stay here if you’re feeling happy with your flat knit socks. However, there is the option to progress to knitting in the round! I have a pattern for an adult size sock or a smaller, novelty sock that can also be used for babies. If you’d like to try, you can have a go at knitting socks in the round.
In conclusion, knitting socks flat on two needles may seem intimidating at first, but with the right techniques and practice, anyone can master this traditional method. We have explored the benefits of knitting socks flat, including the ability to customize and adjust sizing, as well as the convenience of not needing double-pointed needles. By following the step-by-step instructions and tips shared in this article, you can create a comfortable and stylish pair of socks that will keep your feet warm and cozy. As writer Elizabeth Zimmermann once said, “Knit on with confidence and hope, through all crises.” So go ahead and give it a try, and see the magic of knitting unfold right before your eyes. Keep learning and experimenting, and embrace the joy of creating something unique and handmade. Happy knitting!