Disclosure: This post may contain affiliate links, meaning I get a commission if you decide to make a purchase through my links, at no cost to you.
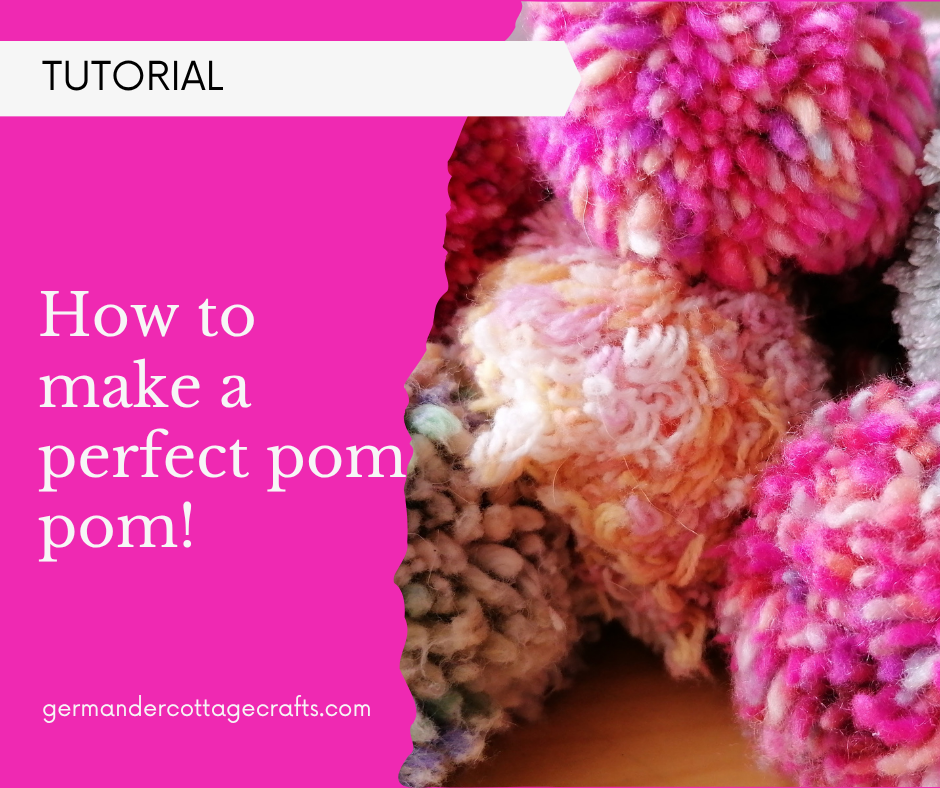
In this post I’m going to show you how I make perfectly round, full pom poms for hats and other craft projects. Pom poms can be notorious for falling apart or falling off after a few wears but I’m going to show you how I make them tightly, securely and in a way that ensures they’re full and easy to attach.
I’ll also show you the tools I recommend for making your own pom poms with a standard pom pom maker or a novelty style pom pom maker.
First, let’s talk about what you will need and why.
Do I need a good pom pom maker?
This is entirely subjective as I believe the technique is more important than the kit you use but saying that, using a great pom pom maker will help. I’m using a Knitpro pom pom maker for this tutorial. You can use two pieces of card if you would prefer but this method I have used here is the best way for me. I’ve made several pom poms over the years and I keep coming back to the pom pom maker because:
1. It’s accessible.
2. I don’t need to find new cardboard each time I want a pom pom.
3. It’s ready to use every time you need it.
Here’s my favourite pom pom maker, the Knitpro (known as knitters pride in the US) maker. Click here to shop for the pom pom makers that I used.
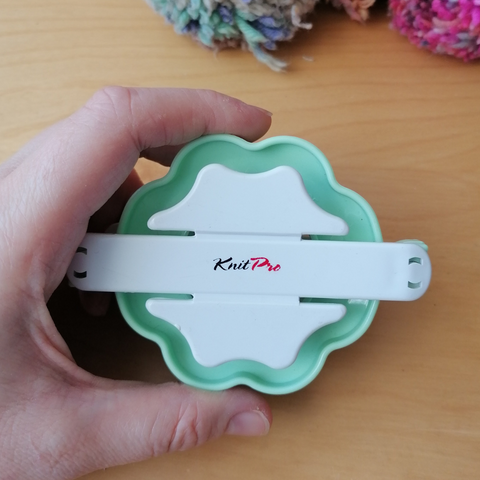
Pom poms are always shown as very fluffy, poofy additions to handmade hats. I’m going to show you how to make the best pom pom you can.
Here’s what you actually need to make a great pom pom:
1. A pom pom maker. You can use any maker (I’ve recommended some in this guide). Just choose something that you find easy to use.
2. Sharp, sharp scissors. The best scissors for this job are fabric scissors. I used Fiskars scissors which can be found here.
3. A darning needle.
4. At least 25g of good quality yarn.
Why is yarn important?
How the yarn has been plied (how many strands were twisted to make the yarn) will matter when it comes to making pom poms. For example, a 2ply yarn (as in, plied twice, not 2ply weight) will tend to be looser with a roving texture. This doesn’t make for good pom pom yarn as it can come apart when you are pulling tightly and wrapping it around the pom pom maker.
The higher the ply, the stronger the yarn.
For this tutorial I am using 50g of 4ply yarn. It’s a merino yarn with 25% nylon and it is known as a good all rounder and is plied to ensure that it does not easily break when it meets some tension.
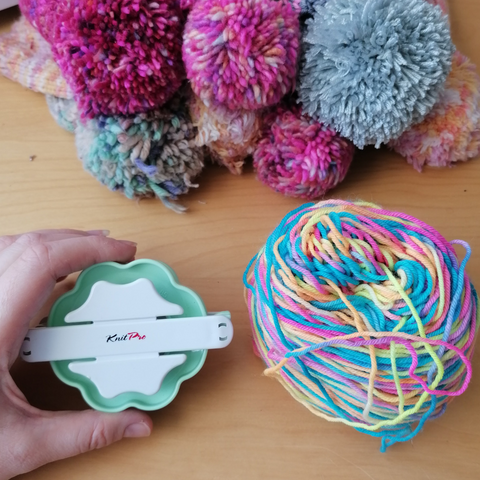
You need really strong yarn as you want something that can be pulled tightly without breaking. The fabric scissors will handle them when you come to cut your pom pom.
How to make a pom pom, step by step.
- Step 1:
Set up and open up your maker. You should have received instructions for this in your package.
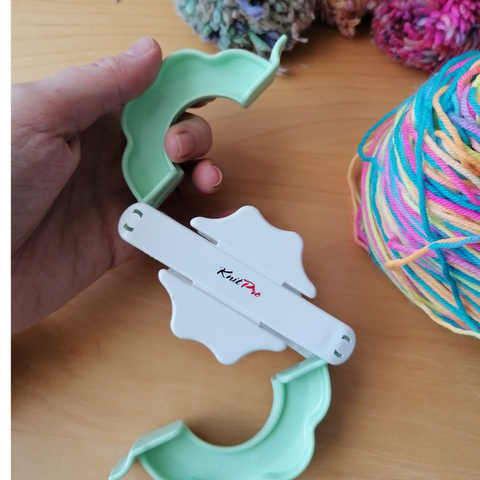
- Step 2:
Using your thumb to hold the tail end of the yarn in place, start winding back and forth until the arm is covered. It can take a while, but be patient. It’ll be worth it!
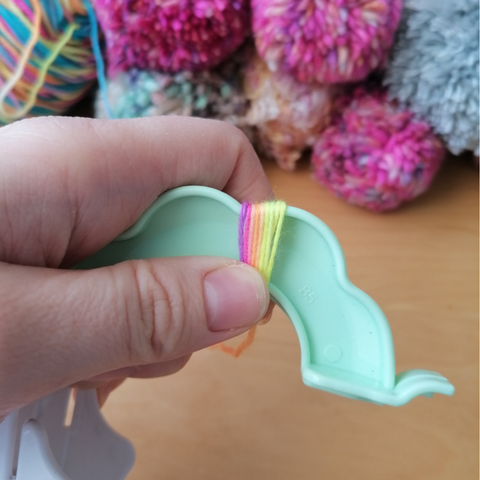
- Step 3:
Wind the yarn until the hard edges of the maker are softened. At least 1mm of yarn thickness required. You shouldn’t be able to feel the edges of the maker when you press it between your thumb and forefinger.
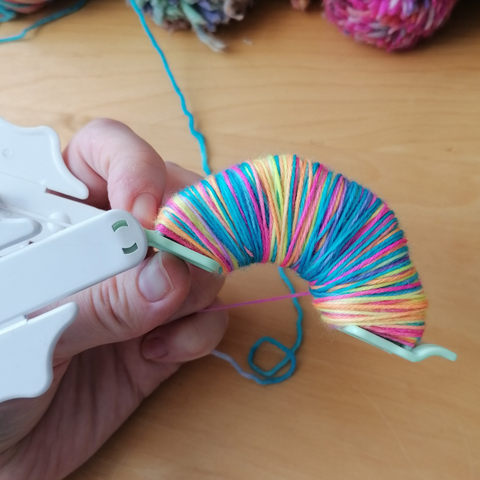
- Step 4:
Open up the other pair of arms and start wrapping yarn around them.
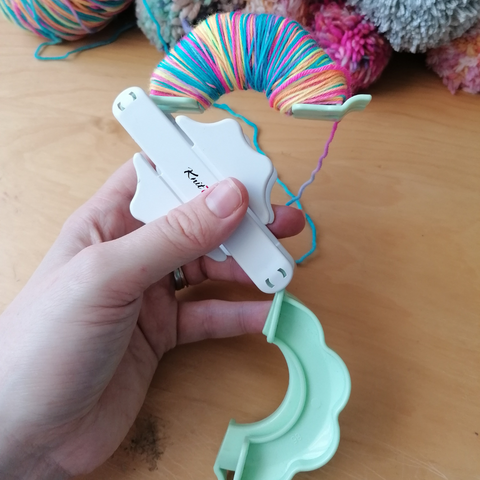
Step 5: Cover the second pair of arms in the same way.
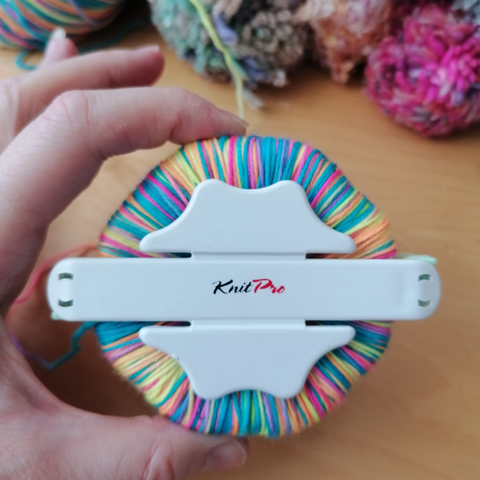
- Step 6:
When you’re happy with the thickness of the yarn wrap, it’s time to cut.
- Step 7:
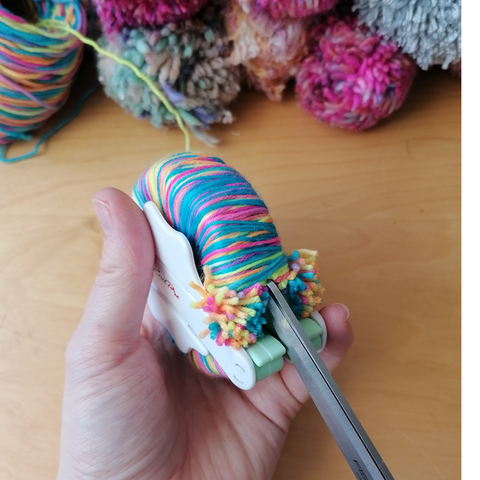
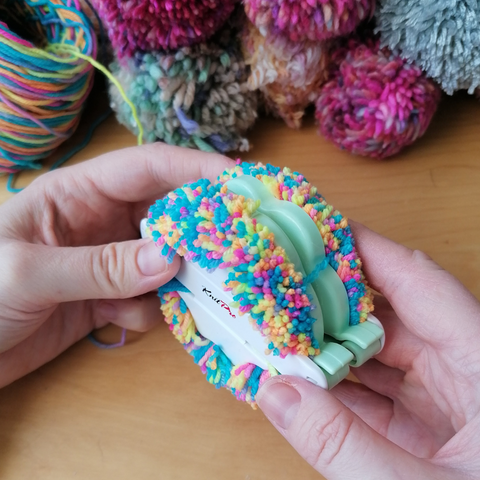
Take your fabric scissors and cut, making sure that your scissors are placed in the groove of the maker. Cut all edges, making sure there are no uncut threads.
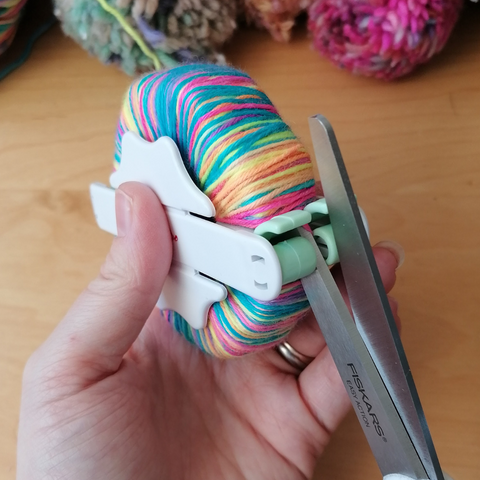
- Step 8:
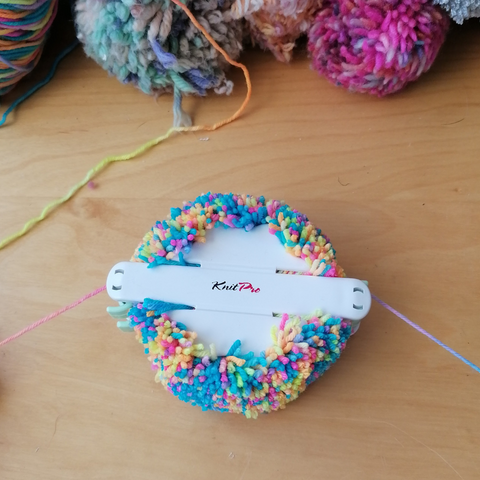
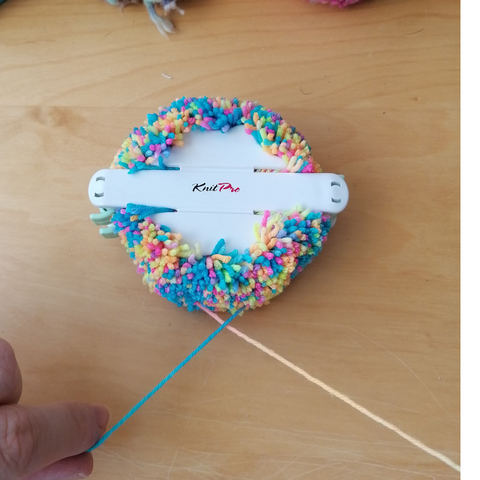
Cut about 30cm (12in) of yarn. Tie it around the pom pom. Come around and tie the other side too and then finish with another tie and a knot. Make sure that you have tied the pom pom as tightly as you can.
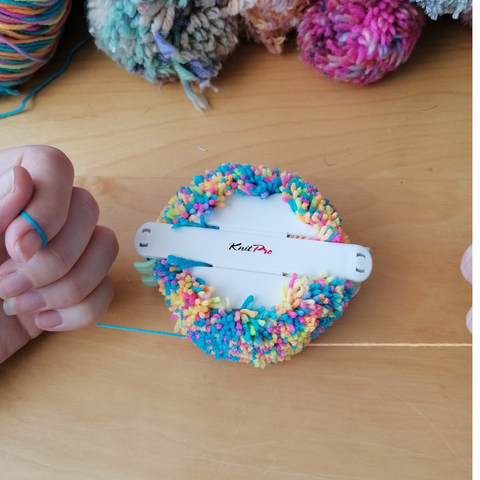
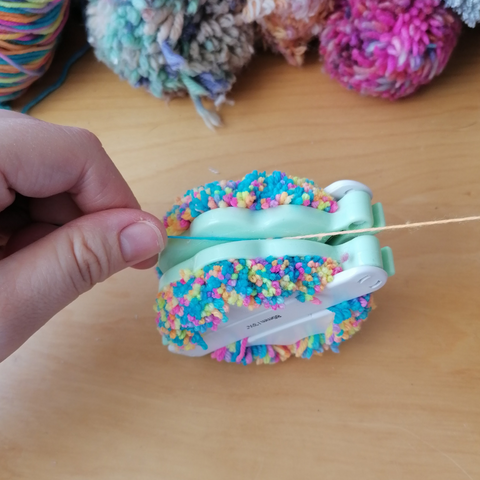
- Step 9:
Release the pom pom and trim to size. Your pom pom should feel full, tightly secured and heavy.
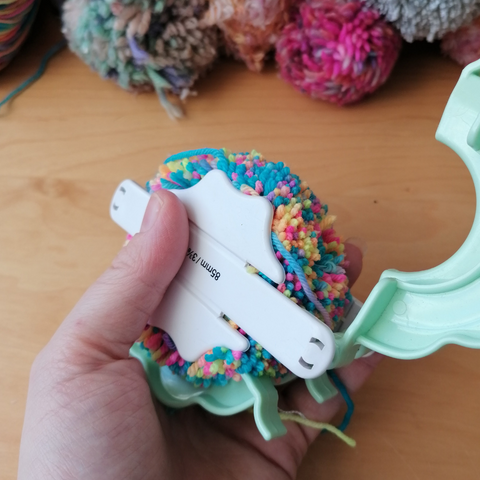
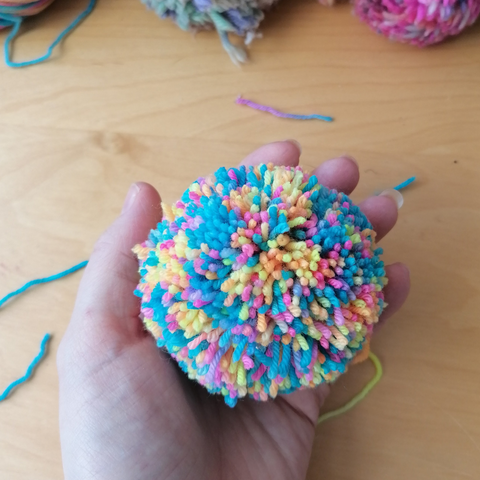
If you want to know how to securely attach your pom pom to a hat, you can see the full video tutorial here:
Other makers to try in order to make great pom poms:
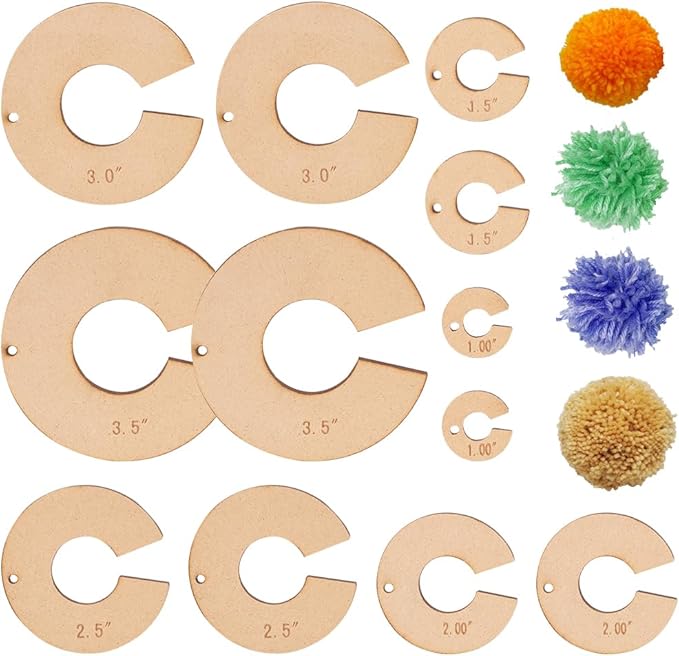
Benecreat wood pom pom makers.
These pom pom makers are similar to the classic style that we make out of card and cardboard, but as they’re wood, they last longer! You get 12 pieces in the set so it’s great value for a lot of different pom pom sizes. What I also like about this pom pom maker set is how the pieces are flat, meaning they store flat!
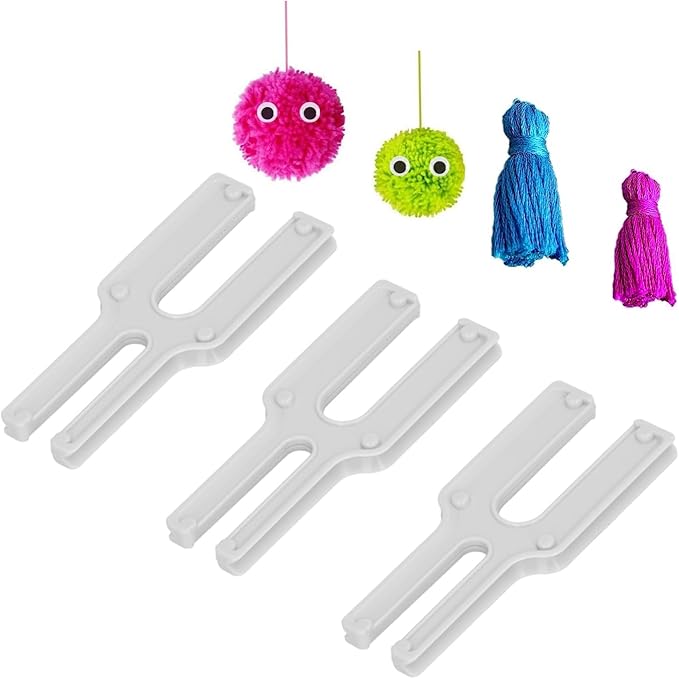
The pom pom loom maker.
This particular set is from woojfcang. These styles of maker have actually been praised for their ease of use for arthritic hands. There are no tricky parts to put together, making this pom pom maker one of the most accessible on the market.
What else I like about this style of maker is that it is a flat shape that can store really well in your craft bag. No pieces will come off or go missing, either. I have children, so I’ve lost half of my pom pom maker a few times!
This particular tool doubles as a tassel maker. It’s perfect for a range of crafts.
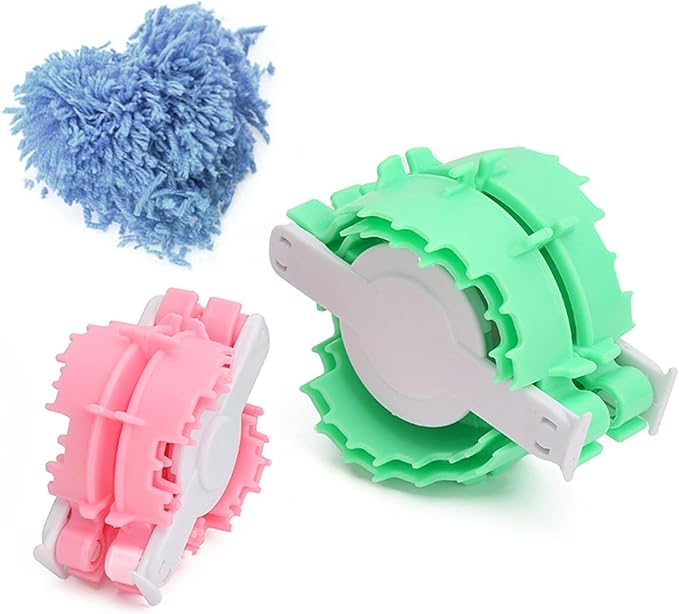
Novelty pom pom makers
I not doubt for a second that with some trimming of a regular pom pom, you could shape your own hearts but having done that myself, it’s messy and if you’re not well practised in topiary or hairdressing, you can mess it up! I have a heart pom pom maker.
Bear with me on this: when you first cut and release the yarn from this pom pom maker, it will just look like a regular pom pom at first. You will see though that it is slightly uneven. You then trim it to shape without having to guess, because it comes with instructions!
Leave a Reply