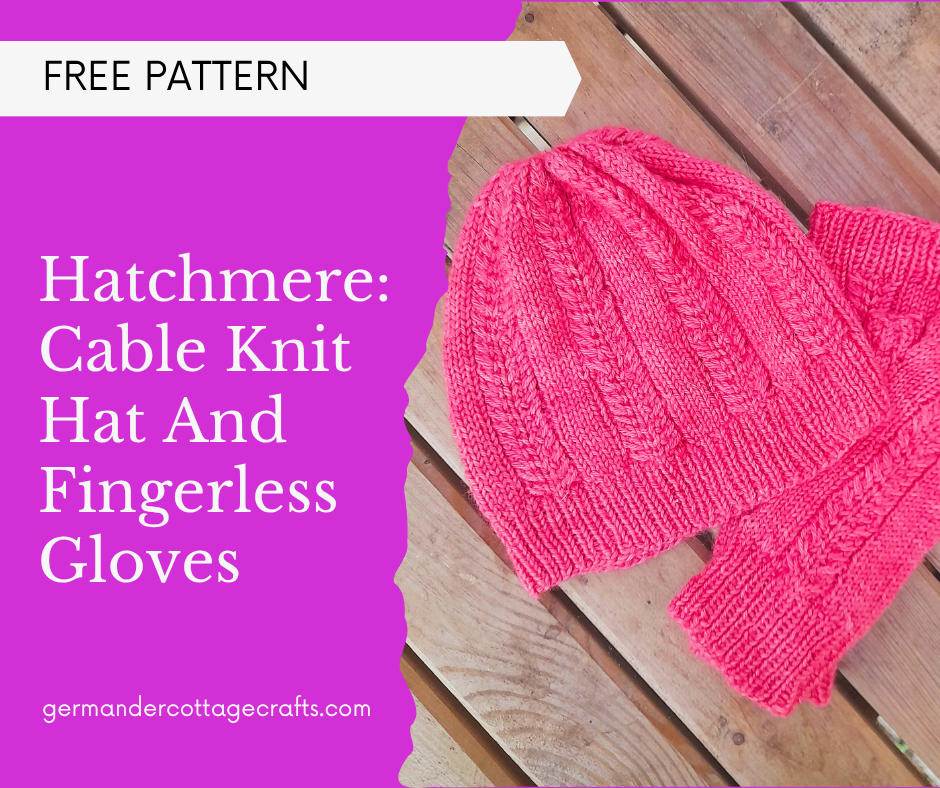
Cable knit hat and mitts pattern. This pattern is free, but if you’d prefer the ad-free PDF, you can get it here or on Ravelry.
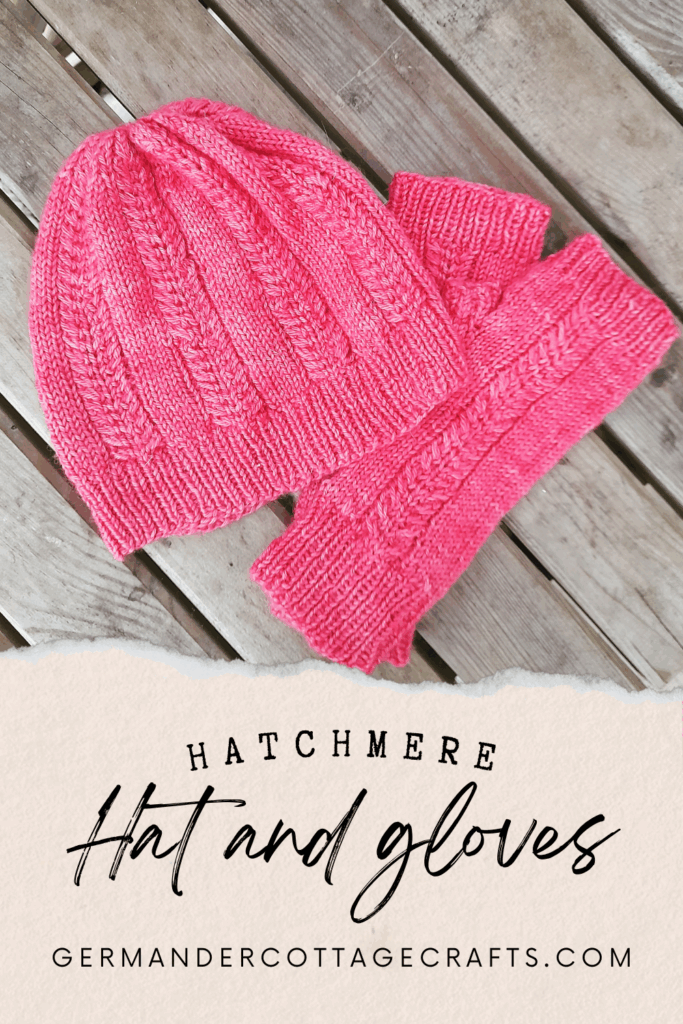
The Hatchmere cable knit beanie hat and fingerless mitts are a really simple introduction to cable knitting. There is also a matching cowl you can try.
On the edge of Delamere Forest, just behind the welcoming Carrier’s Inn, sits Hatchmere Lake. The captivating view from the Inn was obscured for years by high reeds & brambles, but is now cleared & a very pleasant sight.
The simple cable stitches of the Hatchmere Hat & Mitts complementary set reflect the comings & goings of the Lake’s birdlife & the little prints & ripples they leave behind
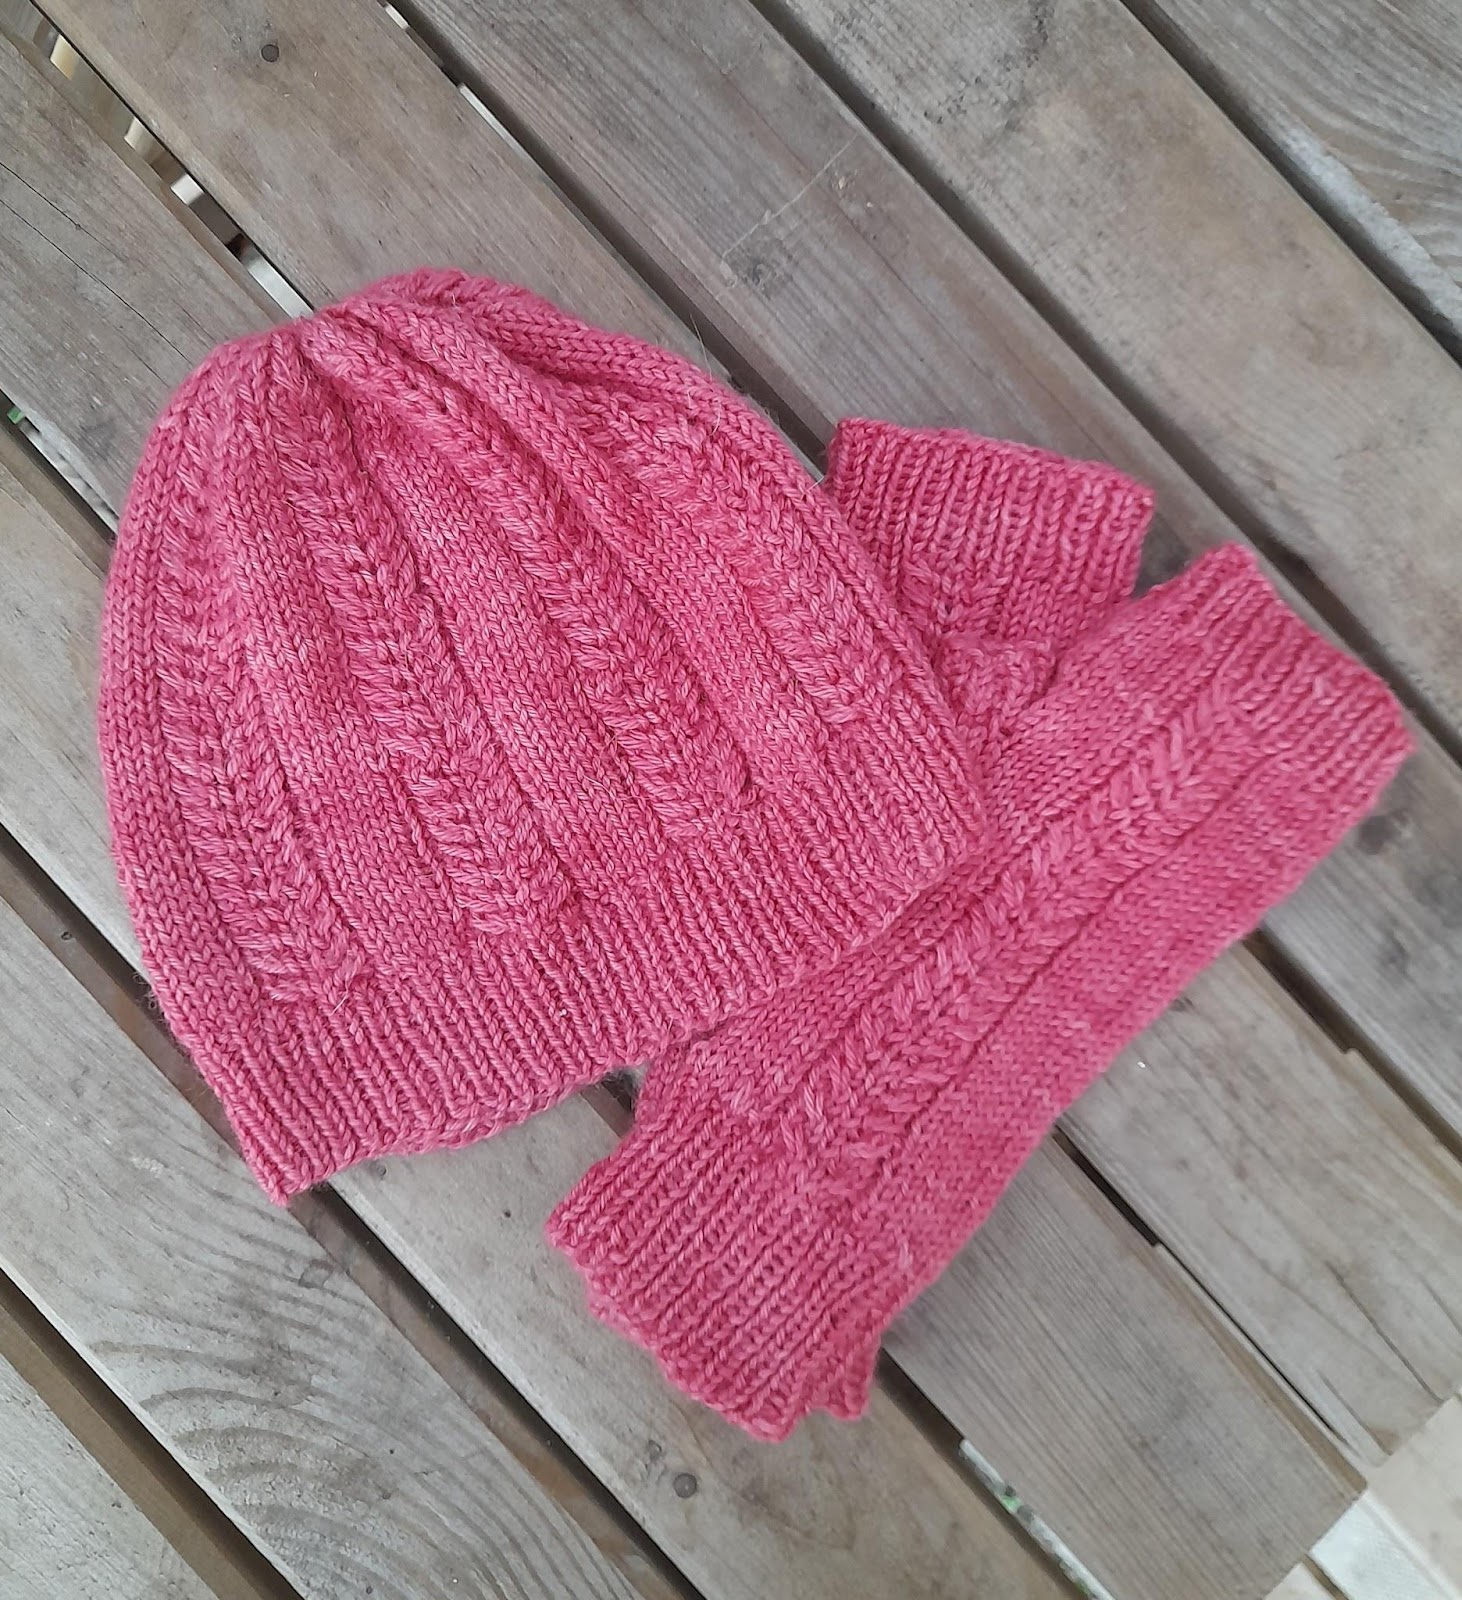
This hat and mitts set uses 2 skeins of Bowland DK in Dianthus. It’s a super soft, strong, buttery yarn made from the finest Bluefaced Leicester wool.
Cable Stitch Pattern
Worked over 9 sts:
Round 1: P1, K7, P1.
Round 2: P1, RC3, K1, LC3, P1.
The cable pattern will alternate in sync with the rnds e.g. Round 1 for the hat is the same as Round 1 of the cable pattern.
Glossary
CN- Cable needle
CO- Cast on
DPNs- Double pointed needles
Inc- Increase
K- Knit
LC- Left cable.
M1- Make 1. Knit into the front of the stitch, yarn over and knit into the back of the same stitch.
P- Purl
Rem- Remaining
RC- Right cable
RC3 (Right cable 3)- Sl next 2 sts onto CN and hold at back of work. K next st from LH needle then K2 from CN.
LC3 (Left cable 3)- Sl next st onto CN, hold at the front of the work. K next 2 sts from LH needle, then K from CN.
PM- Place marker
Rnd(s)- Round(s)
Sl- Slip
SM- Slip marker
Sts- Stitch(es)
What you’ll need to make this cable knit hat.
Materials:
- 60/80/100g/2/3/3.5oz of DK yarn such as Bowland DK by Eden cottage yarns 100% British Bluefaced Leicester wool in colourway Dianthus. 225m / 246yd per 100g / 3.5oz
- 4mm / US 6 DPNs or circular needle for magic loop method, or size needed to obtain gauge.
- 3.75mm / US 5 DPNs or circular needle for magic loop method.
Notions
Cable needle.
Darning needle.
Optional: Pom pom maker.
Gauge
28 sts and 32 rows = 4” x 4” / 10cm x 10cm on 4mm / US 6 needles in cable pattern.
Hat will fit head size:
- Small: 54cm / 21in
- Medium:58cm / 22.5in
- Large: 62cm / 24in
Cable Stitch Pattern
Worked over 9 sts:
Round 1: P1, K7, P1.
Round 2: P1, RC3, K1, LC3, P1.
The cable pattern will alternate in sync with the rnds e.g. Rnd 1 for the hat is the same as Rnd 1 of the cable pattern.
Note: There will be 14 sts for each repeat–5 K st and 9 cable sts.
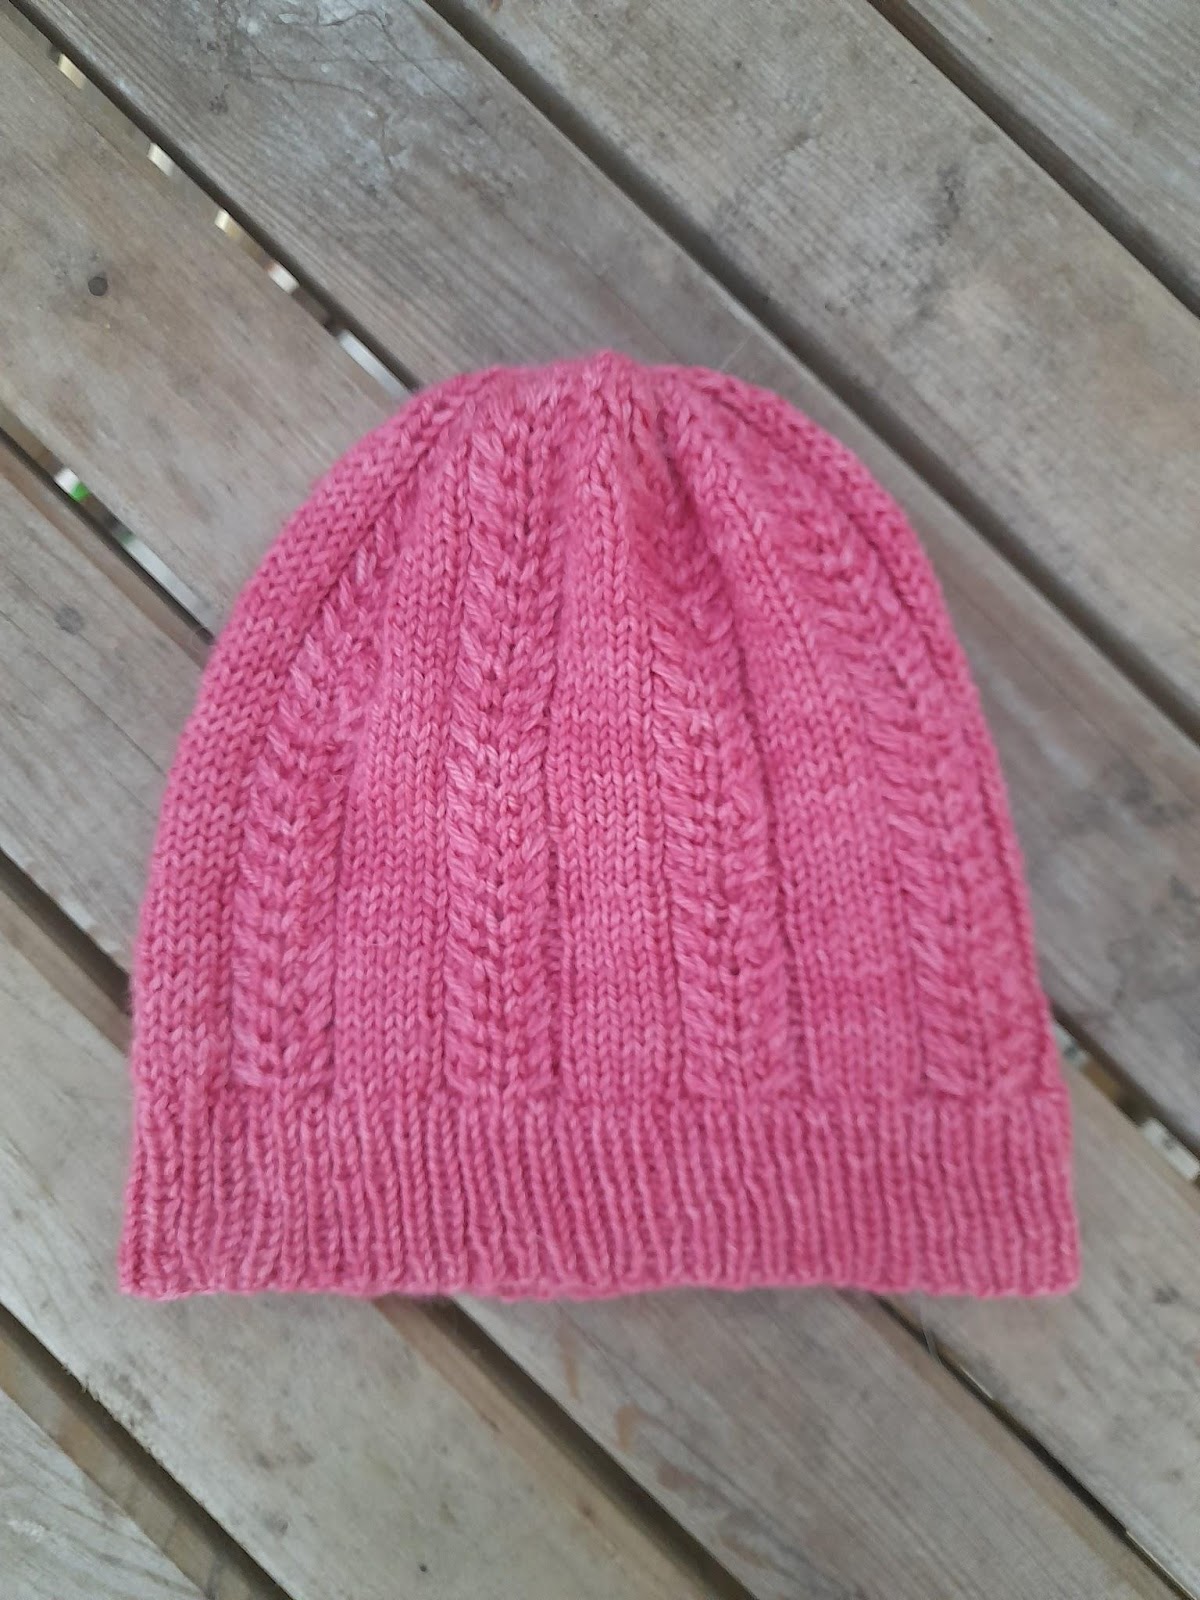
How to make your Hatchmere cable knit hat. Start here:
With 3.75mm / US 5 needles, cast on 98 (112, 126) sts. Join to work in the rnd, being careful not to twist sts.
Work in 1 x 1 rib for 14 rnds.
If using a row counter, after 14 ribbing rnds are complete, reset it to 0.
Switch to larger needles
Rnd 1: *K5, rnd 1 of cable pattern over next 9 sts; repeat from * to end of rnd.
Round 2: *K5, rnd 2 of cable pattern over next 9 sts; repeat from * to end of rnd.
Work rnd 1 and 2 until piece measures 15cm / 6in (17cm / 7in, 19cm / 8in) from cast on edge.
Crown shaping:
Taking care to follow the alternating cable pattern rounds:
Decrease rnd 1: *K1, K2tog, K2, work next rnd of cable pattern; repeat from * to end of round. (1 st decreased every st panel) 91 (112, 117) sts.
Decrease rnd 2: *K4, work next rnd of cable pattern; repeat from * to end of rnd.
Decrease rnd 3: *K1, K2tog, K1, work next rnd of cable pattern; repeat from * to end of rnd. 84 (96, 108) sts.
Decrease rnd 4: *K3, work next rnd of cable pattern; repeat from * to end of rnd.
Decrease rnd 5: *K1, K2tog, work next rnd of cable pattern; repeat from * to end of round. 77 (88, 99) sts.
Decrease rnd 6: K2, work next rnd of cable pattern; repeat from * to end of round.
Decrease rnd 7: *K2tog, work next rnd of cable pattern; repeat from * to end of round. 70 (80, 90) sts.
Decrease rnd 8: *K1, cable pattern* repeat to end.
Decrease rnd 9: Repeat rnd 8.
Finishing:
Cut yarn leaving at least 10cm / 4 in.
Thread the darning needle with the yarn tail, then pull the tail through all remaining sts. Pull tight to close the hole. Secure, weave in and fasten off.
Block hat to open out cable pattern.
Love your Hatchmere cable knit hat? If you’d like to complete the set, here are the instructions for matching cable knit mitts.
Mitts (make 2)

Materials
- 80g/3oz of DK yarn such as Bowland DK by Eden cottage yarns in colourway Dianthus. 225m/246yd per 100g/3.5oz
- 4mm / US 6 DPNs or circular needle for magic loop method, or size needed to obtain gauge.
- 3.75mm / US 5 DPNs or circular needle for magic loop method.
- Stitch holder (or spare yarn) for thumb of mitts.
- Cable needle.
- Darning needle.
- Stitch marker.
Gauge
28 sts and 32 rows = 10cm x 10cm / 4” x 4” on 4mm / US 6 needles in cable pattern.
Finished Measurements
Mitts will fit hand circumference of up to 20cm / 8in – 23cm / 9in
Finished size (unstretched): 18cm / 7in wide and 23cm / 9in long.
Right glove:
CO 40 sts using 3.75mm / US 5 needles. Join to work in the rnd, being careful not to twist sts.
Work in K1 P1 rib for 16 rnds.**
Switch to larger needles.
Rnd 1: K5, Rnd 1 of cable pattern, K to end.
Rnd 2: K5, Rnd 2 of cable pattern, K to end.
Following cable pattern, work 14 more repeats, (30 rnds in total).
Thumb gusset
Rnd 31: K5, next rnd of cable pattern, M1, K1, PM, M1, K to end. 42 sts.
Rnd 32: Work in established stitch pattern around, without increasing, knitting increased sts from previous round.
Rnd 33: Work in established stitch pattern to 1 st before marker, M1, K1, SM, M1, work in established stitch pattern to end. 44 sts.
Repeat Rnds 32 and 33 until there are 50 sts.
Next row: Work next 30 sts in established pattern, without increasing, turn, leaving rem 20 sts unworked.
Cast on 2 sts beginning of next row, K11, turn.
Cast on 1 st at beginning of next row. ***K these 14 sts for 2cm (¾ in), then work 3 rnds of K1, P1 ribbing.
Cast off all sts loosely.
Rejoin yarn to unworked sts, inc 1 st and work to end of rnd. 40 sts.
Work in established stitch pattern for 13 more rnds, starting at Rnd 2 of cable pattern.
Switch to 3.75mm / US 5 needles and K1, P1 for 9 rnds.
Cast off in rib on larger needles.
Sew up thumb seam and gap at the bottom of thumb. Weave in all ends.
Left glove:
Work as for Right glove until **.
Rnd 1: K26, Rnd 1 of cable pattern, K to end.
Rnd 2: K26, Rnd 2 of cable pattern, K to end.
Following cable pattern, work 14 more repeats, (30 rnds in total).
Thumb gusset:
Rnd 31: K20, M1, K1, PM, M1, next rnd of cable pattern, K to end. 42 sts.
Rnd 32: Work in established stitch pattern around, without increasing, knitting increased sts from previous round.
Rnd 33: Work in established stitch pattern to 1 st before marker, M1, K1, SM, M1, work in established stitch pattern to end. 44 sts.
Repeat Rnds 32 and 33 until there are 50 sts.
Next row: Work next 30 sts in established pattern, without increasing, turn, leaving rem 20 sts unworked.
Cast on 2 sts at beginning of next row, K11, turn.
Cast on 1 st at beginning of next row. Finish as for right glove from
Leave a Reply