Tag: crochet pattern free
The Breeze Crochet Cardigan. Simple V stitch crochet cardigan in worsted weight yarn.
Here’s a free pattern for a worsted weight crochet cardigan. Crochet the Breeze cardigan in a few hours thanks to the breezy V stitch!
Written by

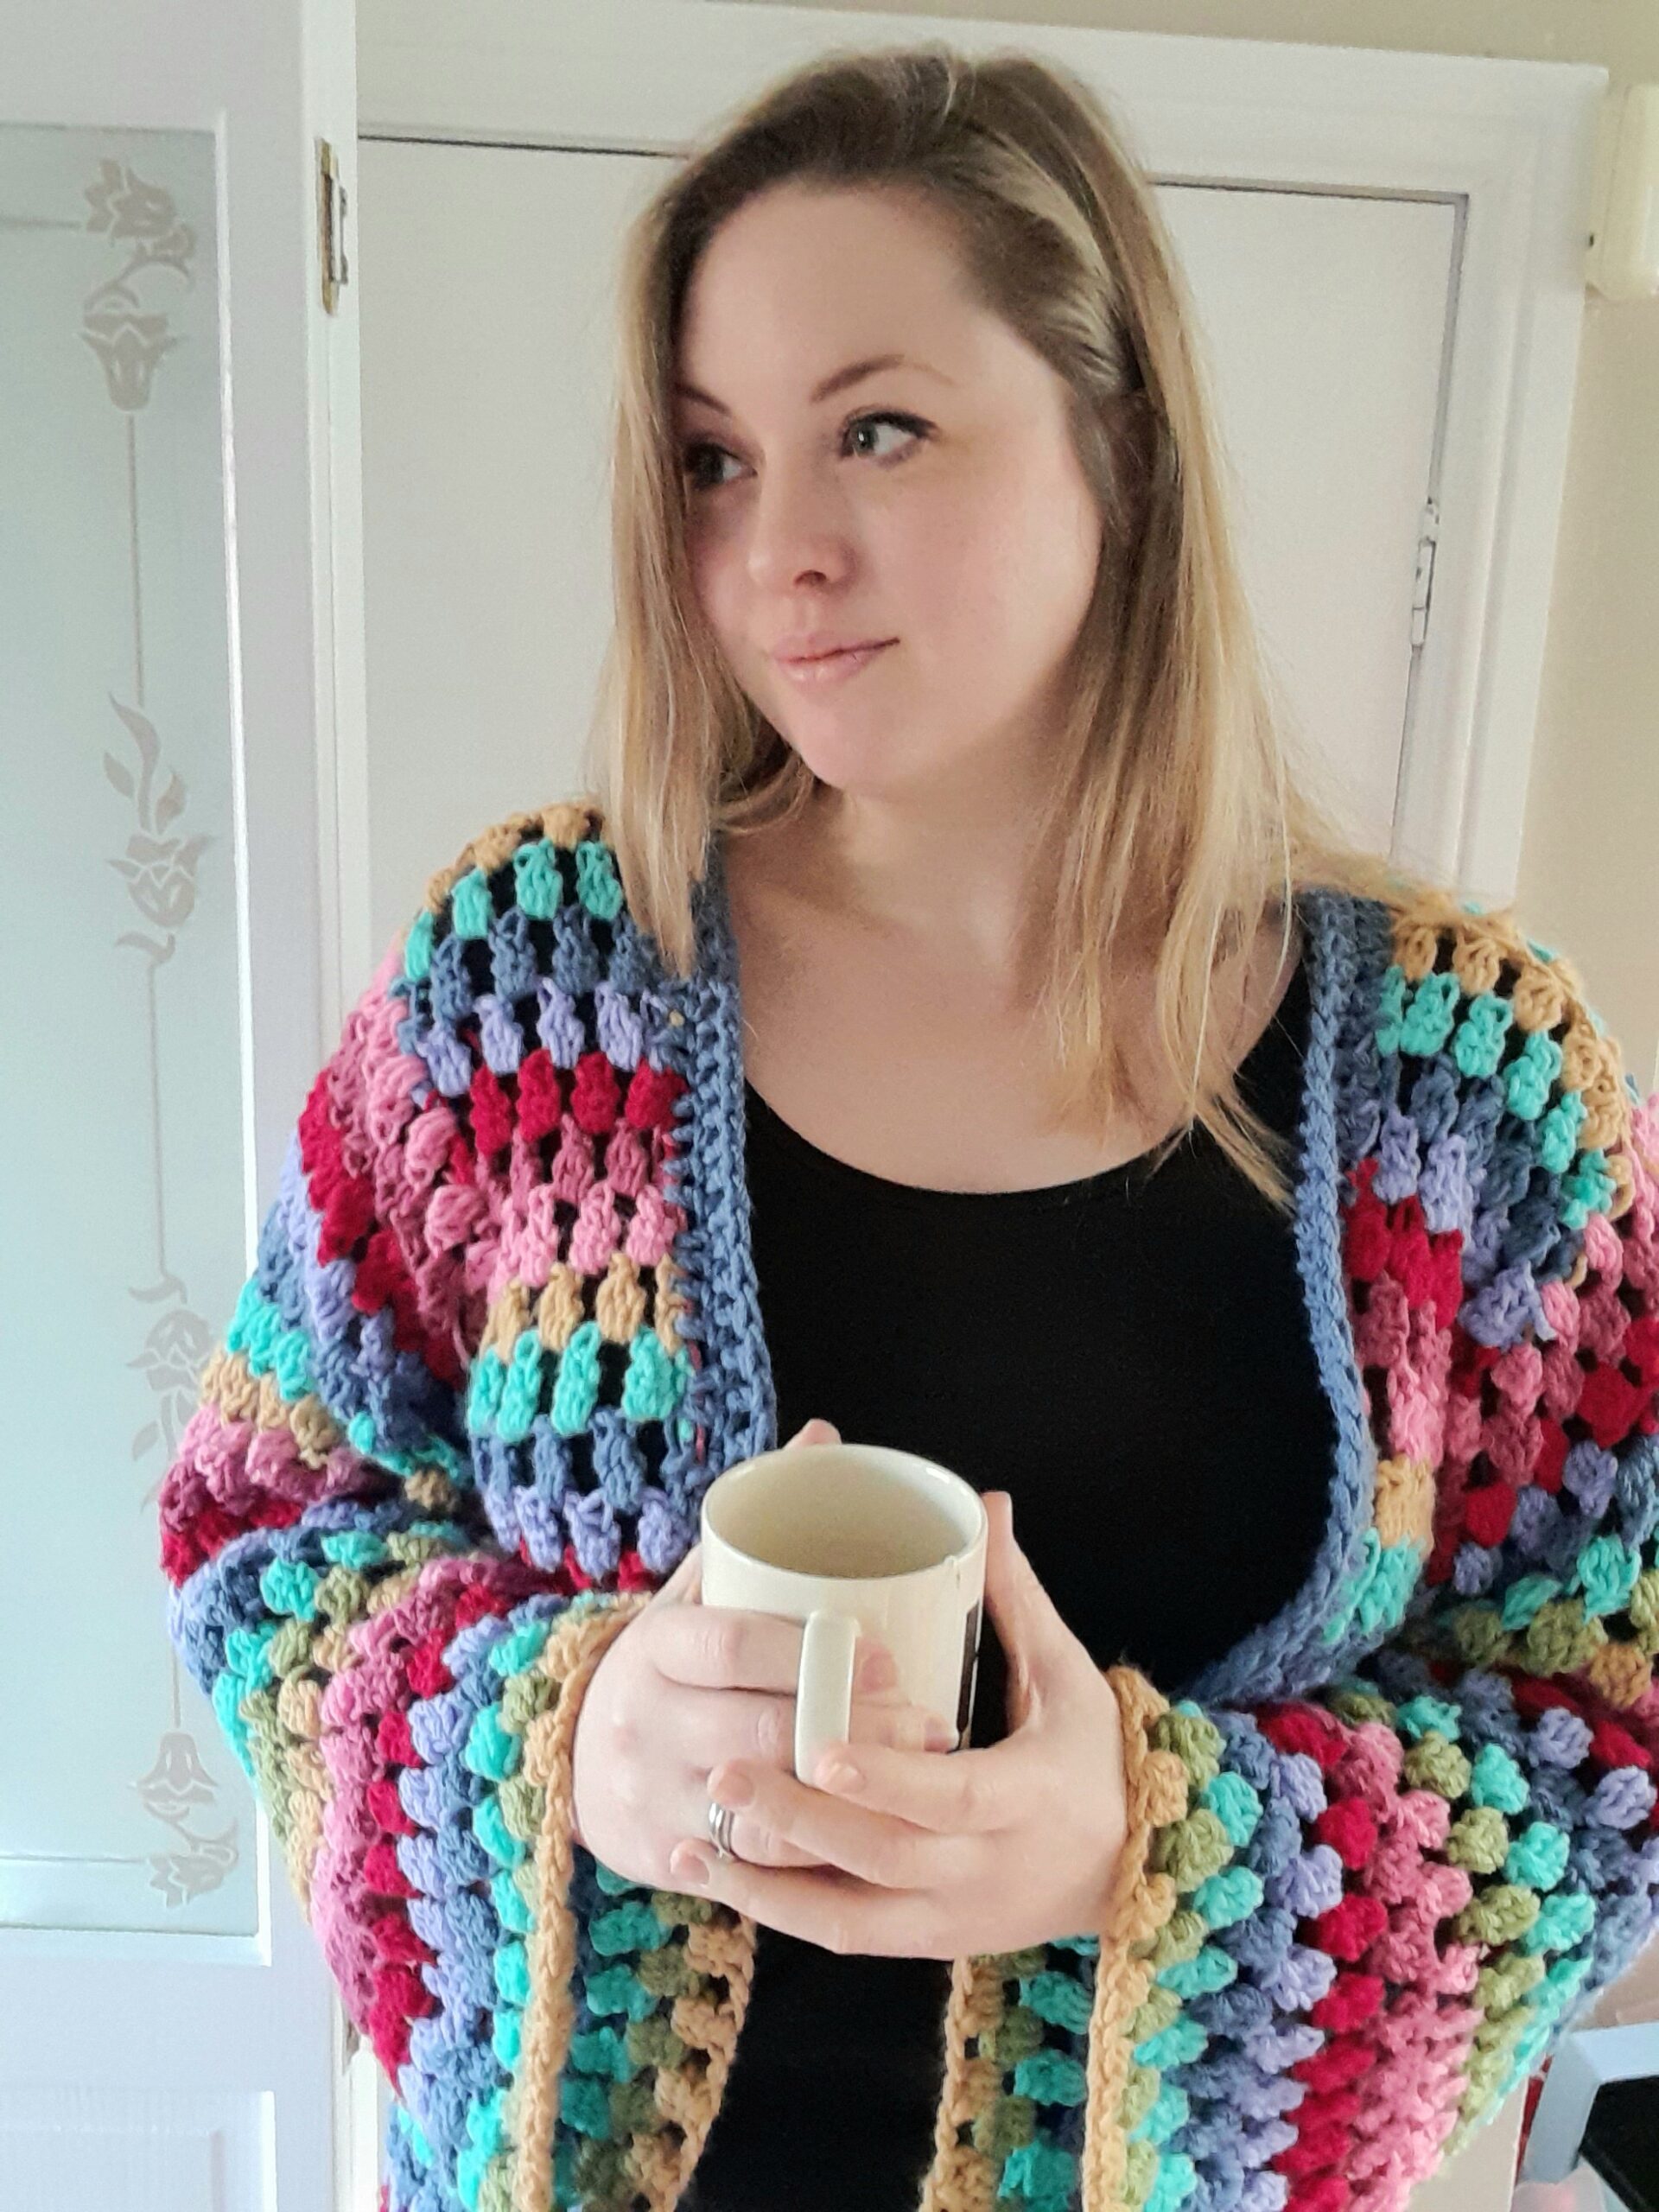
Starburst Cardigan. Chunky crochet cardigan pattern.
This is a free crochet pattern for a chunky, multi-coloured cardigan. You can either use this free version with ads, or the pattern is also available here with no ads. The main feature of this crochet cardigan pattern is the bobble stitch. This is a fun stitch that will be a breeze to make as…
Written by