Tag: crochet tutorial
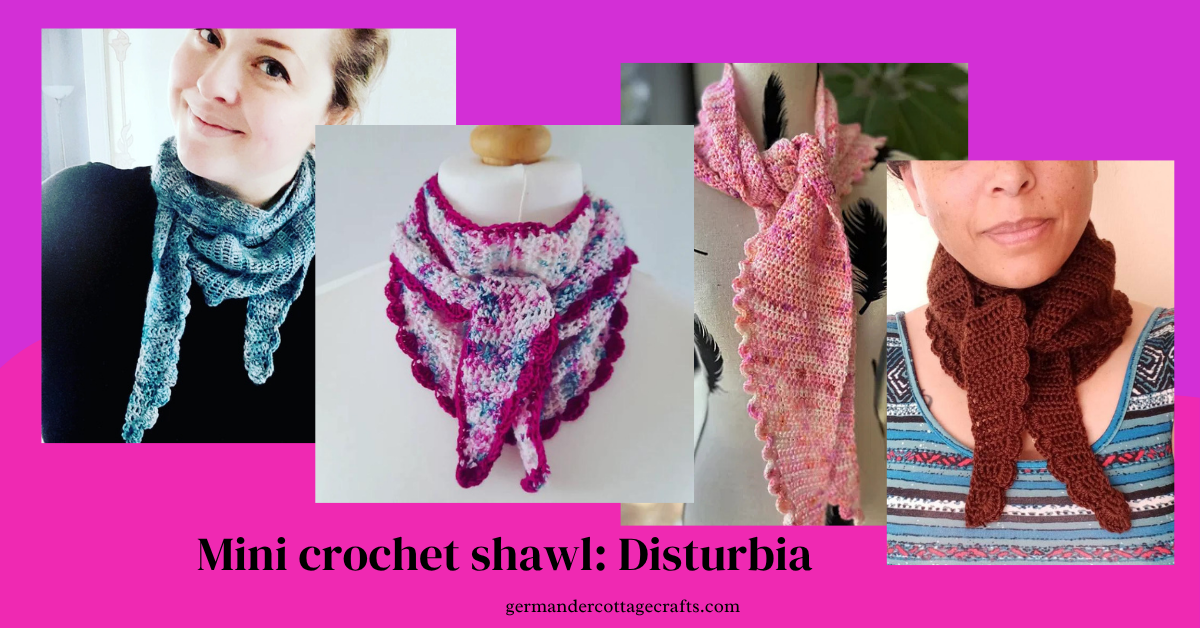
The Disturbia mini Crochet Shawl
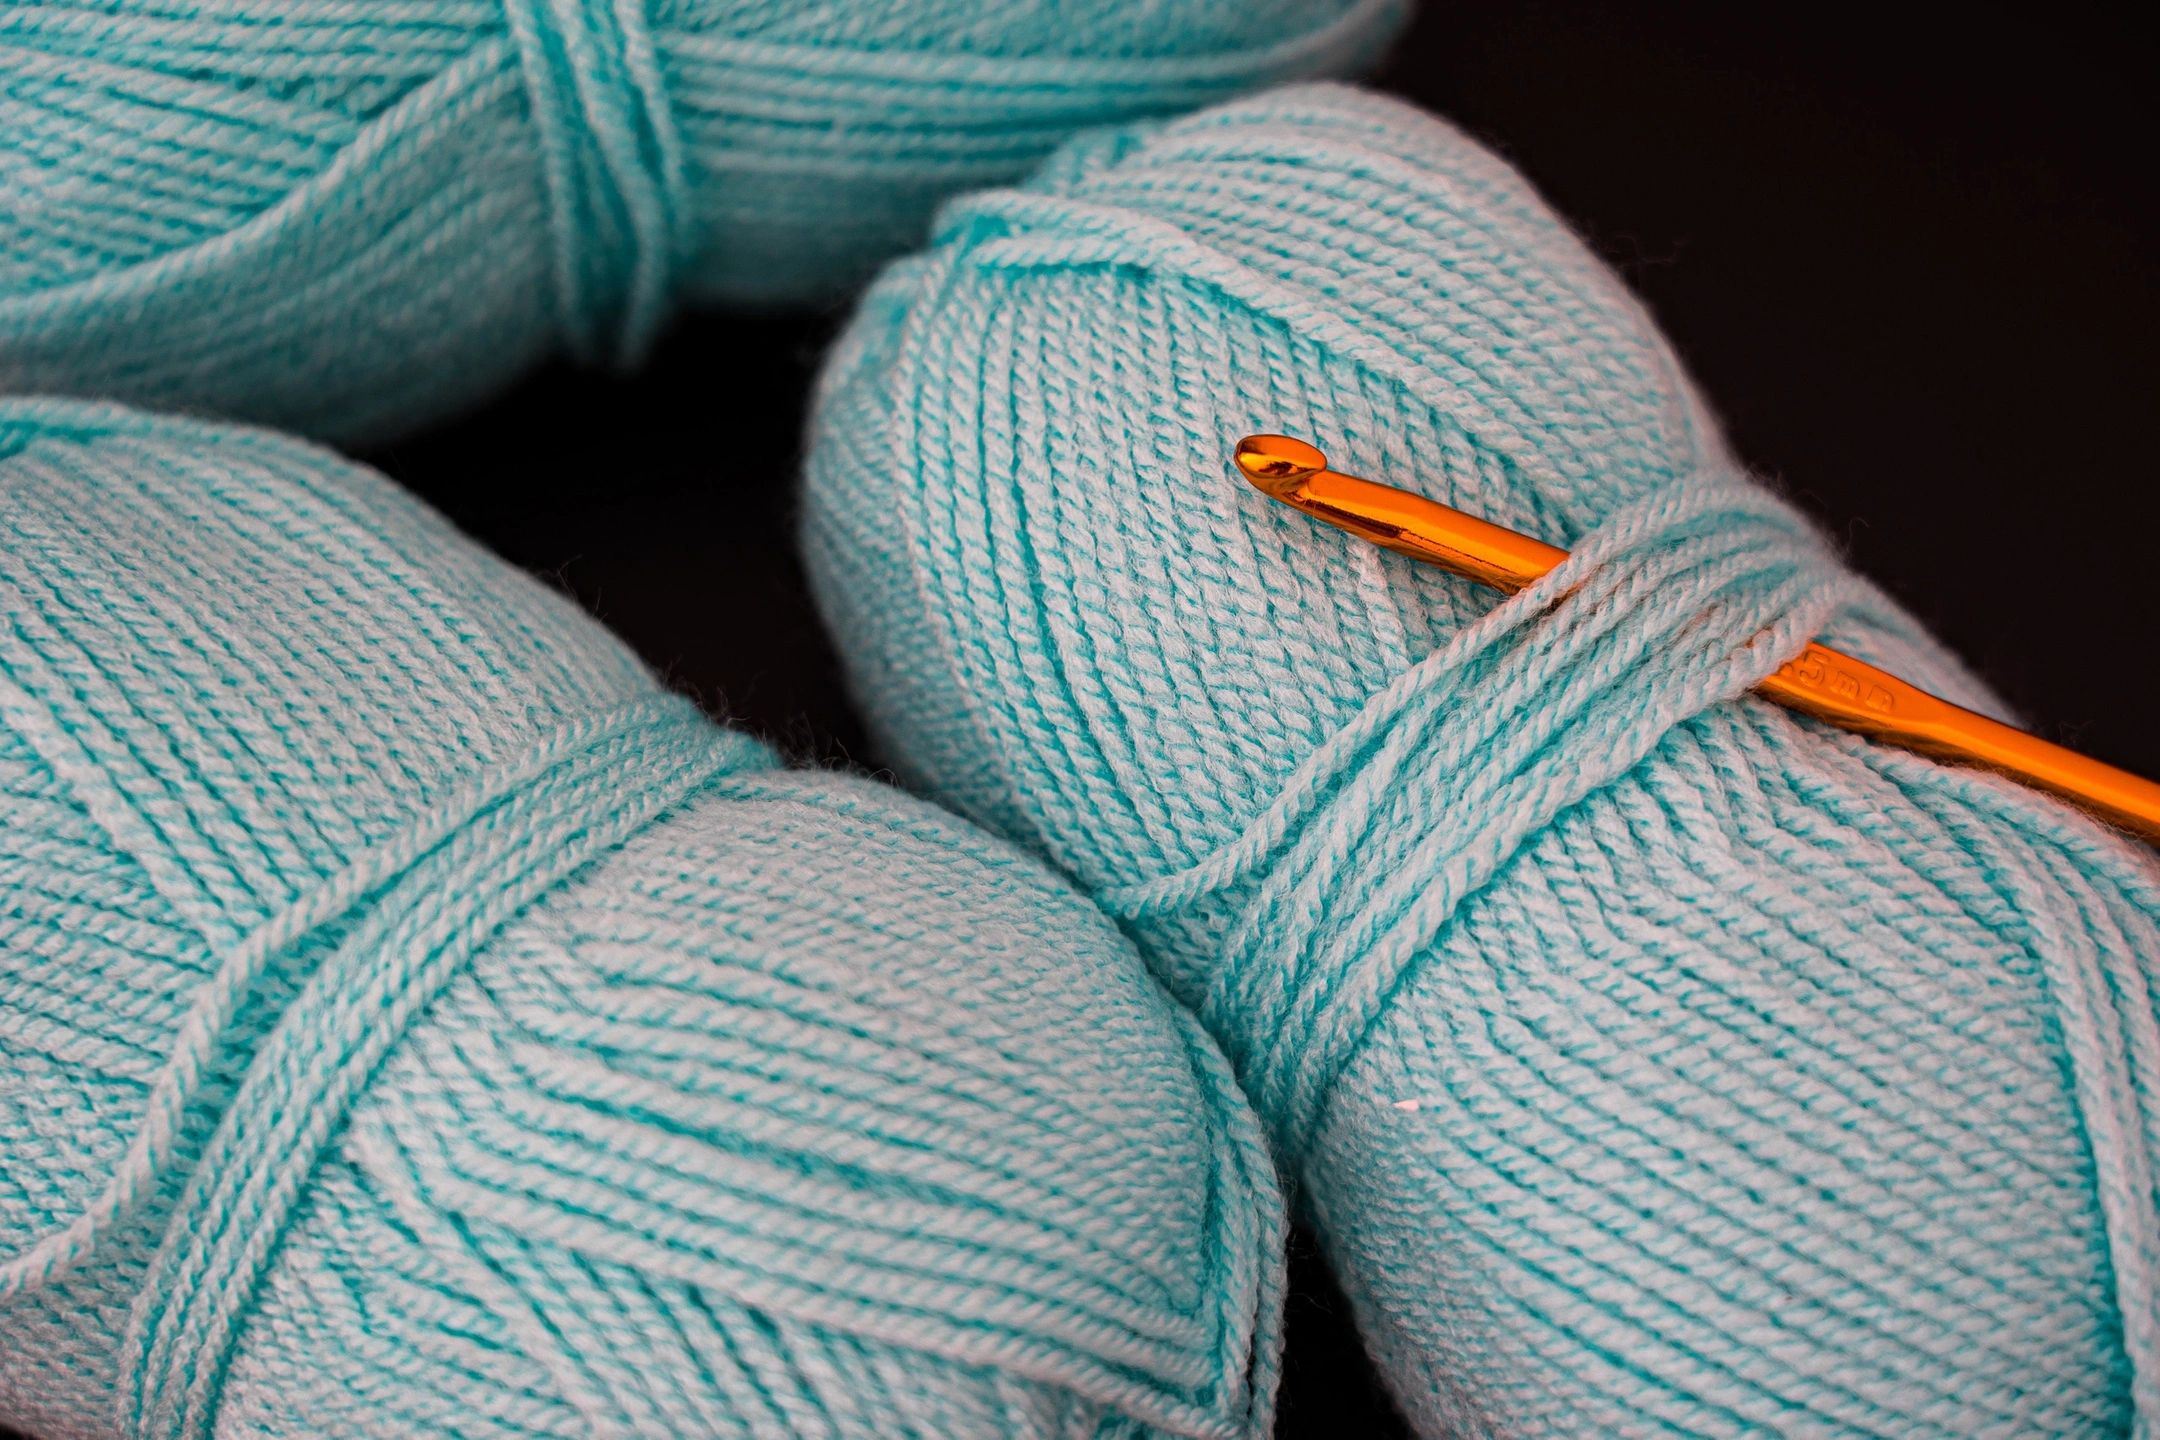
The Disturbia yarn and the disturbia shawl patterns were a hit during the Knit365 collaboration of 2023.
Written by
How to create crochet fabric that drapes.
In this post, I’ll be talking about drape in crochet and how you can make a few simple tweaks to ensure your crochet fabric hangs as you want it to. You may have heard that crochet fabric doesn’t look as good as knit fabric. Did you know that it can? Here I will explain how…
Written by

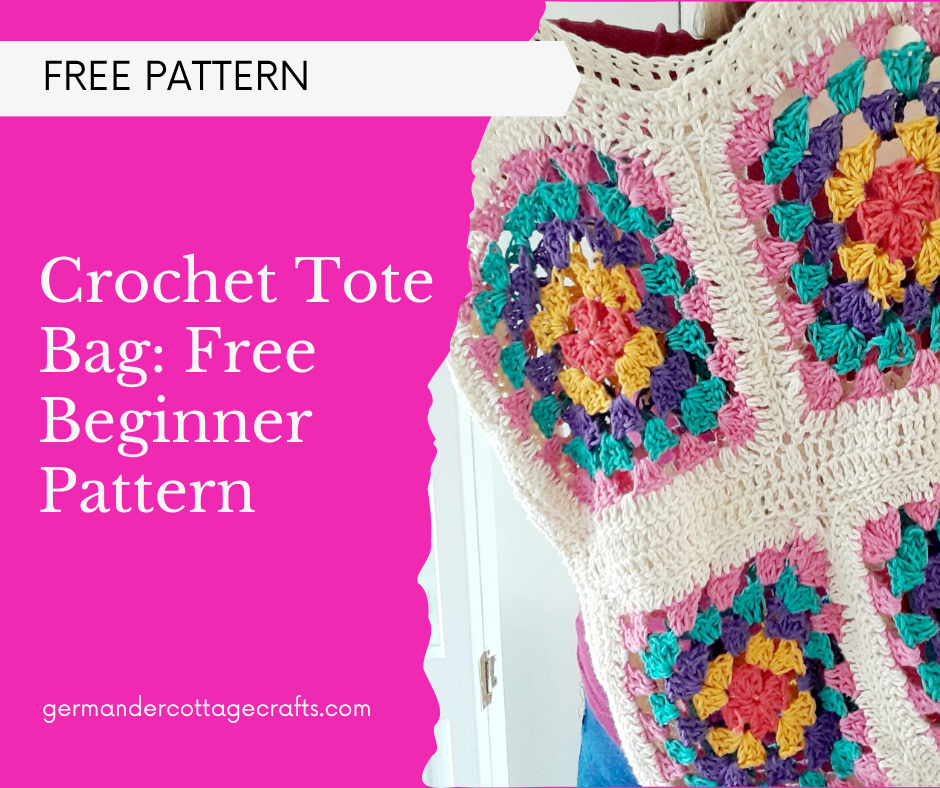
Totes Crochet Bag. Free Granny Square Tote Bag Pattern.
If you love granny squares and functional crochet, here is a pattern for a simple crochet bag that uses joined up granny squares. This is a free pattern for a crochet tote bag. Can a beginner make this crochet bag? Here’s a quick skill check: You should be able to: Totes crochet bag The Totes…
Written by
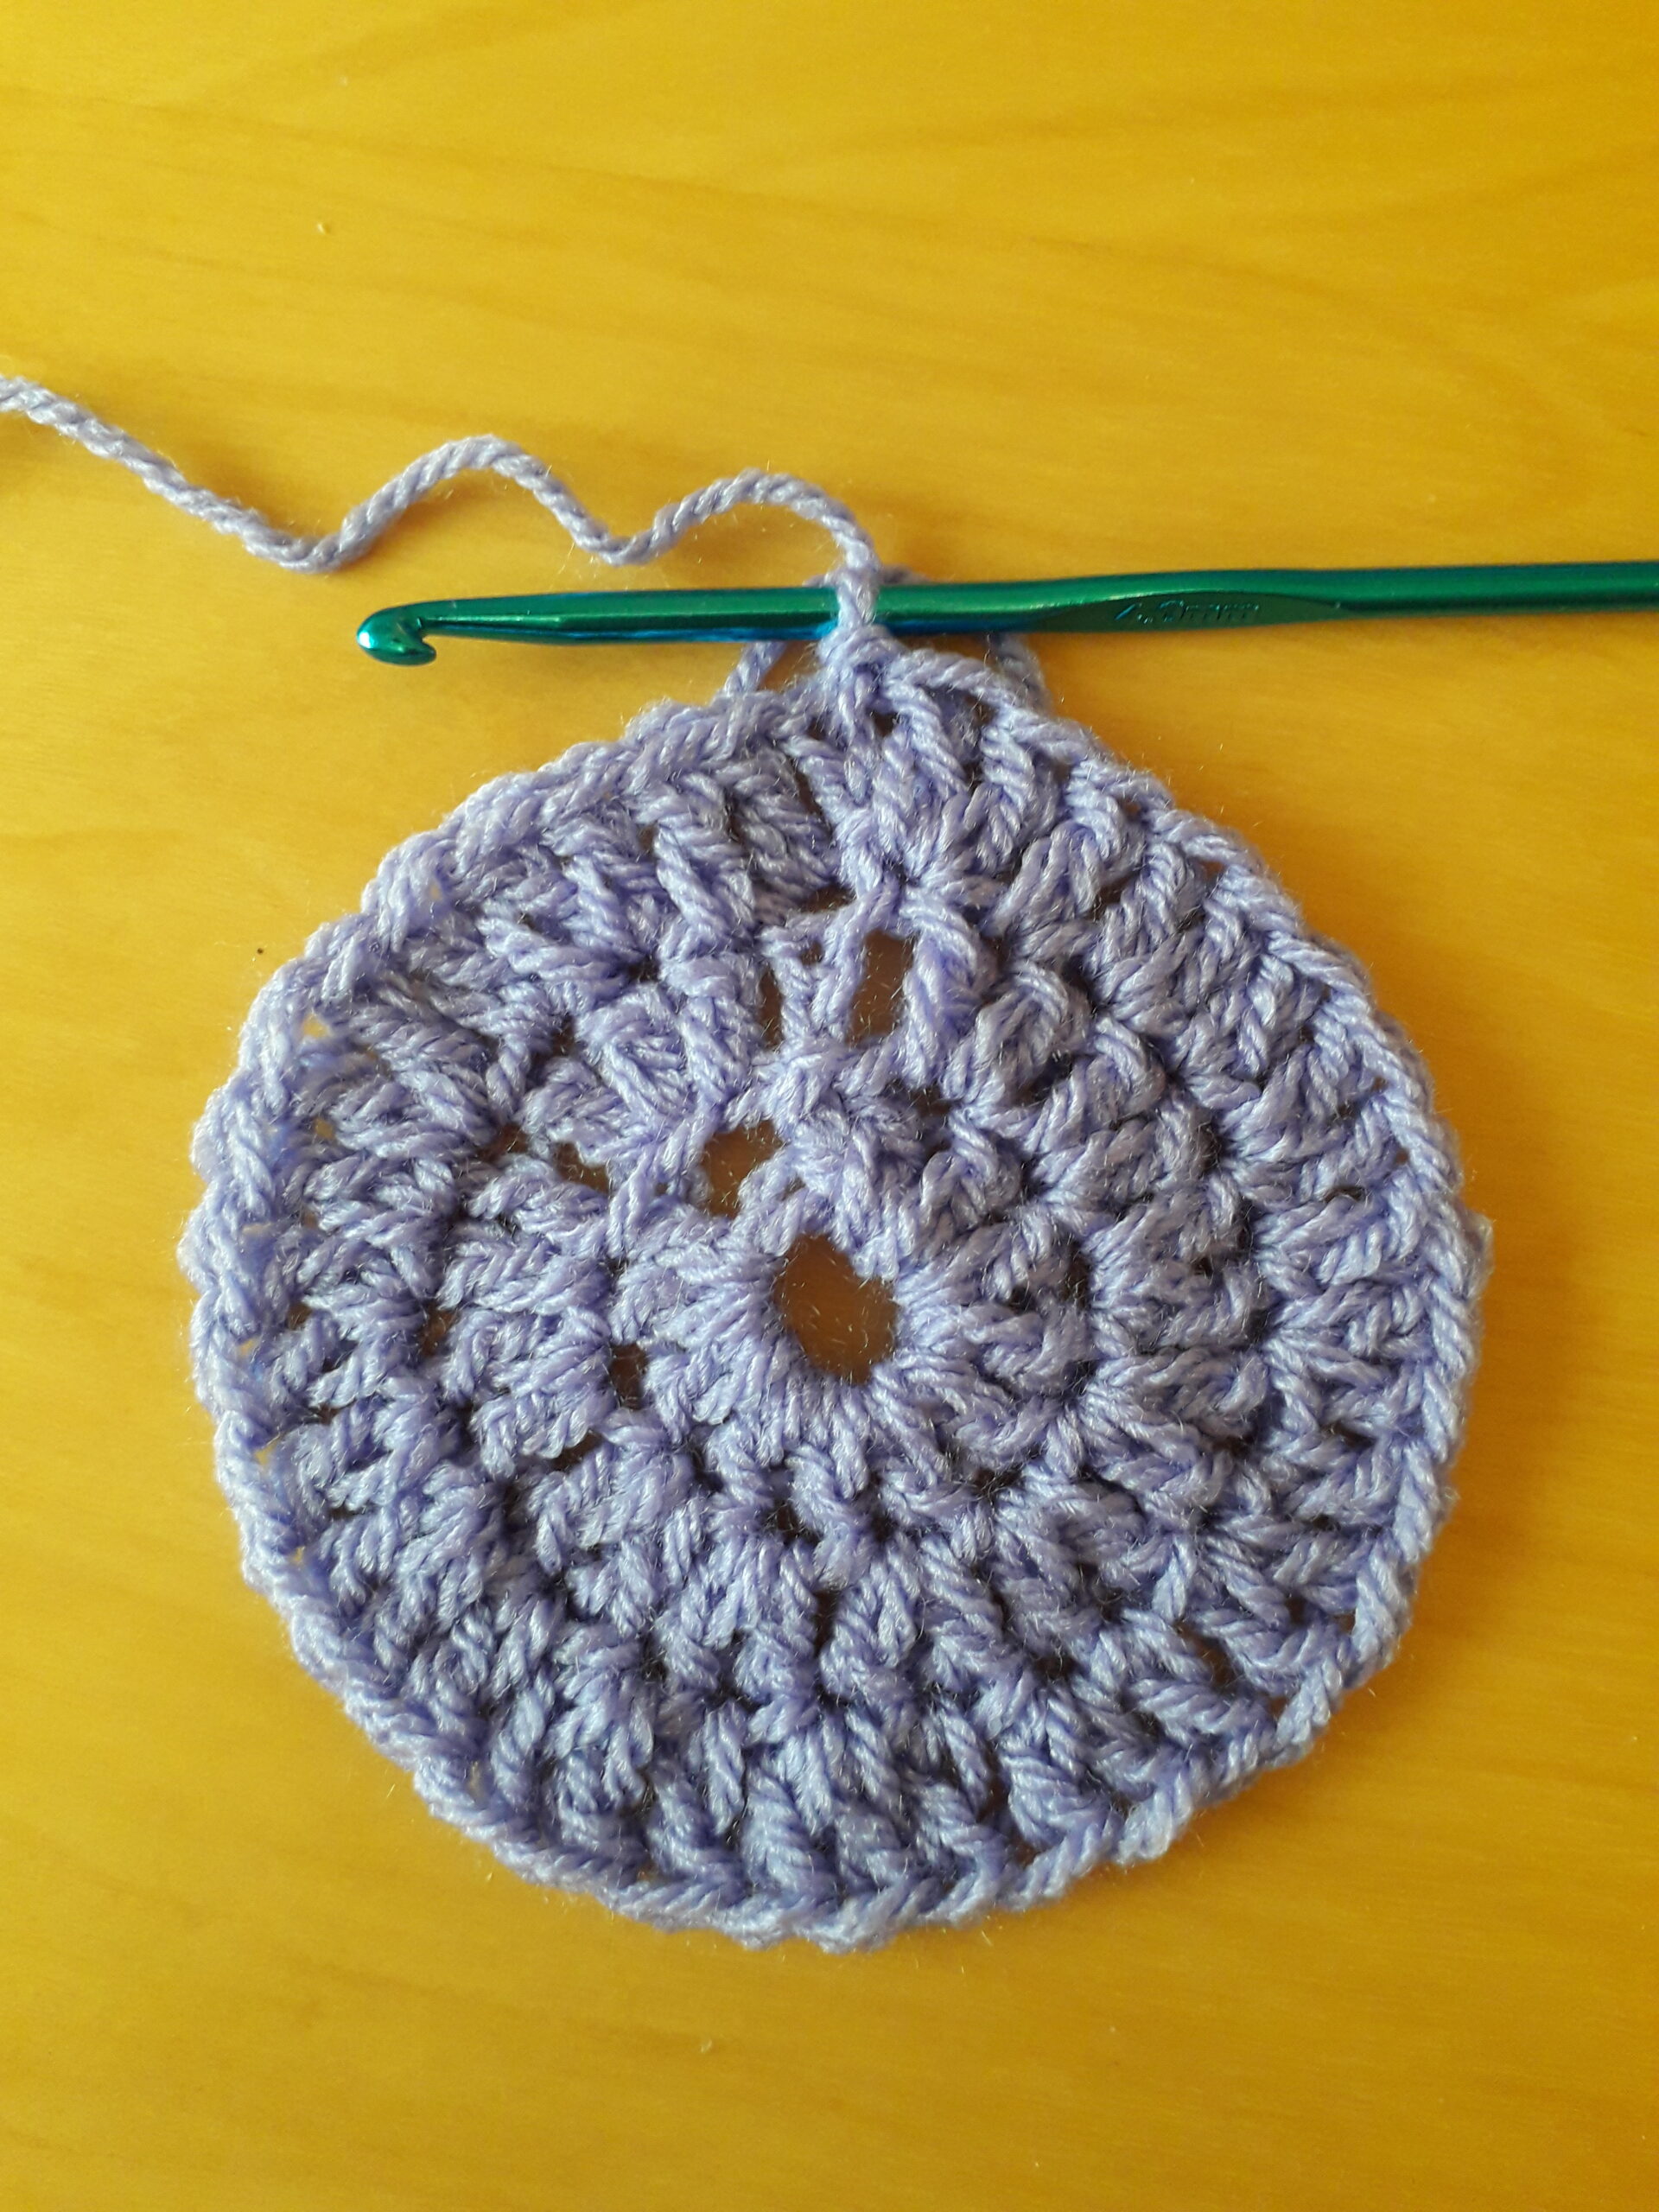
How to crochet a circle. Crochet circle pattern for beginners. Crochet a flat circle that doesn’t curl or frill.
This is a free pattern for a crochet circle. How to crochet a flat circle Creating your first crochet circle is really tough, especially when you don’t know how to make it bigger or how to make it lie flat. With this pattern I can explain how to: Materials required: Terms are written in US…
Written by
Where to put your hook in crochet. How to crochet for complete beginners.
Have you started reading crochet patterns but you’re not sure where to put your crochet hook? Here I’ll show you where to put your hook in crochet. Disclosure: This post may contain affiliate links, meaning I get a commission if you decide to make a purchase through my links, at no cost to you. Stitch…
Written by
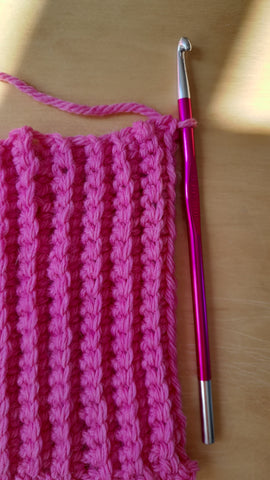
Single Crochet Rib Tutorial
Learn to crochet the knit-like rib stitch.
Written by
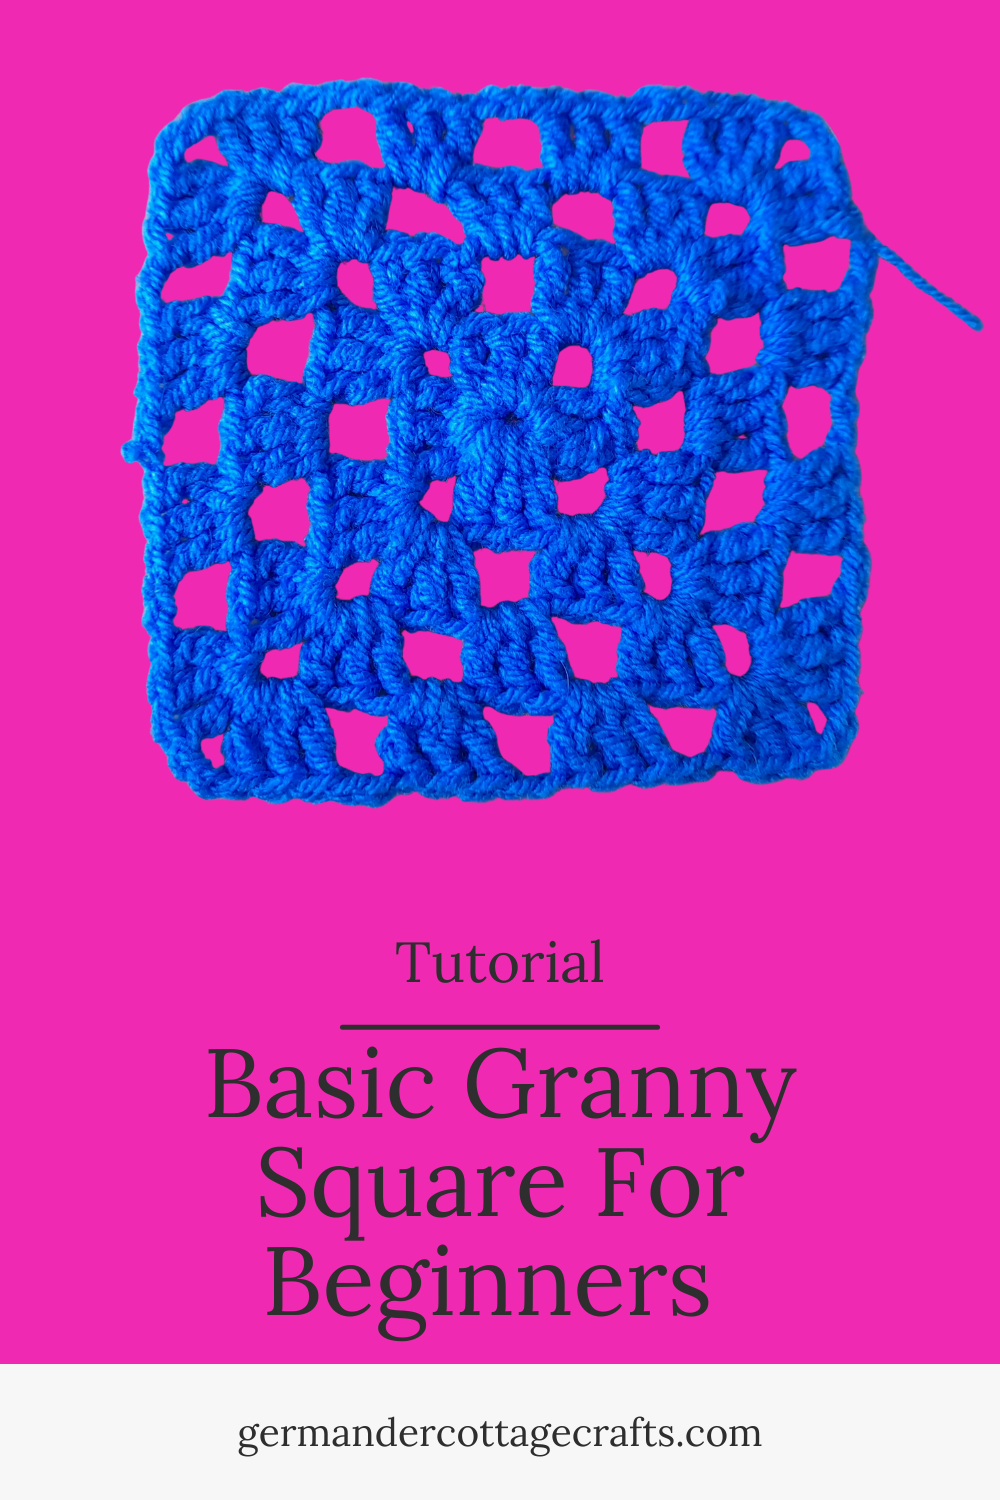
Free Beginner Granny Square Pattern For Beginners
Below you’ll find my free granny square crochet pattern just for beginners. If you’ve been wanting to make your own crochet squares for a while but don’t know where to start, this is a great place! I wrote this pattern to accompany a youtube tutorial which you can find below. If you’d prefer the written…
Written by