Tag: cuff down socks
Simple DK sock knitting pattern. DK Boot socks.
Free sock knitting pattern for a pair of cosy, DK boot socks!
Written by

Free sock pattern: Advent mini sock knitting pattern.
Free knitting pattern for a pair of mini socks. Knit these for an advent calendar, a little one or just for practice!
Written by

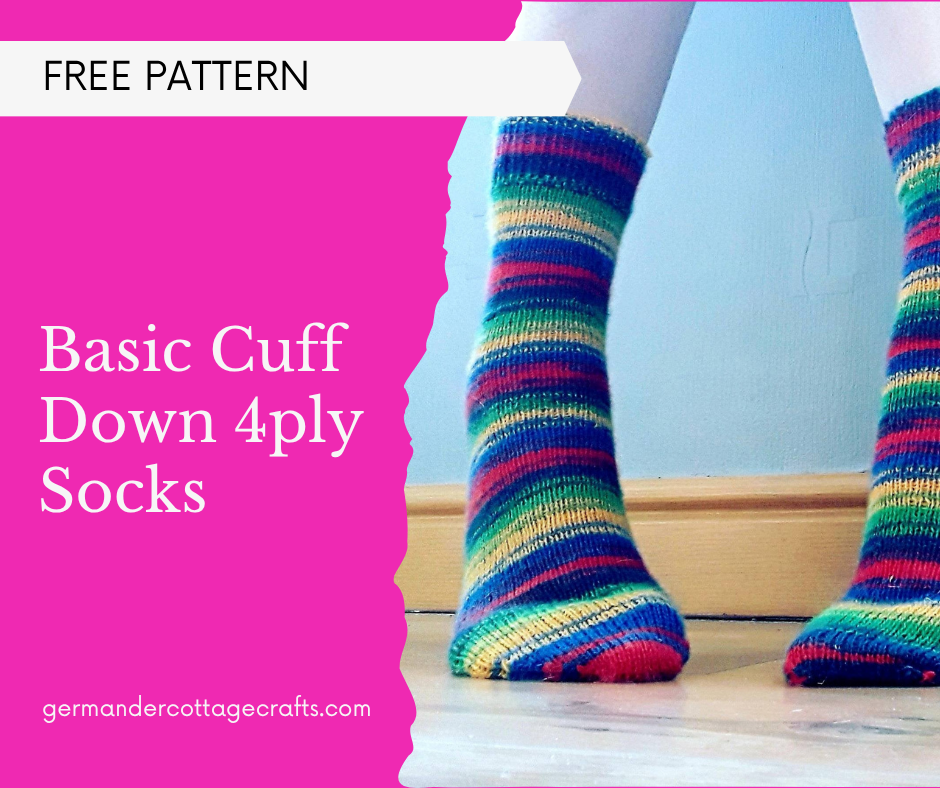
Simple cuff-down sock knitting pattern. Sock knitting for beginners.
Free pattern for a pair of simple, cuff-down socks knit in the round with 4ply yarn.
Written by