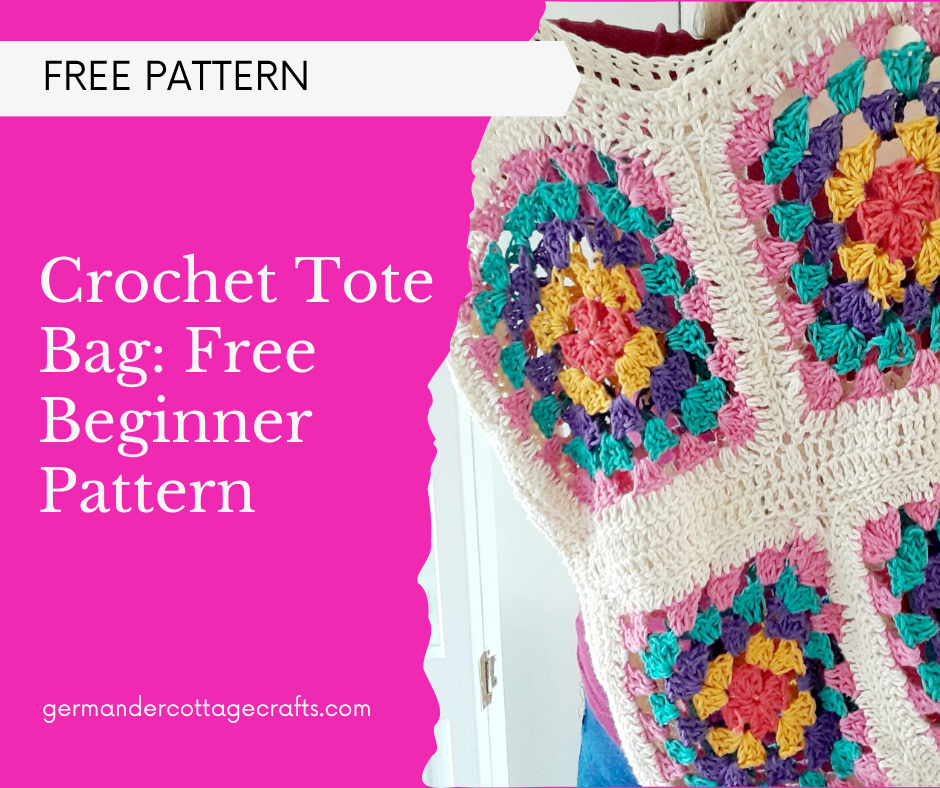
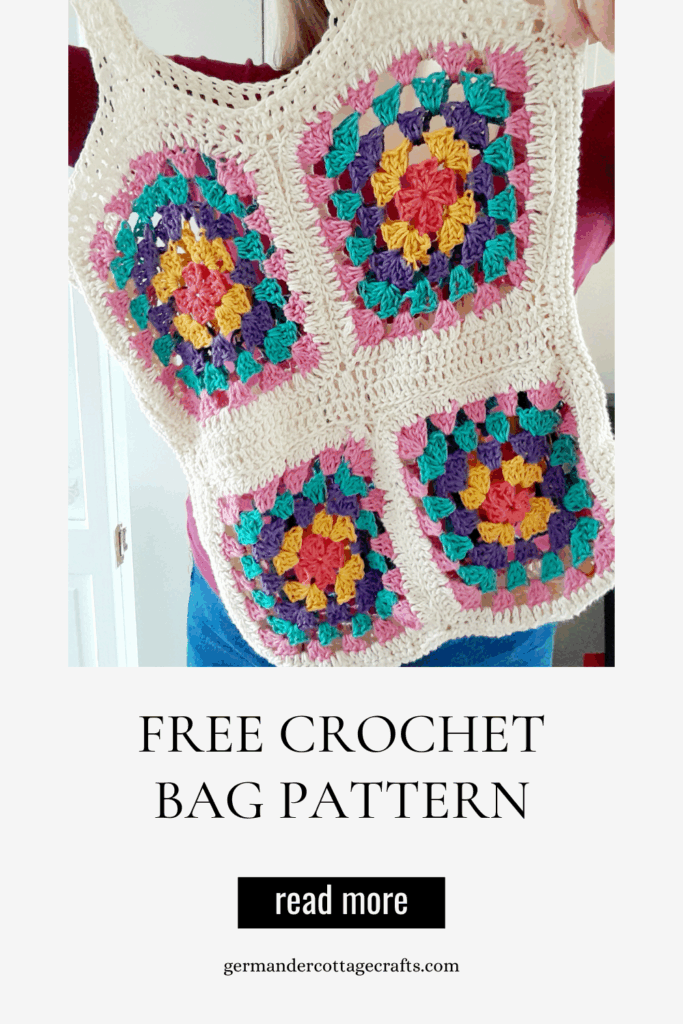
If you love granny squares and functional crochet, here is a pattern for a simple crochet bag that uses joined up granny squares. This is a free pattern for a crochet tote bag.
Can a beginner make this crochet bag? Here’s a quick skill check:
You should be able to:
- Make a chain.
- Make the basic crochet stitches e.g. double crochet and single crochet. If you need help with your crochet terms, I have a guide here.
- Make a granny square. Here’s a free tutorial if you’re not sure how to crochet a granny square.
- Join granny squares. Here’s how.
Totes crochet bag
The Totes crochet bag is a simple design for a crochet bag. This is a pattern for a simple cotton crochet tote bag using granny squares and a combination of slip stitch, double and single crochet.
Use this crochet bag for anything. The straps will be worked continuously rather than sewn on for added strength.
Materials:
- 1 4mm crochet hook
- Cygnet 100% Cotton DK (100g per ball): 1 x Smokey Purple, 1 x Pepper, 1 x Peony Pink, 1 x Golden, 1 x Spring, 2 x Vanilla Cream.
- Darning needle
Here is the link to the video playlist. The videos do not replace the pattern instructions; they are there as support with visualising the project. It is still useful to learn to read the written instructions to develop your skills.
I use US crochet terms throughout.
Glossary:
| Ch | Chain. Yarn over and pull through the 1 loop on the hook. |
| Ch sp | The space of gap that has been created by stitches. |
| Dc | Double crochet stitch: Yarn over, insert hook, yarn over and pull through, yarn over and pull through 2 loops on hook. Yarn over and pull through 2 loops on hook. |
| Sc | Single crochet stitch.Insert hook into the chain or stitch, yarn over and pull through. Yarn over and pull through 2. |
| Sl st | Slip stitch. Insert hook into chain or chain space, yarn over and pull through. |
| RS | Right side of the work. |
| WS | Wrong side of the work. |
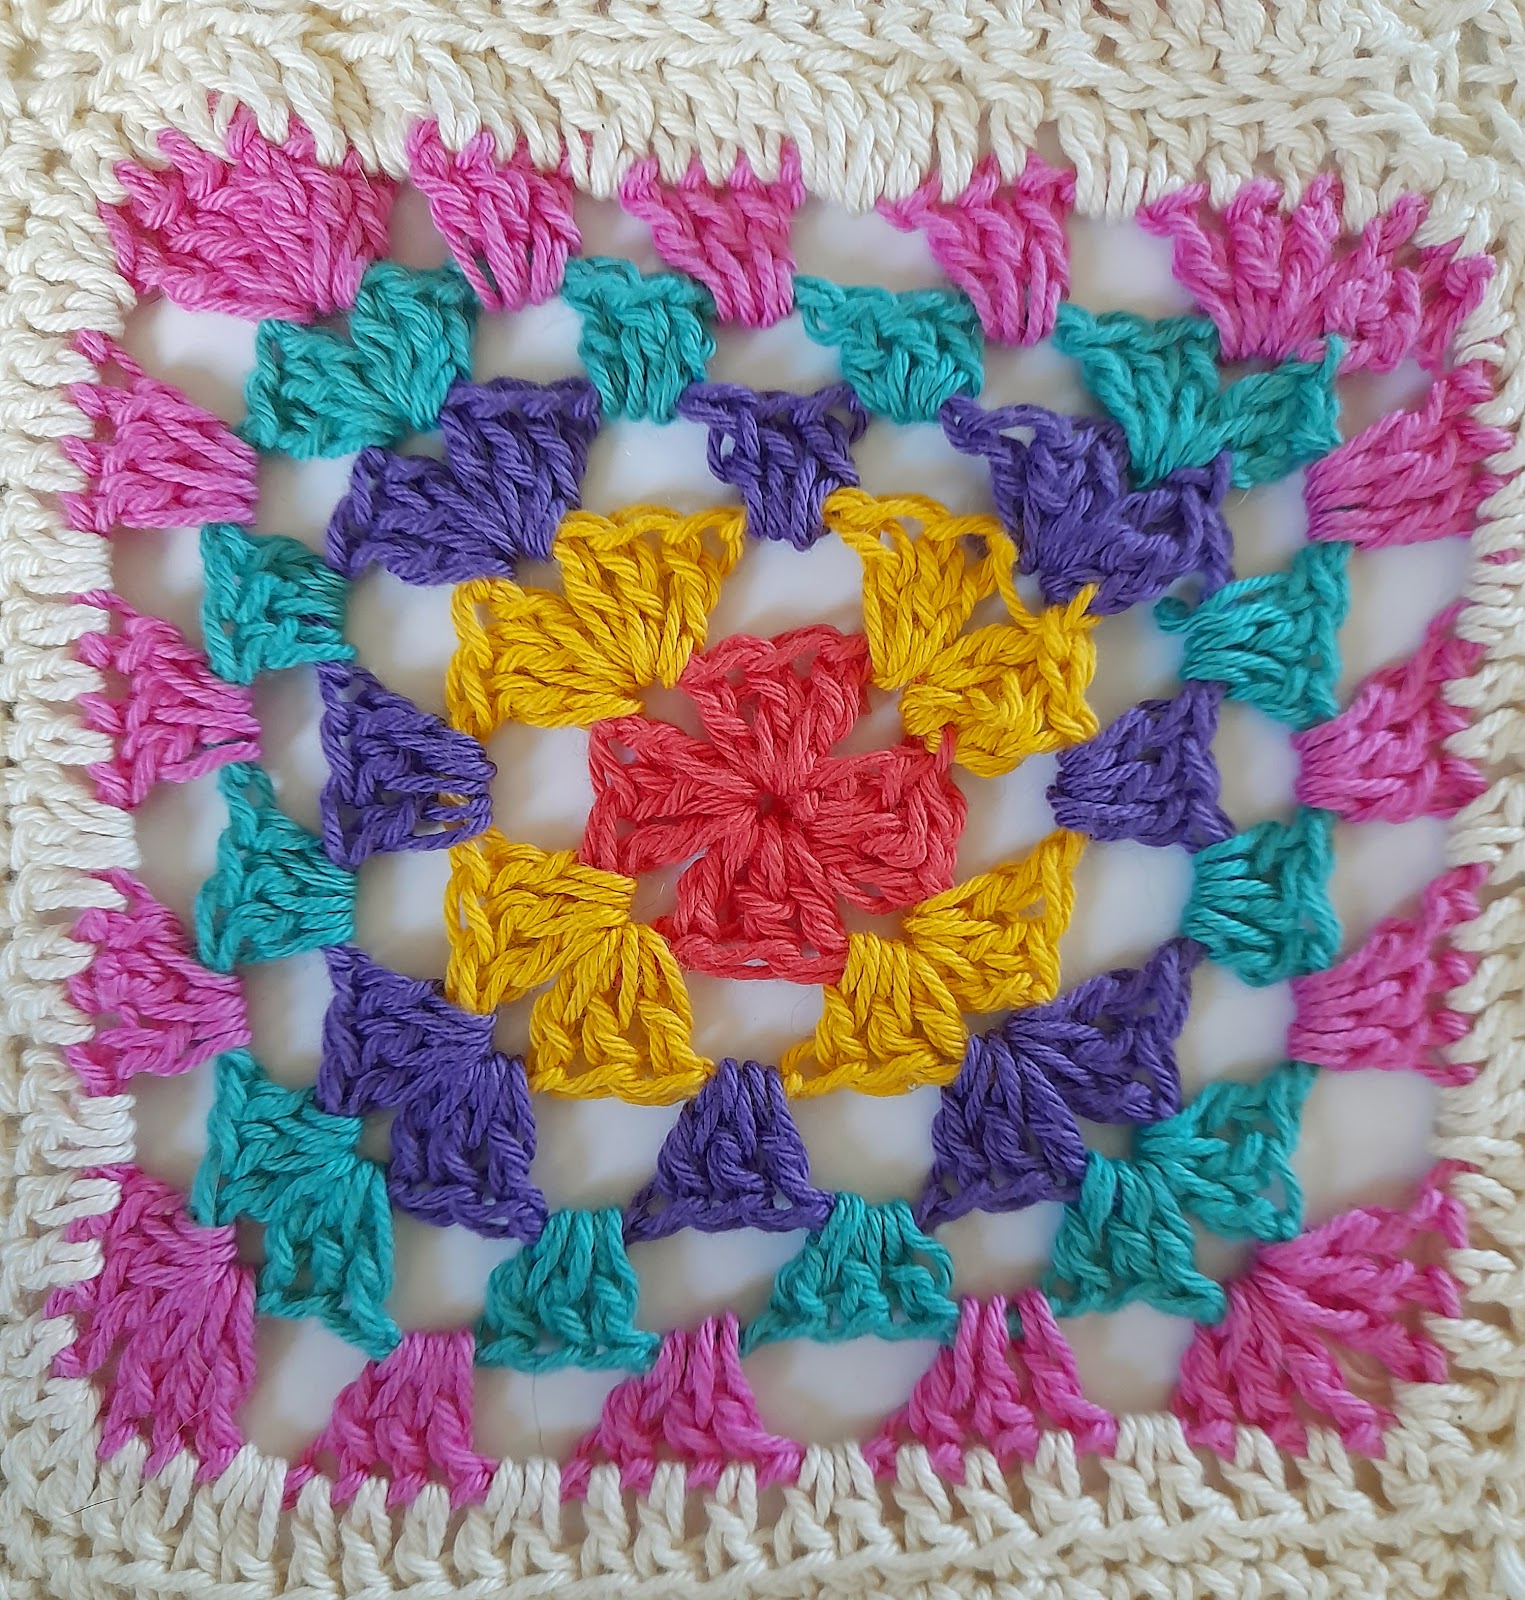
You can see in the square above where the corners are and how we only increase in corners.
Step 1: Granny squares (Make 8)
Round 1.
- Using yarn A, ch 4. Sl st to join with the 1st chain.
- Ch 2 and dc 2 times into the centre of the ring.
- Chain 2 and dc 3 times into centre of the ring. (6 dcs in total.)
- Repeat last step 2 more times. (12 dcs in total)
- Sl st into top of first dc chain to join the round.
Round 2:
- Using. yarn B, sl st across top of first 3 dcs to get to the 1st corner ch sp. Ch 3 and dc twice into ch sp. (3 dcs in total) ch 1 and dc 3 times into same ch sp. First corner done.
- Chain 2 and dc 3 times into next ch sp. Ch 1 and make 3 more dcs into same ch sp.
- Repeat step 2 twice more.
- Sl st with top of 1st dc to close the round.
Round 3
- Using yarn C, sl st across top of first 3 dcs to get to the 1st corner ch sp. Ch 3 and dc twice into ch sp. (3 dcs in total) ch 1 and dc 3 times into same ch sp.
- Ch 2 and work 3 dcs into next ch sp to corner ch sp
- Ch 2, 3dc in next ch sp, ch 1 and make 3 more dcs into same ch sp.
- Repeat step 1 and 2 to end.
- Sl st with top of 1st dc to close the round.
Round 4 and 5:
Changing colours (Yarn D and E) at the beginning of each round, work instructions for round 3, 2 more times until you have 5 completed rounds in total.
Border:
Using Vanilla Cream (Yarn F) join new yarn and work 1 dc into the top of every dc stitch, and 2 dcs in every ch sp to end. Sl st to close round.
Assembly:
The squares are joined in pairs and then as fours after some distancing with dc stitch.
Panels (Make 4)
With RS together and yarn F, Sl st to join across one side from the top right corner to the top left corner.
Dc in every dc for two rows across the top of each panel.
Joining panels.
With RS facing, lay the upper panel facing the lower panel. The lower edge of the upper panel should be in line with the upper edge of the top panel. Sl st across to join. The dc rows will now be in the centre and across the top of the bag.
You will now have two rectangular pieces: The front and the back of the bag.
Edges:
Vertical (side) edge:
With RS facing, sc across all dc sts for 4 rows.
Horizontal (bottom) edge:
With RS facing, sc across all dc sts for 4 rows.
Joining the bag.
With RS facing, starting at the top right corner, use sl st joining method to join the vertical seam, horizontal (bottom) seam and back up the left side vertical seam.
Straps (make 2)
Using removable stitch markers or safety pins , mark 5 stitches at the top of the bag that sit in line with the centre of each top granny square on the front and the back of the bag. You need to mark 4 areas of the bag.
Using yarn E, join new yarn and dc 5 sts. Ch 2 and turn.
Work 39 more rows.
Sl st to join with the marked strap area of the opposite side.
Repeat for second strap.
Weave in ends and enjoy!
Leave a Reply