Tag: sock knitting
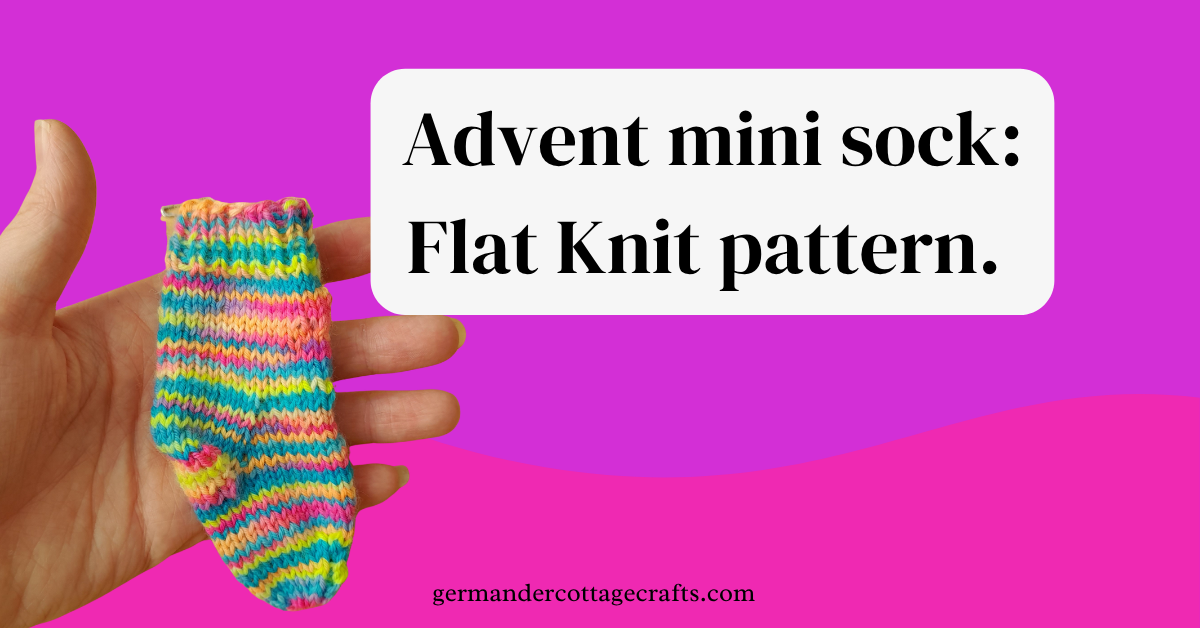
Flat knit mini sock. Free knitting pattern.
Free sock knitting pattern for the advent mini sock. Advent sock knitting pattern.
Written by
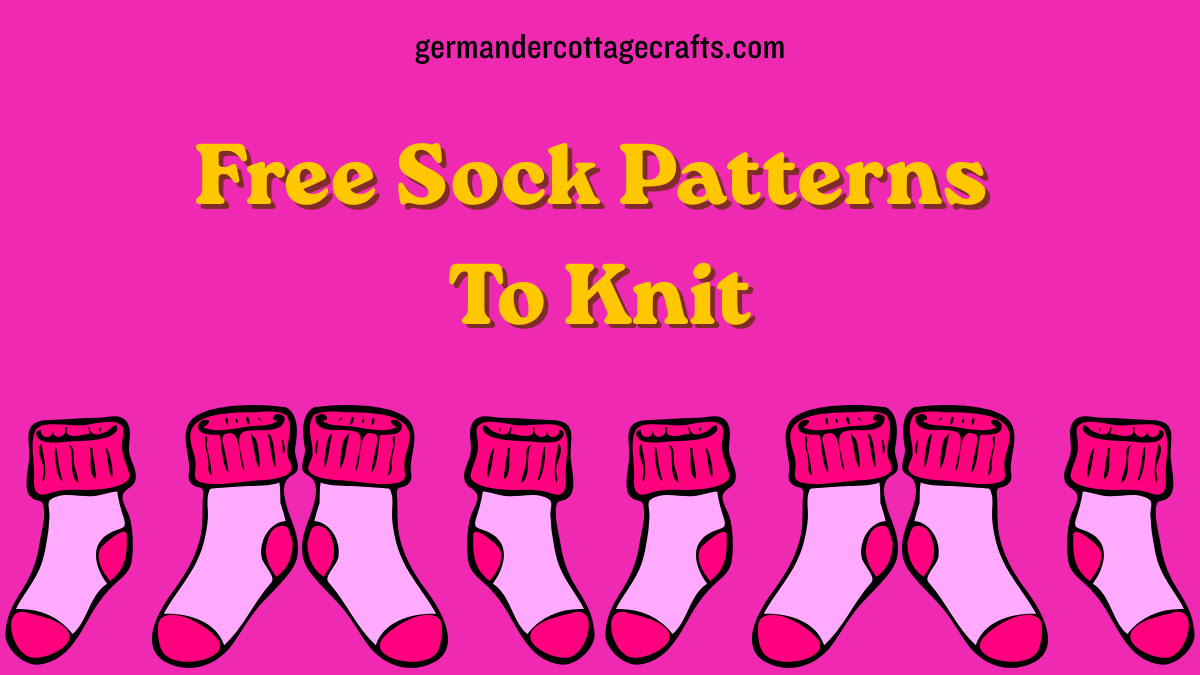
Free sock patterns to knit.
All of the free sock knitting patterns available on this blog.
Written by
Simple DK sock knitting pattern. DK Boot socks.
Free sock knitting pattern for a pair of cosy, DK boot socks!
Written by

Free sock pattern: Advent mini sock knitting pattern.
Free knitting pattern for a pair of mini socks. Knit these for an advent calendar, a little one or just for practice!
Written by

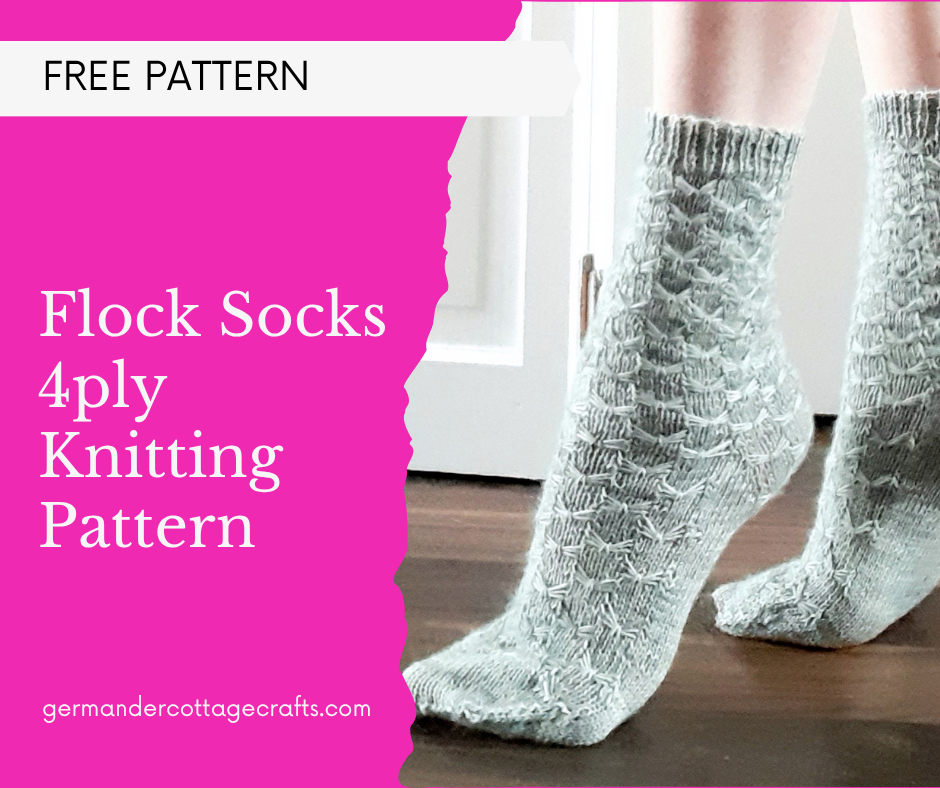
Flock socks knitting pattern. Cuff down sock knitting pattern.
Free knitting pattern for textured, butterfly ‘flock’ socks knit from the cuff down.
Written by
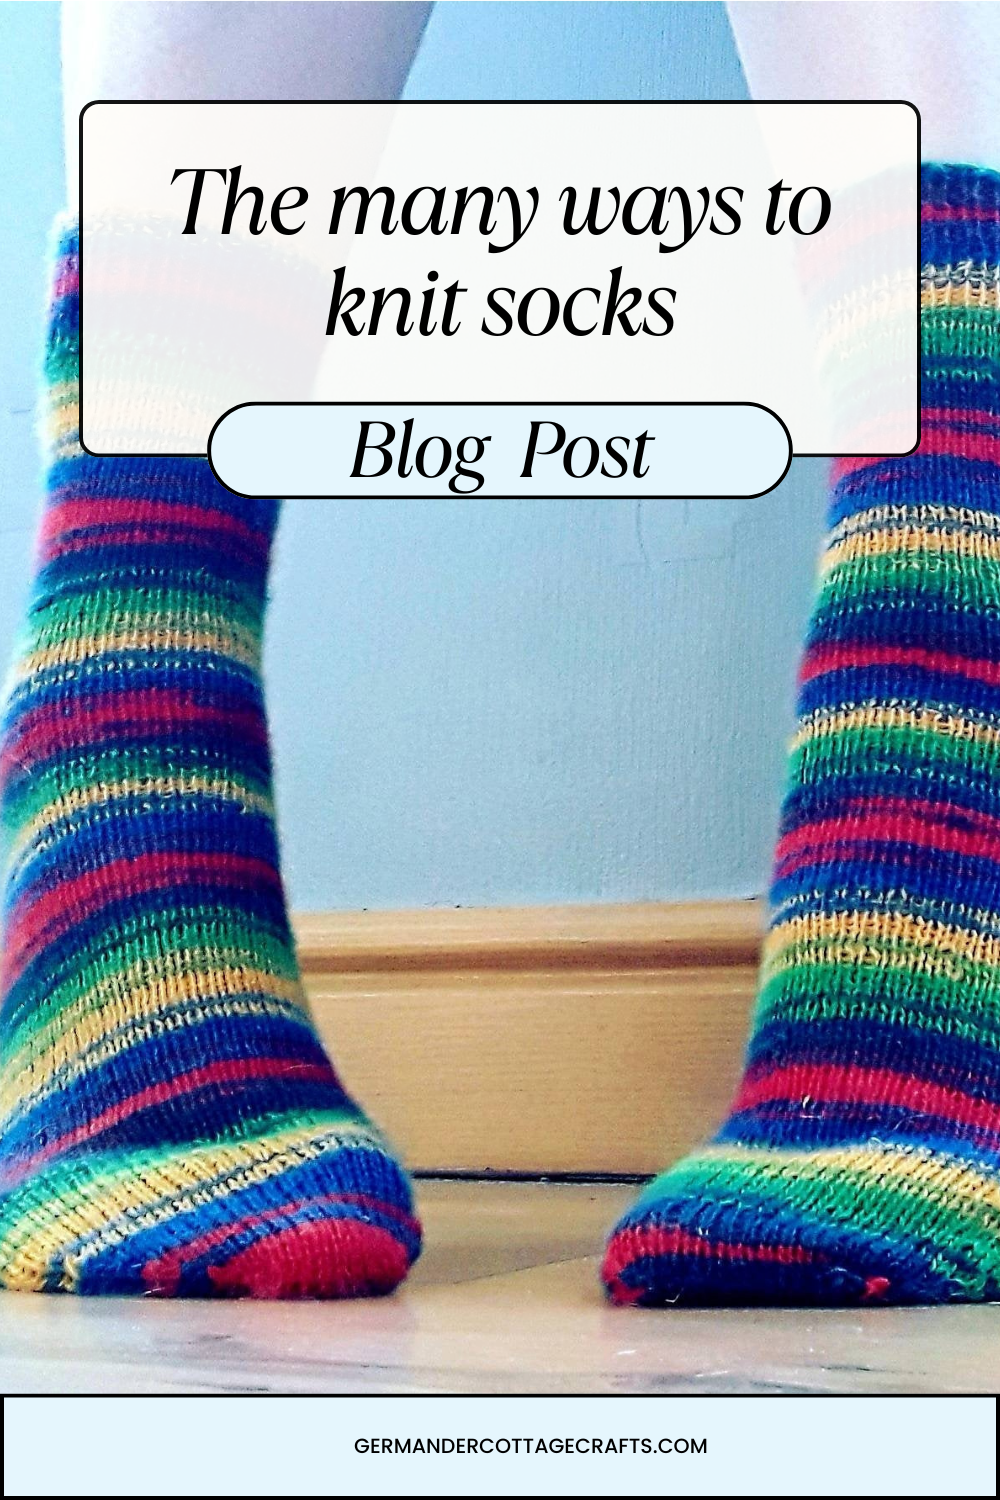
There are many ways to knit socks.
Are you sitting down? I’m going to talk you through the many ways to knit socks. Last year I received a refund request from a customer. They weren’t happy with their sock knitting kit and wanted a refund on the needles. The customer’s words were something like “there’s circular needles in here. No good for knitting socks!” …
Written by
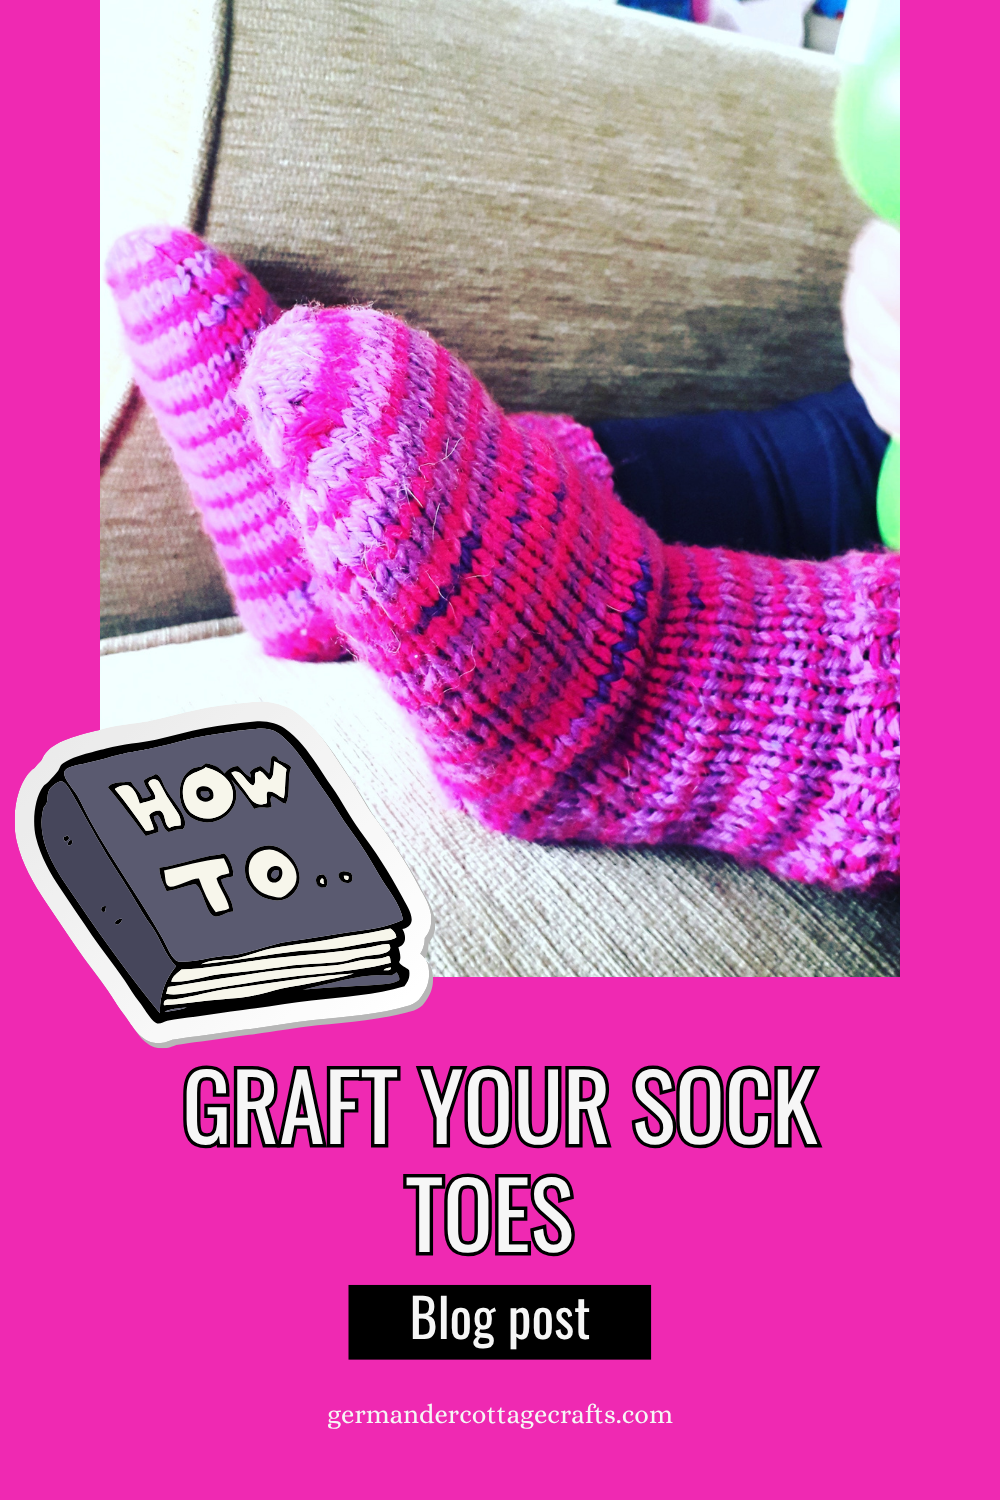
How to graft the toe of your sock. Kitchener stitch tutorial.
Learn how to graft your sock toes seamlessly. Tutorial demonstrating the Kitchener stitch, also known as grafting.
Written by
Andalusian stitch socks. Free sock knitting pattern for a pair of simple, rib textured socks.
Try these cuff-down, ribbed socks featuring the andalusian stitch. These simple socks have a square (Dutch) heel and you’ll need to know how to graft to close the toe.
Written by

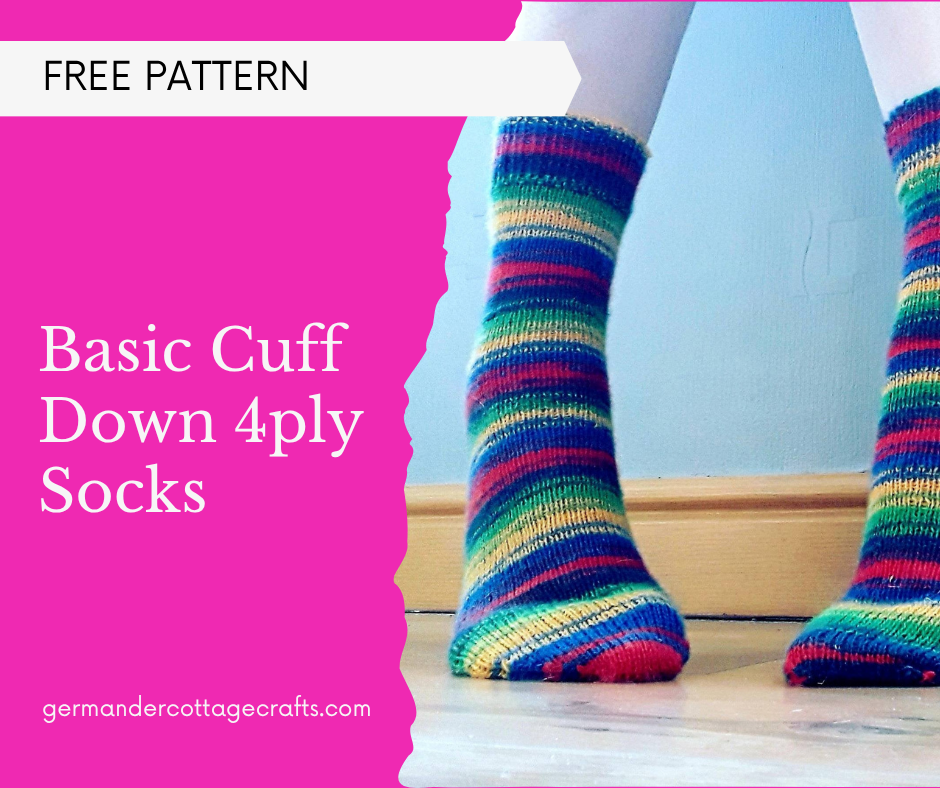
Simple cuff-down sock knitting pattern. Sock knitting for beginners.
Free pattern for a pair of simple, cuff-down socks knit in the round with 4ply yarn.
Written by
Sock knitting with two straight needles. Can you knit socks flat?
Wondering how to knit socks on straight needles? Try this two needle flat sock pattern. You can have all the glamour of 4ply socks without the worry of extra needles. This article about knitting socks on straight needles contains affiliate links, meaning that if you do choose to buy, I will receive a small commission…
Written by