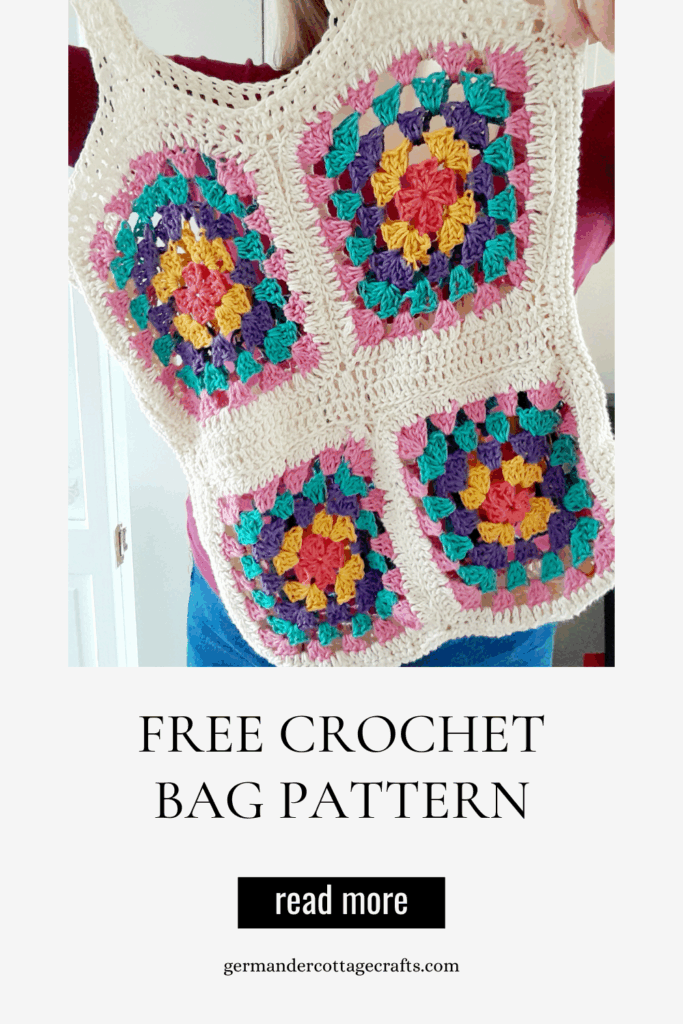
Here’s a round up of the best granny square yarn and granny square kits out there right now from UK retailers. These retailers do also provide international delivery, so do have a look if you’re reading this from somewhere else in the world!
I’m rounding up some of my favourite yarns for granny squares as well as blankets.
This article contains affiliate links. This means that if you choose to purchase from the links I have provided, I do earn a small commission at no extra cost to you.
First up: Granny square yarn? Is that a thing?
All yarn can be granny square yarn, it’s true. However, there is yarn out there more specifically tailored to your crochet needs.
Taken quite literally, there is now a range of self-patterning yarns out there that can make the granny square colour changes so you don’t have to. Let’s have a look at them:
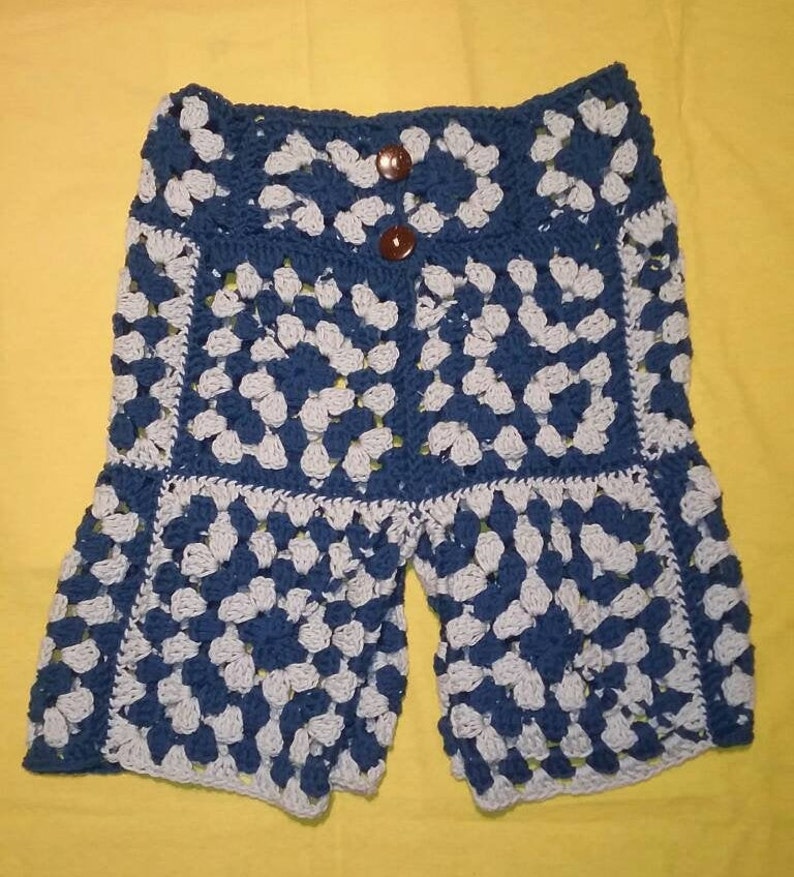
Red Heart Granny Square Yarn
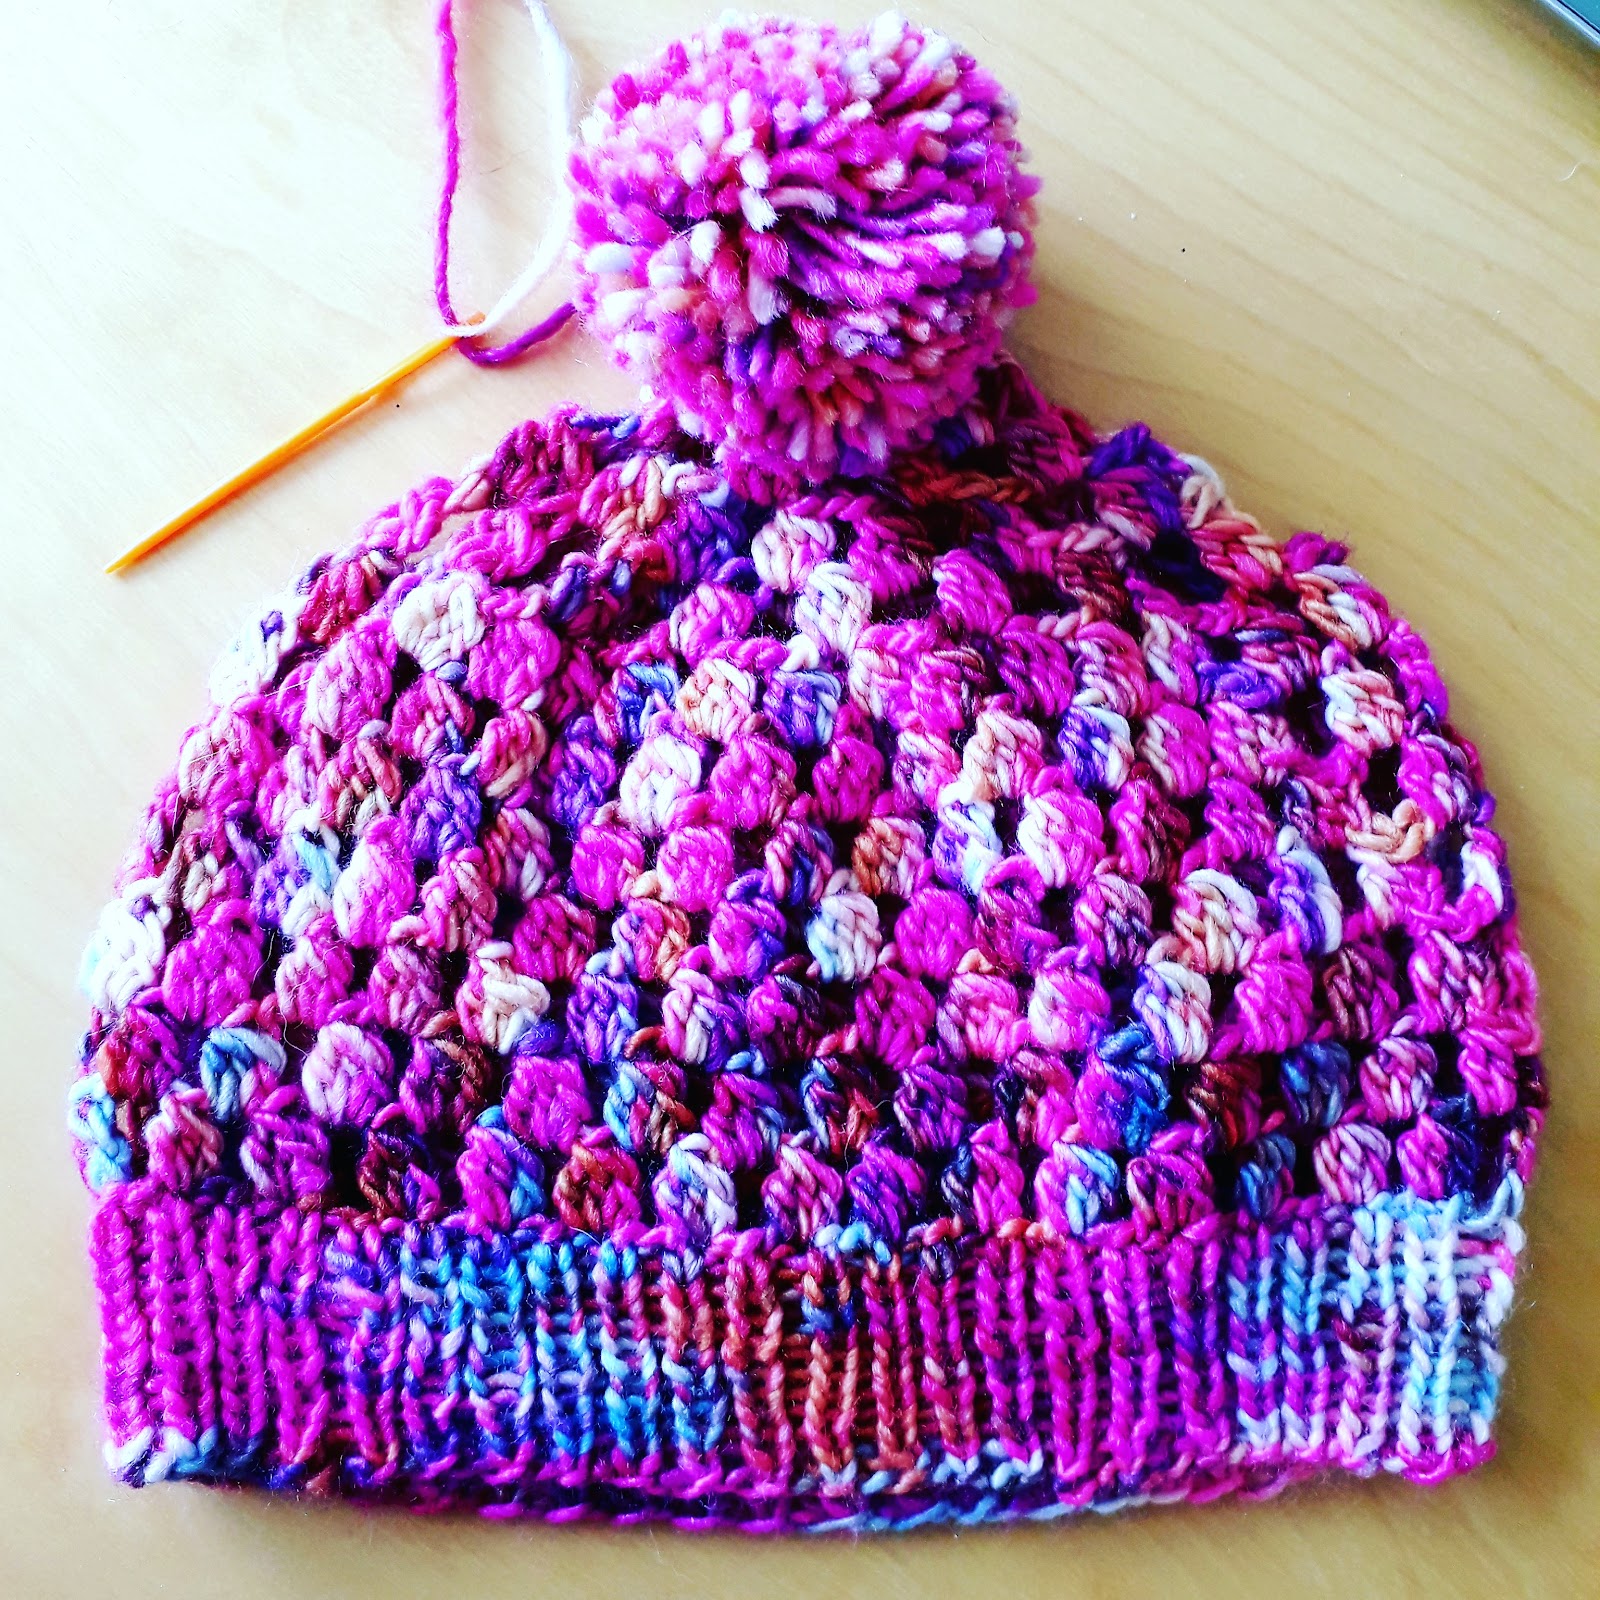
Here is a yarn that was designed just for granny squares. It is an interesting concept, but tension-allowing, you can get some granny squares out of this.
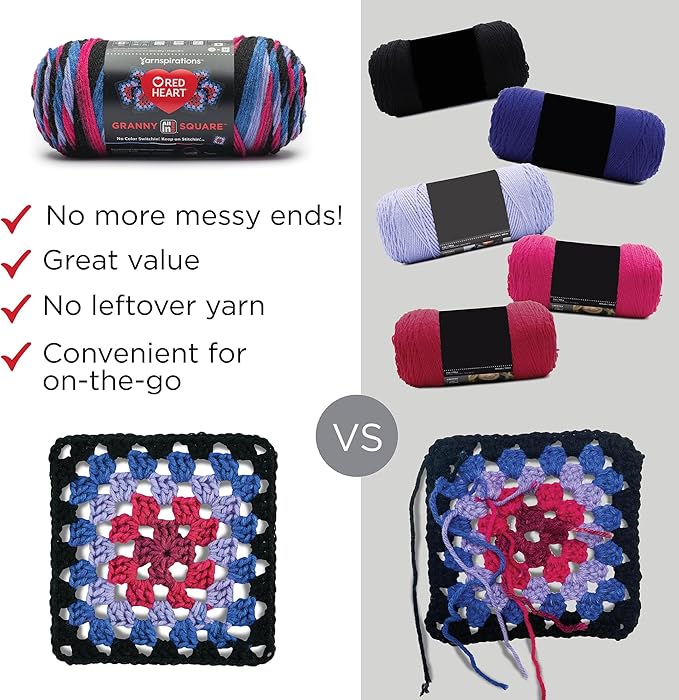
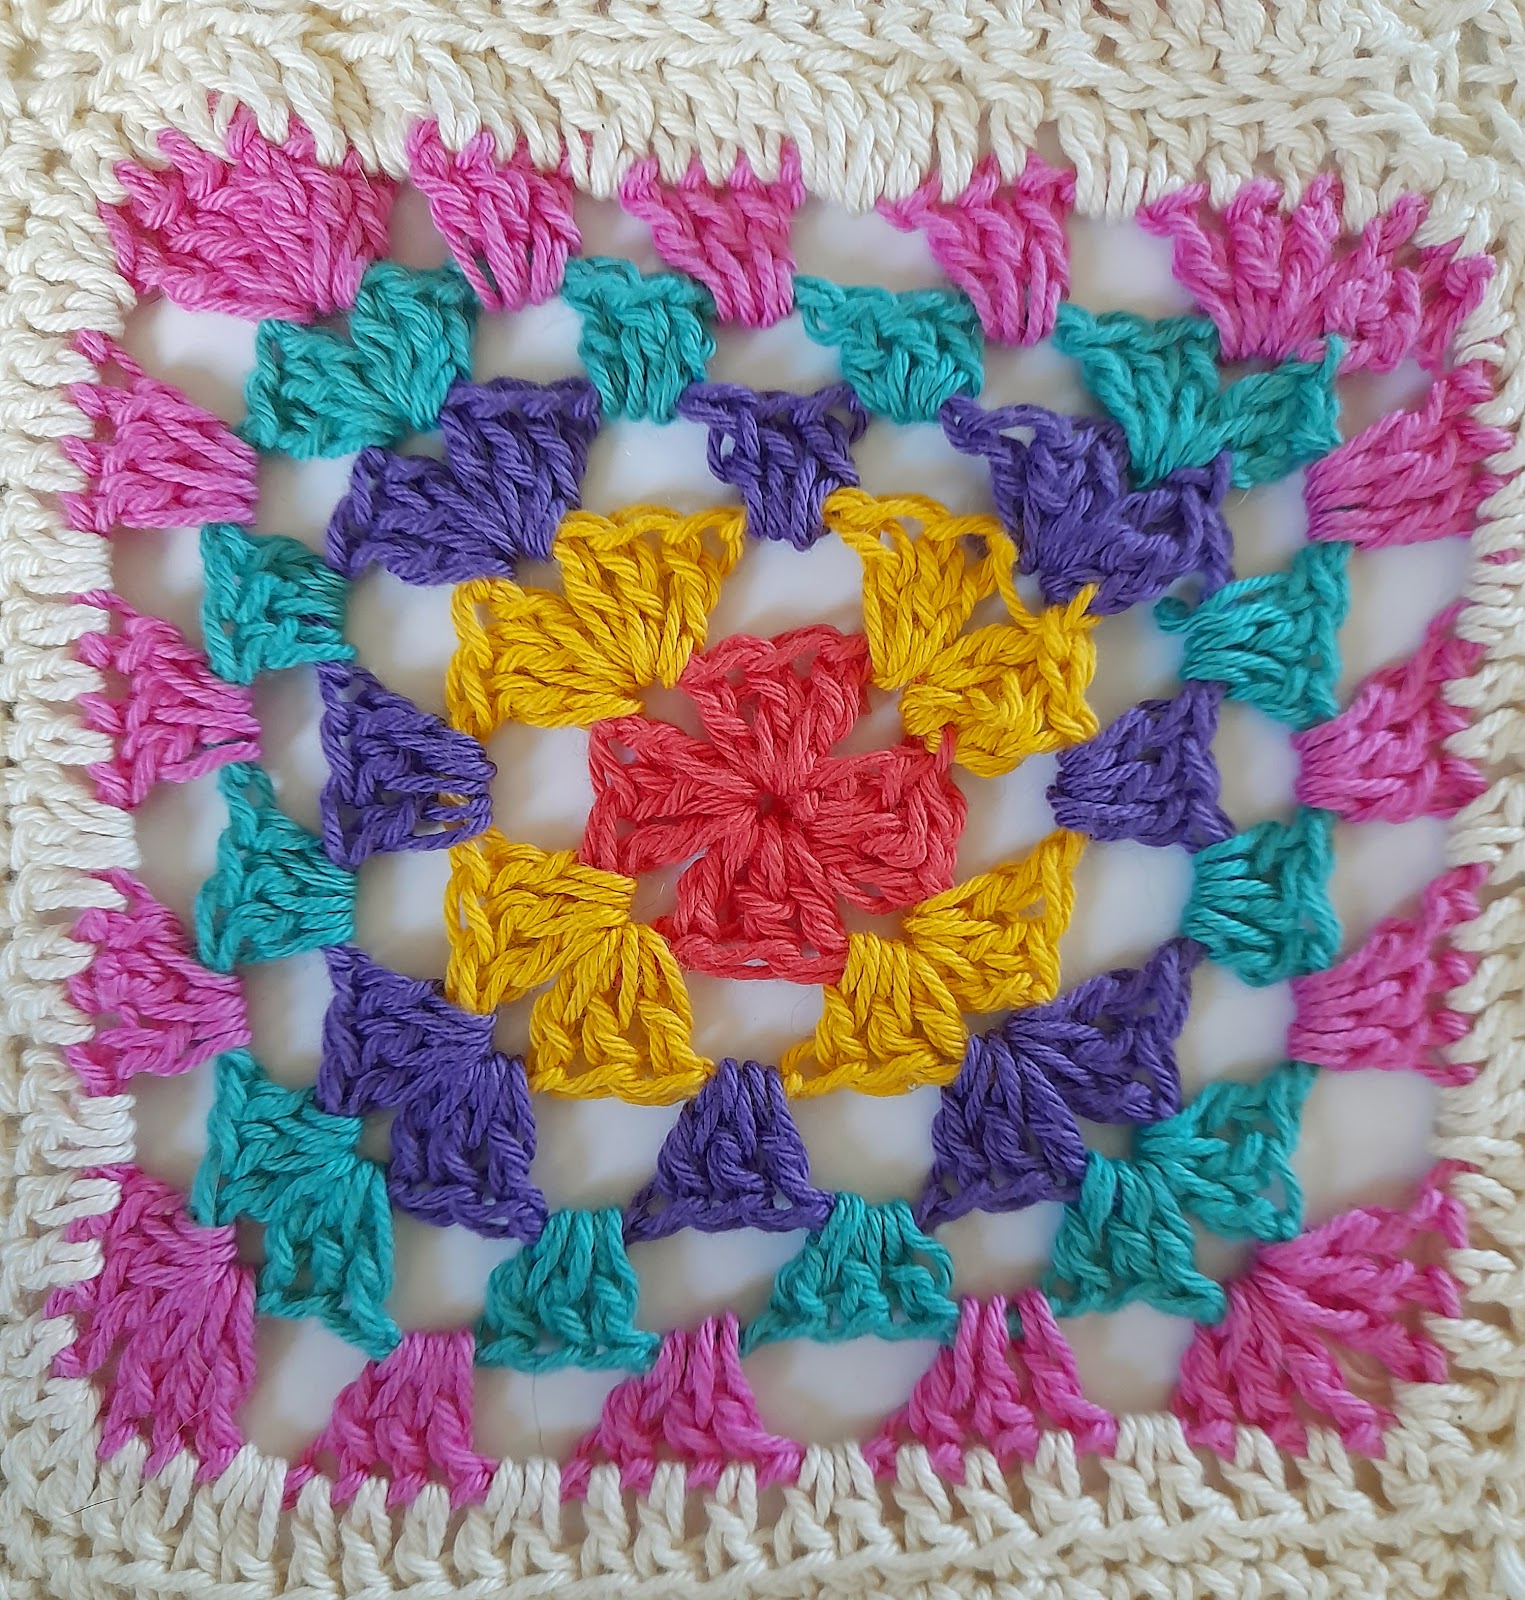
This image perfectly illustrates why this yarn is worth a punt. You don’t have the messy ends. However, you would have to match the tension exactly to get the same accurate colour change!
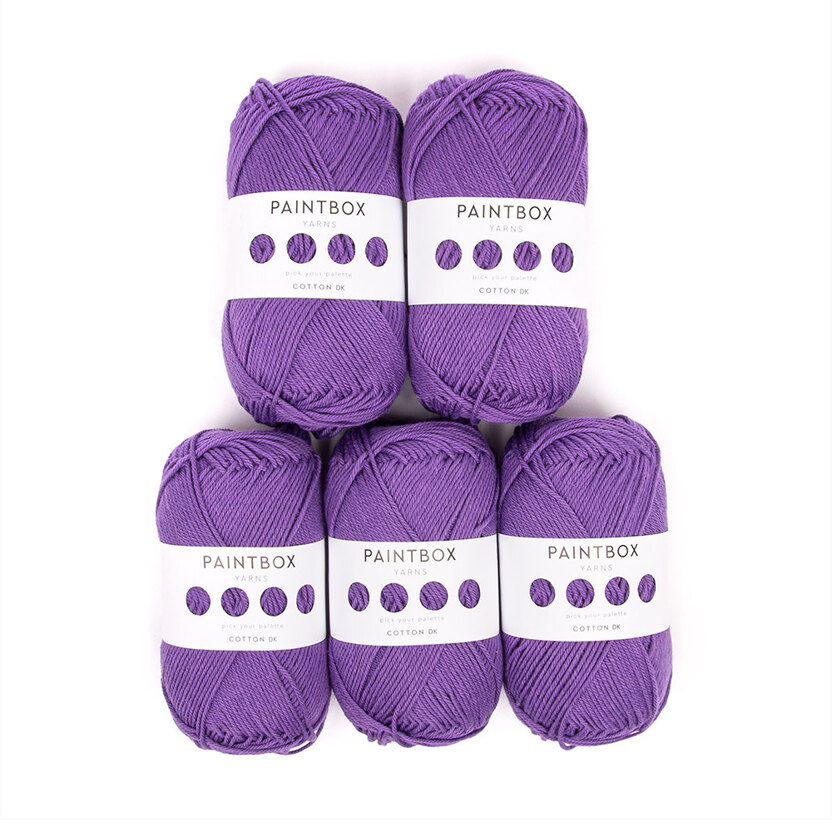
This yarn is available in a range of colours. This one is called Hyper Violet. It comes in a range of colours meaning no matter your preferred shades, there will be a granny square palette for you.

Key things about this granny square yarn:
- It comes in a 250g ball.
- It is a worsted weight/aran weight yarn, so will make a chunky granny square.
- It’s made by Red Heart Yarns, who are a US brand.
- This particular one that I’ve shared comes as a pack of 3, and it’s quite pricey compared to other yarns on the market.
Hanna’s verdict: don’t knock it ’til you’ve tried it, but I like the old fashioned method of joining new colours.
Classic Granny Square Yarn Favourites
Stylecraft special DK.
You can get this in just about every colour there is in the world. It’s a long time favourite for crochet as well as knitting. It’s an affordable, reliable yarn and it’s another 100% acrylic yarn. You may have to sew in or join the ends if you change colours, but you get so much more granny square out of each 100g ball.
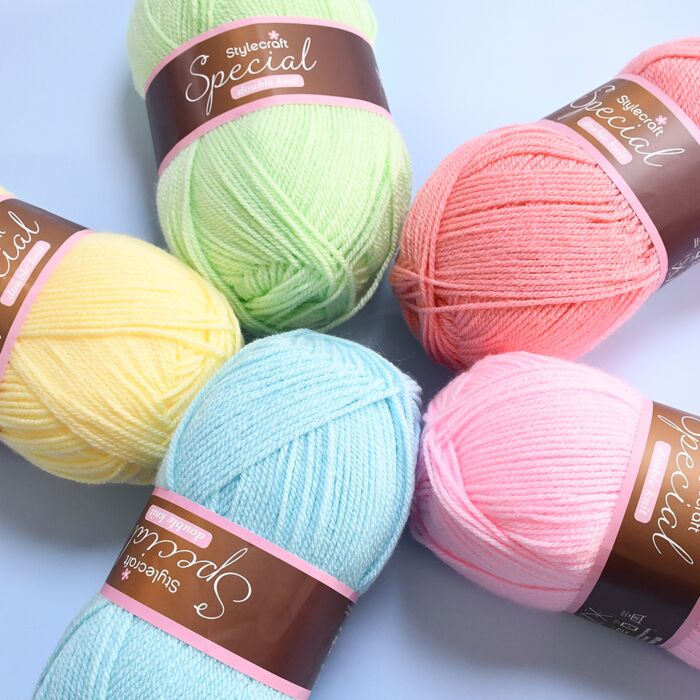
Woolbox currently have Stylecraft Special DK in every colour under the sun and as well as this yarn, they also have several discounts, including ones you can claim with loyalty points.
Key things about this yarn:
| Fibre Content | 100% Acrylic |
|---|---|
| Washing Instructions | 40 Wash |
| Brand | Stylecraft |
| Size | 4mm Needles |
| Metres Per Ball | 295m |
| Tension | 22 stitches x 30 rows to 10cm square |
| Ball Weight | 100g |
| Yarn Weight | Double Knit |
Hanna’s verdict: The sky is the limit with this colour palette. I love it.
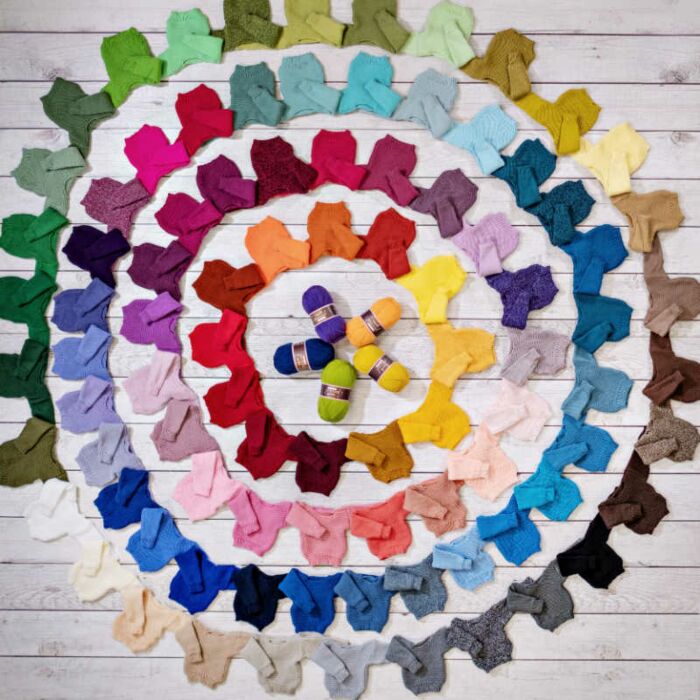
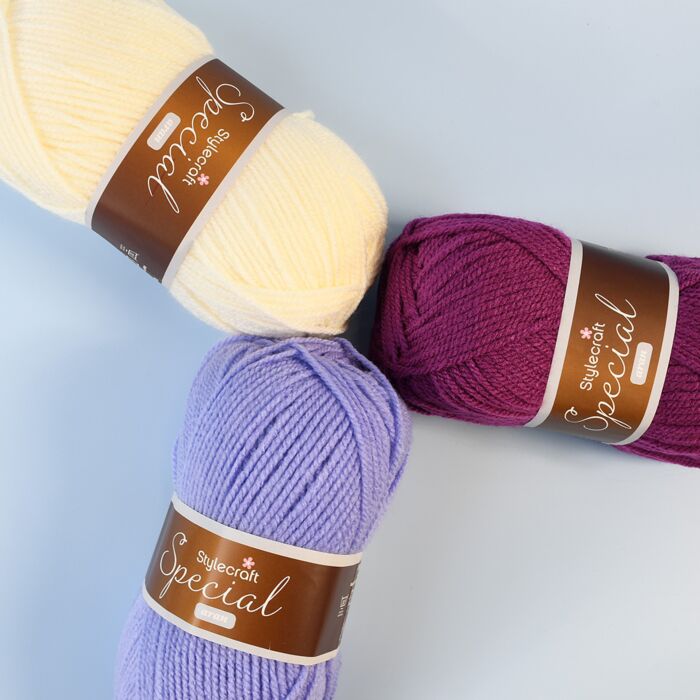
If you like your granny squares to work up quicker, you can also get Stylecraft Special in Aran. The colour palette for their aran range isn’t as vast as the DK range, but you can get every colour (just not a range of shades for each colour!)
This is a perfect granny square yarn for fuller-bodied blankets and throws. I’ve recommended acrylic here because of its machine washable qualities. If you were making a baby blanket for example, you can easily bung this in the machine and not end up shrinking it. It is therefore excellent for blankets that will end up in the hands of exhausted parents! It’s also excellent for picnic blankets and pet throws.
Key things about this yarn:
| Fibre Content | 100% Acrylic |
|---|---|
| Washing Instructions | Machine Wash 30, Cool Tumble Dry |
| Brand | Stylecraft |
| Metres Per Ball | 196m |
| Tension | 18 st x 24 rows |
| Hook/Needle size | 5mm |
Hanna’s verdict: This yarn is just as soft and durable as its DK cousin. I love that it’s a little bit thicker, helping me make more granny squares in front of the telly!
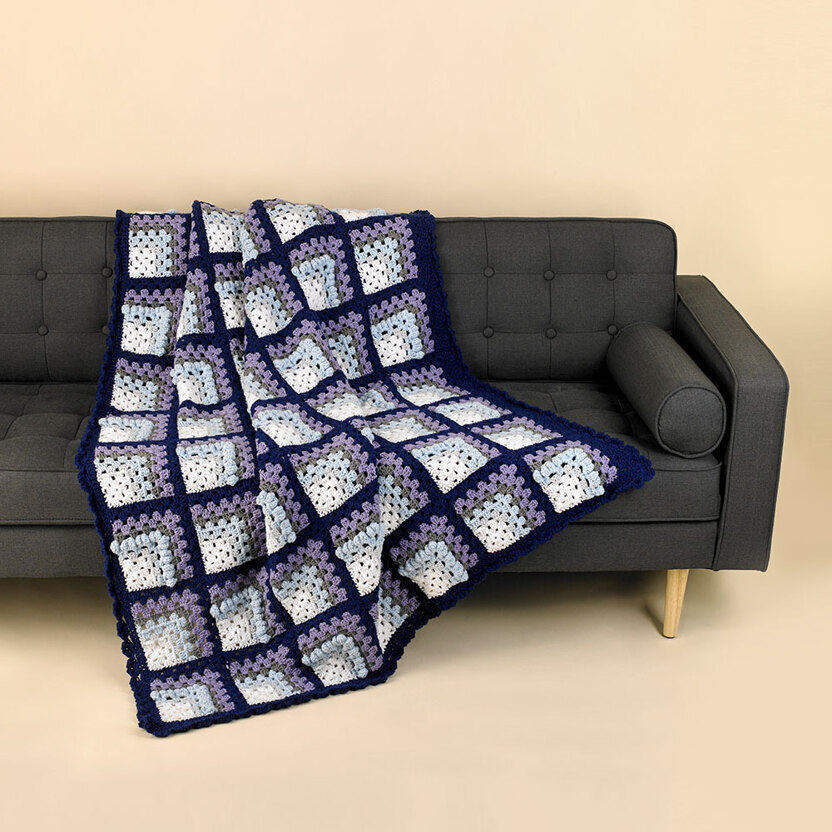
Paintbox Yarn ‘Simply’ DK, Aran or Chunky
This is Lovecrafts’ own brand yarn and it is a worthy rival to Stylecraft special for how durable, washable and soft it is. It is also a 100% premium acrylic yarn and makes vibrant, solid granny squares for throws, cushions and more.

See below for blanket patterns featuring Paintbox Simply yarns. This is an excellent granny square yarn in an equally vibrant palette and huge range of colours.
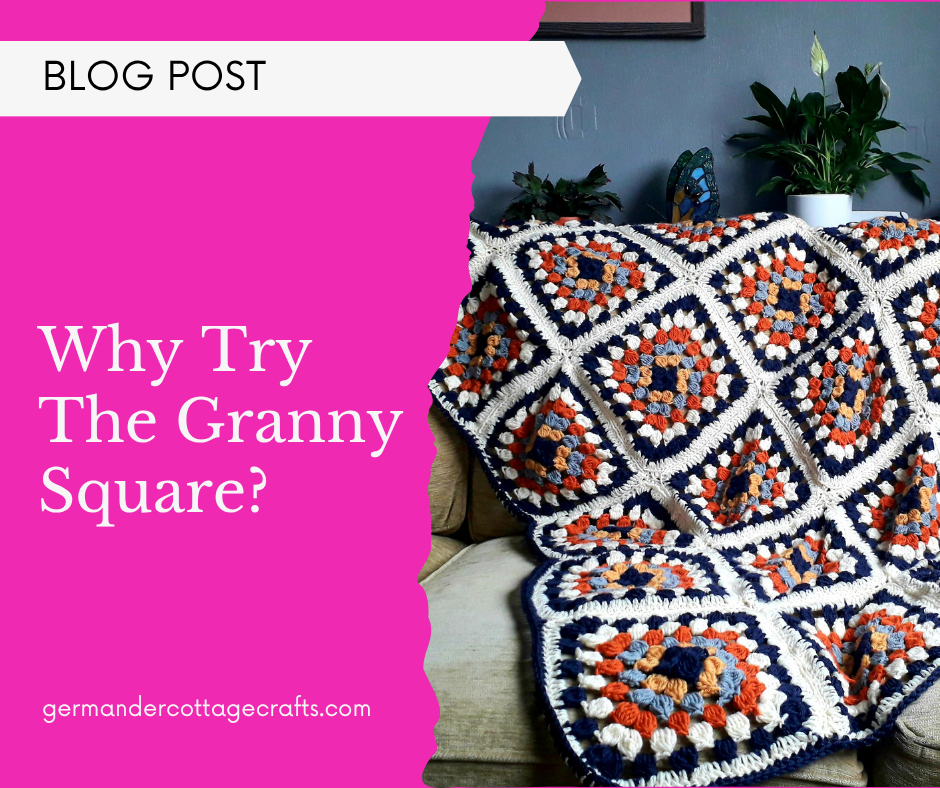
More Granny Square inspiration:
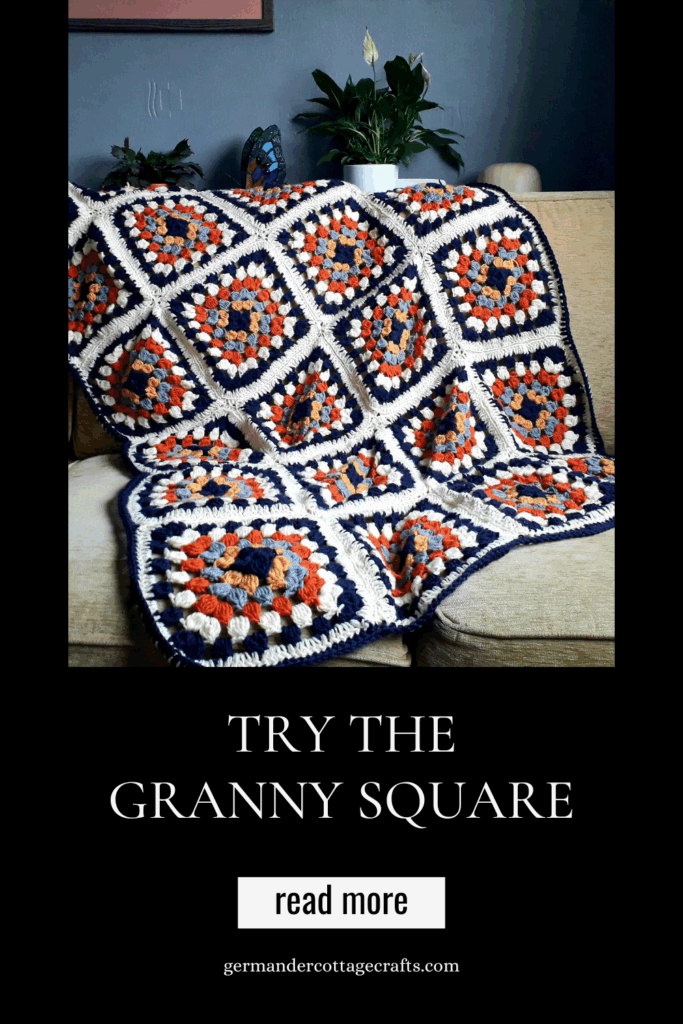
Granny Square Crochet Kits To Inspire You.
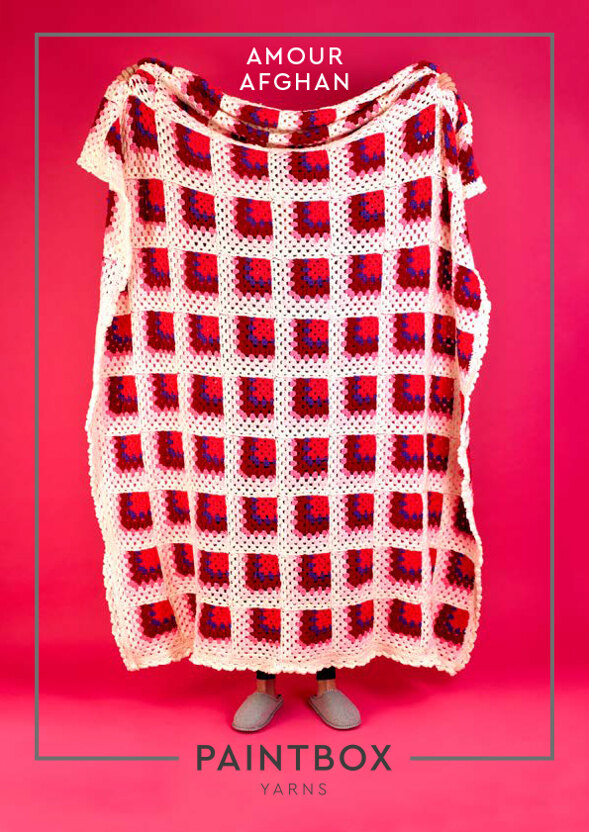
Paintbox Yarns Amour Afghan Blanket Kit.
You can get the pattern and yarn for this blanket in the warm Passion Rouge or the cool Romance Blue. This kit contains absolutely all the yarn you’d need for this granny square blanket.
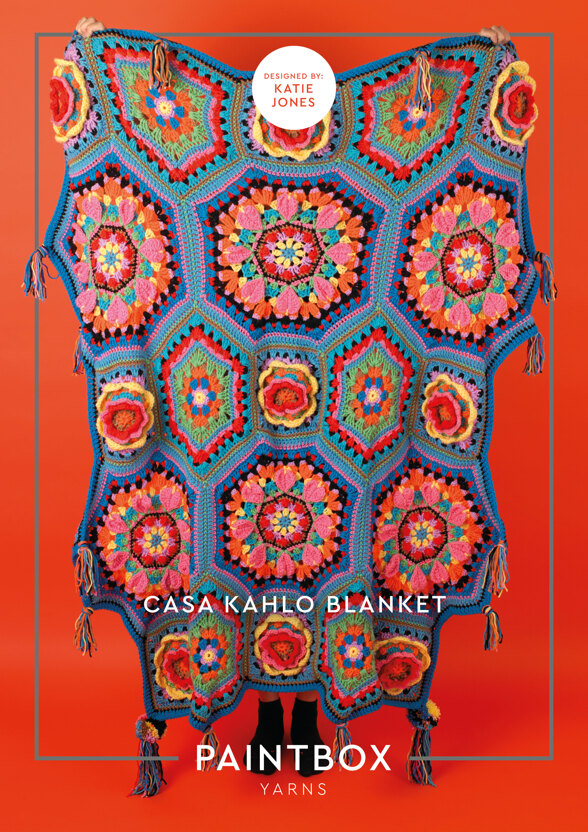
Paintbox Yarns Casa Kahlo Blanket Kit
Crochet kit for Paintbox Yarns Simply Chunky Casa Kahlo Blanket. Bursting with folk-inspired granny patterns, Katie Jones’ Casa Kahlo Blanket is a rainbow of colour encased in blues. Granny octagons and hexagons full of bobbles, hearts, clusters and overlay flowers are brought together with coloured seaming and this heavenly blanket of colour is the perfect antidote to low spirits and chilly afternoons.
I realise that this is not technically a granny square throw but if you know how to make a granny square, you can crochet this amazing blanket!


